Making My Own Pattern from Shorts in My Closet
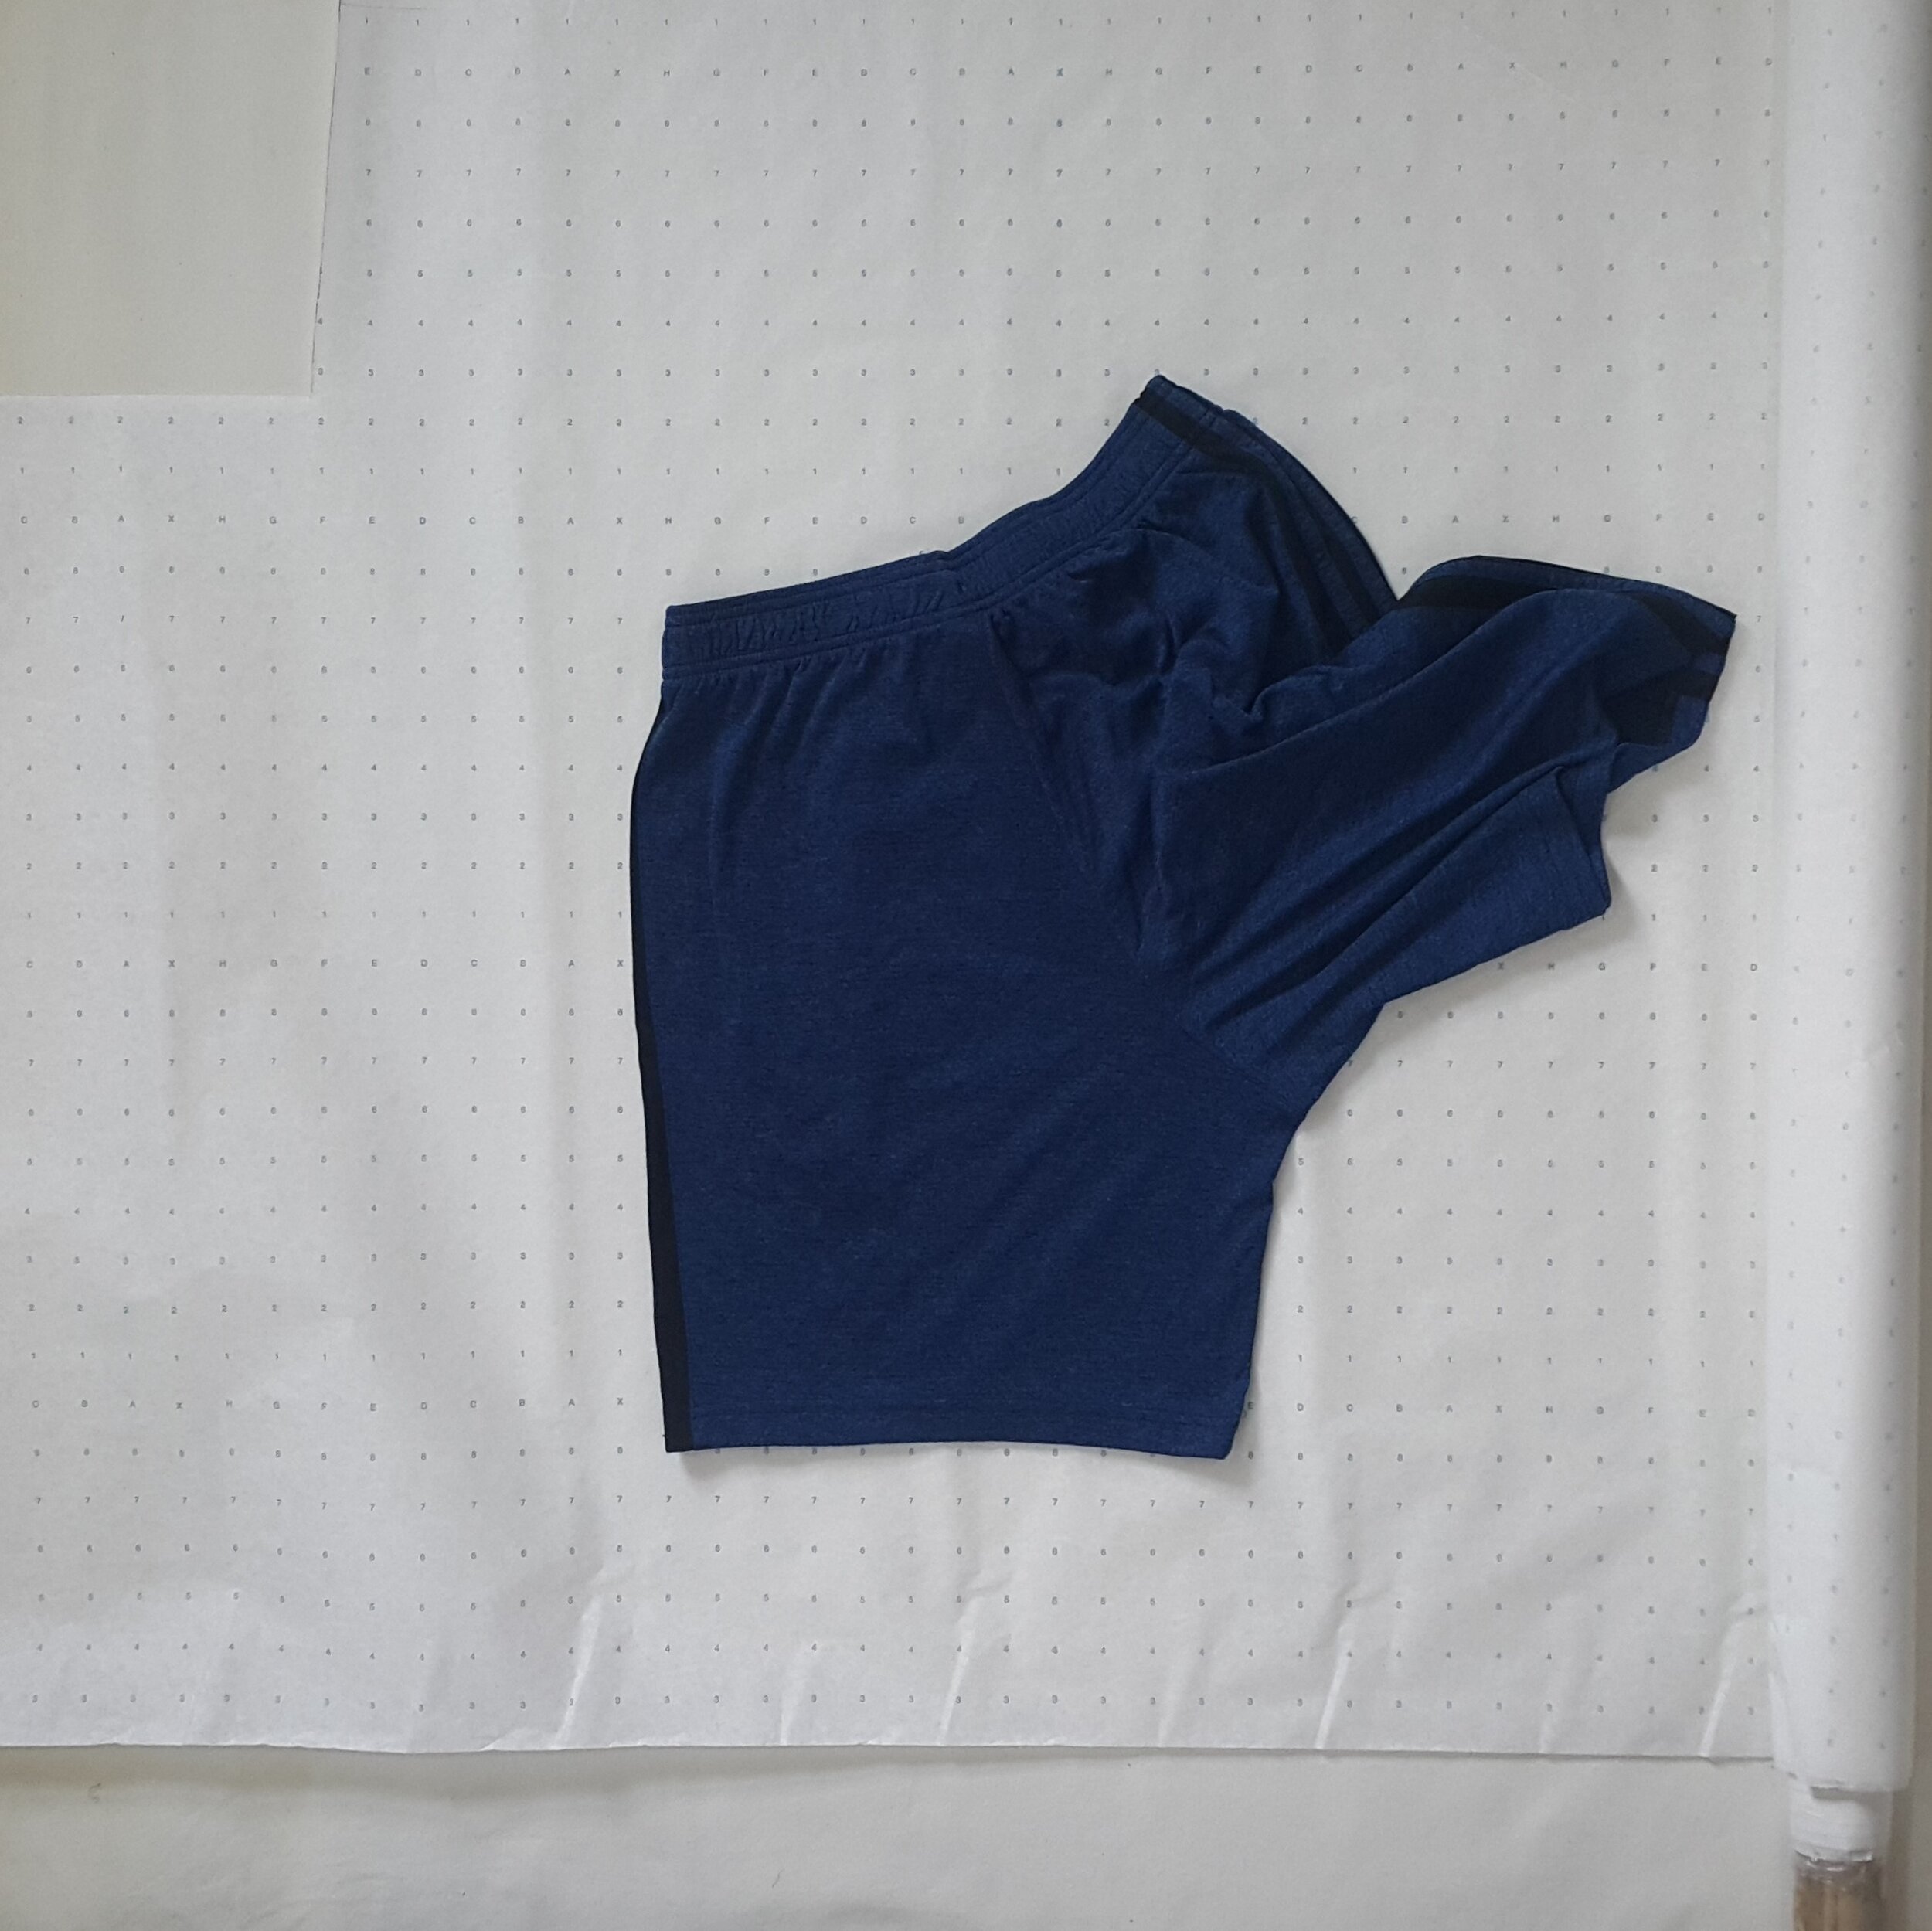
When I started to sew clothes, some of the first pieces I made were from my own wardrobe. Part of this was to ease myself into the intimidating world of professionally graded patterns and ultimately, this was great practice to understanding how pattern pieces are constructed into 3D garments. As I’ve sewn more, I’ve learned that this practice is known as “rubbing off ready-to-wear” or the “rub-off technique”. Whatever the term is, the idea continues to be appealing to me for many reasons. Since I am using my clothes, I know that the clothes I make will fit me and my wardrobe. It’s also nice not to have to spend money on a pattern, which leaves more money for fabric and notions. Making patterns from ready-to-wear (RTW) was a great introduction to the fundamental basics of working with a pattern — from pattern weights to cutting. Even if the pattern shapes I came up with weren’t perfect, it felt like a real accomplishment to make something wearable and the first step in understanding the technicalities of garment construction.
An alternative to rubbing-off patterns is hacking patterns together in order to recreate an inspirational piece or outfit. Erin Orr of the @paperbagwaist on Instagram does this!
The Ethics of Copying RTW and My Approach
As someone who is learning to sew garments I appreciate the expertise and artistry involved in drafting a pattern from scratch and grading it for different sizes. I do not make patterns from independent designers. It’s important to pay people for their time and labour and to normalize valuing all sorts of work and art. The clothes I’ve made patterns off of fall into two categories: previously purchased fast-fashion and one-of-a-kind vintage pieces that would be hard to replace or find again. Regardless of the original source, I do not sell rubbed-off patterns or the garments I’ve made from them. The purpose of me patterning off of existing clothes is to p
How to Copy or “Rub-off” a Pattern
Regardless of the type of garment you’re tracing, the process of using this method to make a pattern from ready to wear is the same. The general idea is to first sketch out the general shape of the garment, refine the fit using paper pieces, make a mock-up, and then make the final pattern. I broke the steps down into four stages, noting the differences in each paper pattern. Depending on how simple or complex your pattern is, you may need to refine the paper pattern or muslin mock-up several times.
Materials:
I’ve seen methods that use pins to mark the seam lines of a garment on paper as a way to trace out the general shape, but I did not use pins nor a tracing wheel to make my patterns. Here are the other materials I used:
Tracing paper*
Pencil
Eraser
Curved rulers
Straight edge (t-square or clear ruler)
Measuring tape
Scotch tape (if you need to piece things together)
*When I first did this, I didn’t have tracing paper on hand but had plenty of landscaping fabric on hand from various garden projects, which proved to be easy to mark up with chalk, cut, and sew.
Stage 1: Sketching the Rough Shape
The goal of this first step is to trace the rough shape of the garment, including the finished size and shape of the crotch curves. There’s no waistband or seam allowance included in this one.
When I first started learning how to make clothes from existing clothes, rather than a pattern, I found this YouTube from the channel coolirpa very helpful. My biggest takeaway from this video is to trace the seam lines, rather than the edges of the fabric. If you keep this tip in mind, you’ll keep the garment as flat as possible as you trace it, which will help you draw a shape very similar to a 2D pattern piece.
Place the garment on tracing paper and look for the seam lines in order to identify how many separate fabric pieces make up the garment. The goal is to sketch out the shape of each piece.
I start by identifying the corners or points on the pattern piece and mark these on the paper. Then I start looking at how the lines are connected -- are they straight lines or curved? -- and try my best to copy the lines.
One I have the rough shape, I cut out the paper and place it on top of the garment. I find this particularly important for the curves because it will allow me to see if I need to add or trim my line.
Triple check your shape: using a measuring tape, I measured the finished garment’s measurements against my pattern. For example, do the leg measurements line up? Is the length of the final shorts the same length as my pattern (*not including the waistband or hem allowance).


A couple of tips to match the overall shape:
With my paper pattern on top of my garment, I used a pencil to darken the edges where I needed to trim paper. In instances where I initially cut too much away, I made notes to approximate how much I needed to add back to the pattern.
For the back piece, I felt very short on the width and had to add a significant length, which I did with a smaller piece of paper and scotch tape.
Stage 2: Perfecting the Curves & Dimensions
The goal of this stage is to perfect the shape of the garment, with particular attention to the shape of the curves and length of the finished garment. There’s no waistband or seam allowance included in this one either. At the end of this step, I want to be able to fit together a front and back piece. In Stage 1, I started by identifying the individual pieces that make up the garment and re-constructed the shape on paper. Stage 2 begins with marking these corners on fresh tracing paper and drawing out the pattern lines more accurately.
Layout the Stage 1 pattern on a clean piece of tracing paper and weight it down.
Mark out the corners of the Stage1 pattern and use your straight edge or curved rulers to connect the dots accordingly, incorporating the changes you noted.
At this stage, I was most concerned with the fit of the crotch seams of the front and back pieces. I didn’t want to rely on just measuring the flat paper with a ruler, so instead folded the paper so I could measure the pattern pieces against each other.
As I did in Stage 1, I measured my new pattern against the original garment just to make sure the overall dimensions of my pattern and the actual garment were the same.
In the case of my shorts, I was concerned with the length of the shorts, width of the legs, and width of the waistband (when stretched out) was approximately the same.


A time-saving note:
When refining the shape, I was most concerned with the shape of the curves in the front and back pieces and how they’d fit together so I neglected to pattern out the side panel. I also didn’t detach my front and back pieces since I was going to test the fit out by folding these pieces together anyway.
Stage 3: Pattern for a Muslin Mock-up
Once I felt relatively confident that the seam lines of the front and back pieces would align, I worked on another paper pattern for a muslin mock-up. At this point I added 1” (2.5cm) for the hem allowance, and since I was working on a pair of shorts, I included a waistband too (about 6” or 15cm).
On a clean piece of tracing paper, I marked out the corners and edges of each individual pattern piece.
I used woven cotton for my mock-up.
While fitting the mock-up I folded over the waistband and hem to double check the overall length of the shorts. I also wanted to gauge the waistband’s circumference, though it’s so hard to imagine how the shape or fit will change once it’s cinched with a waistband.
In the case of my shorts, I took note of a few things to refine on the final pattern. The crotch seam of the back was longer than the one on the front, so this needed to be adjusted, but overall, I was happy with the length of the shorts and was confident that the waist and leg holes would fit well when made in a single knit fabric.


Stage 4: The Final Paper Pattern
I worked off of the paper patterns from Stage 3, made the adjustments that I had to, double checked I included all seam allowances, and made sure to add pockets!
Once again, on a clean piece of tracing paper I marked out the corners and edges of each individual pattern piece from Stage 3.
I transferred my adjustment to the crotch seam to this fourth pattern.
The original shorts (like all great shorts) had side-seam pockets. I added pockets to the side seam panels and the front panels.
I included a quarter inch seam allowance on the side seams and crotch curves of all my pieces, which I neglected to included in the previous stage.
I made sure to mark my pattern pieces with a note that the seam allowances are included.
I’ll update the shorts I’ve made with this method on my Projects page soon.


Learning About Crotch Seams & Bottoms
Just like how adapting a sleeve pattern pushed me to understand how they are constructed, this project taught me a little bit more about constructing bottoms, and although that’s not really what this post is about, I found these resources informative. As I delve deeper into clothes making resources, I keep finding old and new resources that give me helpful pieces of information.
One of the hardest things for me is to conceptualize how 2D pattern pieces are constructed into a 3D garment. I’ve talked about it with sleeves and when it comes to bottoms, it’s figuring out how to form the leg holes. On more than one occasion, I’ve sewn the legs together on the front or back piece. This video uses small pieces to model two different ways to sew together bottoms. I use the second method shown, which involves sewing the back pieces together and the front before connecting those together at the crotch and then the side seams.
To help me understand how to draft the crotch seams so they would align properly I turned to two blog posts by Janet from 7PineDesign.com:
This one on Truing the Crotch/Rise Intersection raised two important points to consider. One is the angle of the inseams, so that when they align, they create a nice straight line. And the other is the crotch width, which should be 6-7” (15cm-18cm) in adults.
This one, Crotch Width: What Causes Crotch Smiles, diagrams out the crotch and inseams of a pair of bottoms. I’ve bookmarked these posts because I think they will be useful when I try self-drafting or tailoring.
I mentioned earlier that I had seen other shorts patterns, including the free Boxer Shorts pattern from Melly Sews, that drafted the back pieces to be longer (not just wider) than the front piece. I wonder now if it's designed this way because the crotch curves of the back piece are steeper (scoop-ier) than the front, but once sewn up will line up at the same height.
Sometimes it’s helpful to look at other patterns or other people’s mid-project photos just to see if the general shape you’re creating is similar. On Pinterest, I found diagrams that sketched how to put a pair of shorts together and which seams need to align, and thus, be the same length. I wasn’t looking for specific measurements or patterns to follow, but just reassurance that what I was making was on the right track.
References
Janet. “Crotch Width: What Causes Crotch Smiles”. 7pinedesign.com. June 3, 2016. Last accessed March 30, 2021. Link.
Janet. “Trueing the Crotch/Rise Intersection (Eliminating “Stabby Crotch”)”. 7pinedesign.com. 2016, June 13. Last accessed March 30, 2021. Link.
Griffiths, Lori. “Understanding Pant Seams when Sewing”. YouTube. April 10, 2013. Last accessed March 30, 2021. Link.
coolirpa. “How to trace your clothes and turn them into PATTERNS!”. YouTube. January 8, 2020. Last accessed March 30, 2021. Link.