Adding a Gathered Shoulder to a T-shirt
My first knit garments were based off of clothes I already owned and loved -- a pair of shorts, a crop top, and a maxi dress. For the most part, all of the pieces I made are wearable, although I will admit that I fumbled by way through sleeves to make it work. I remember looking at my flat sleeve piece, not sure how to make sense of it’s orientation. What part was sewn to the shoulder? What edge became the cuff? How do I sew these curves together?
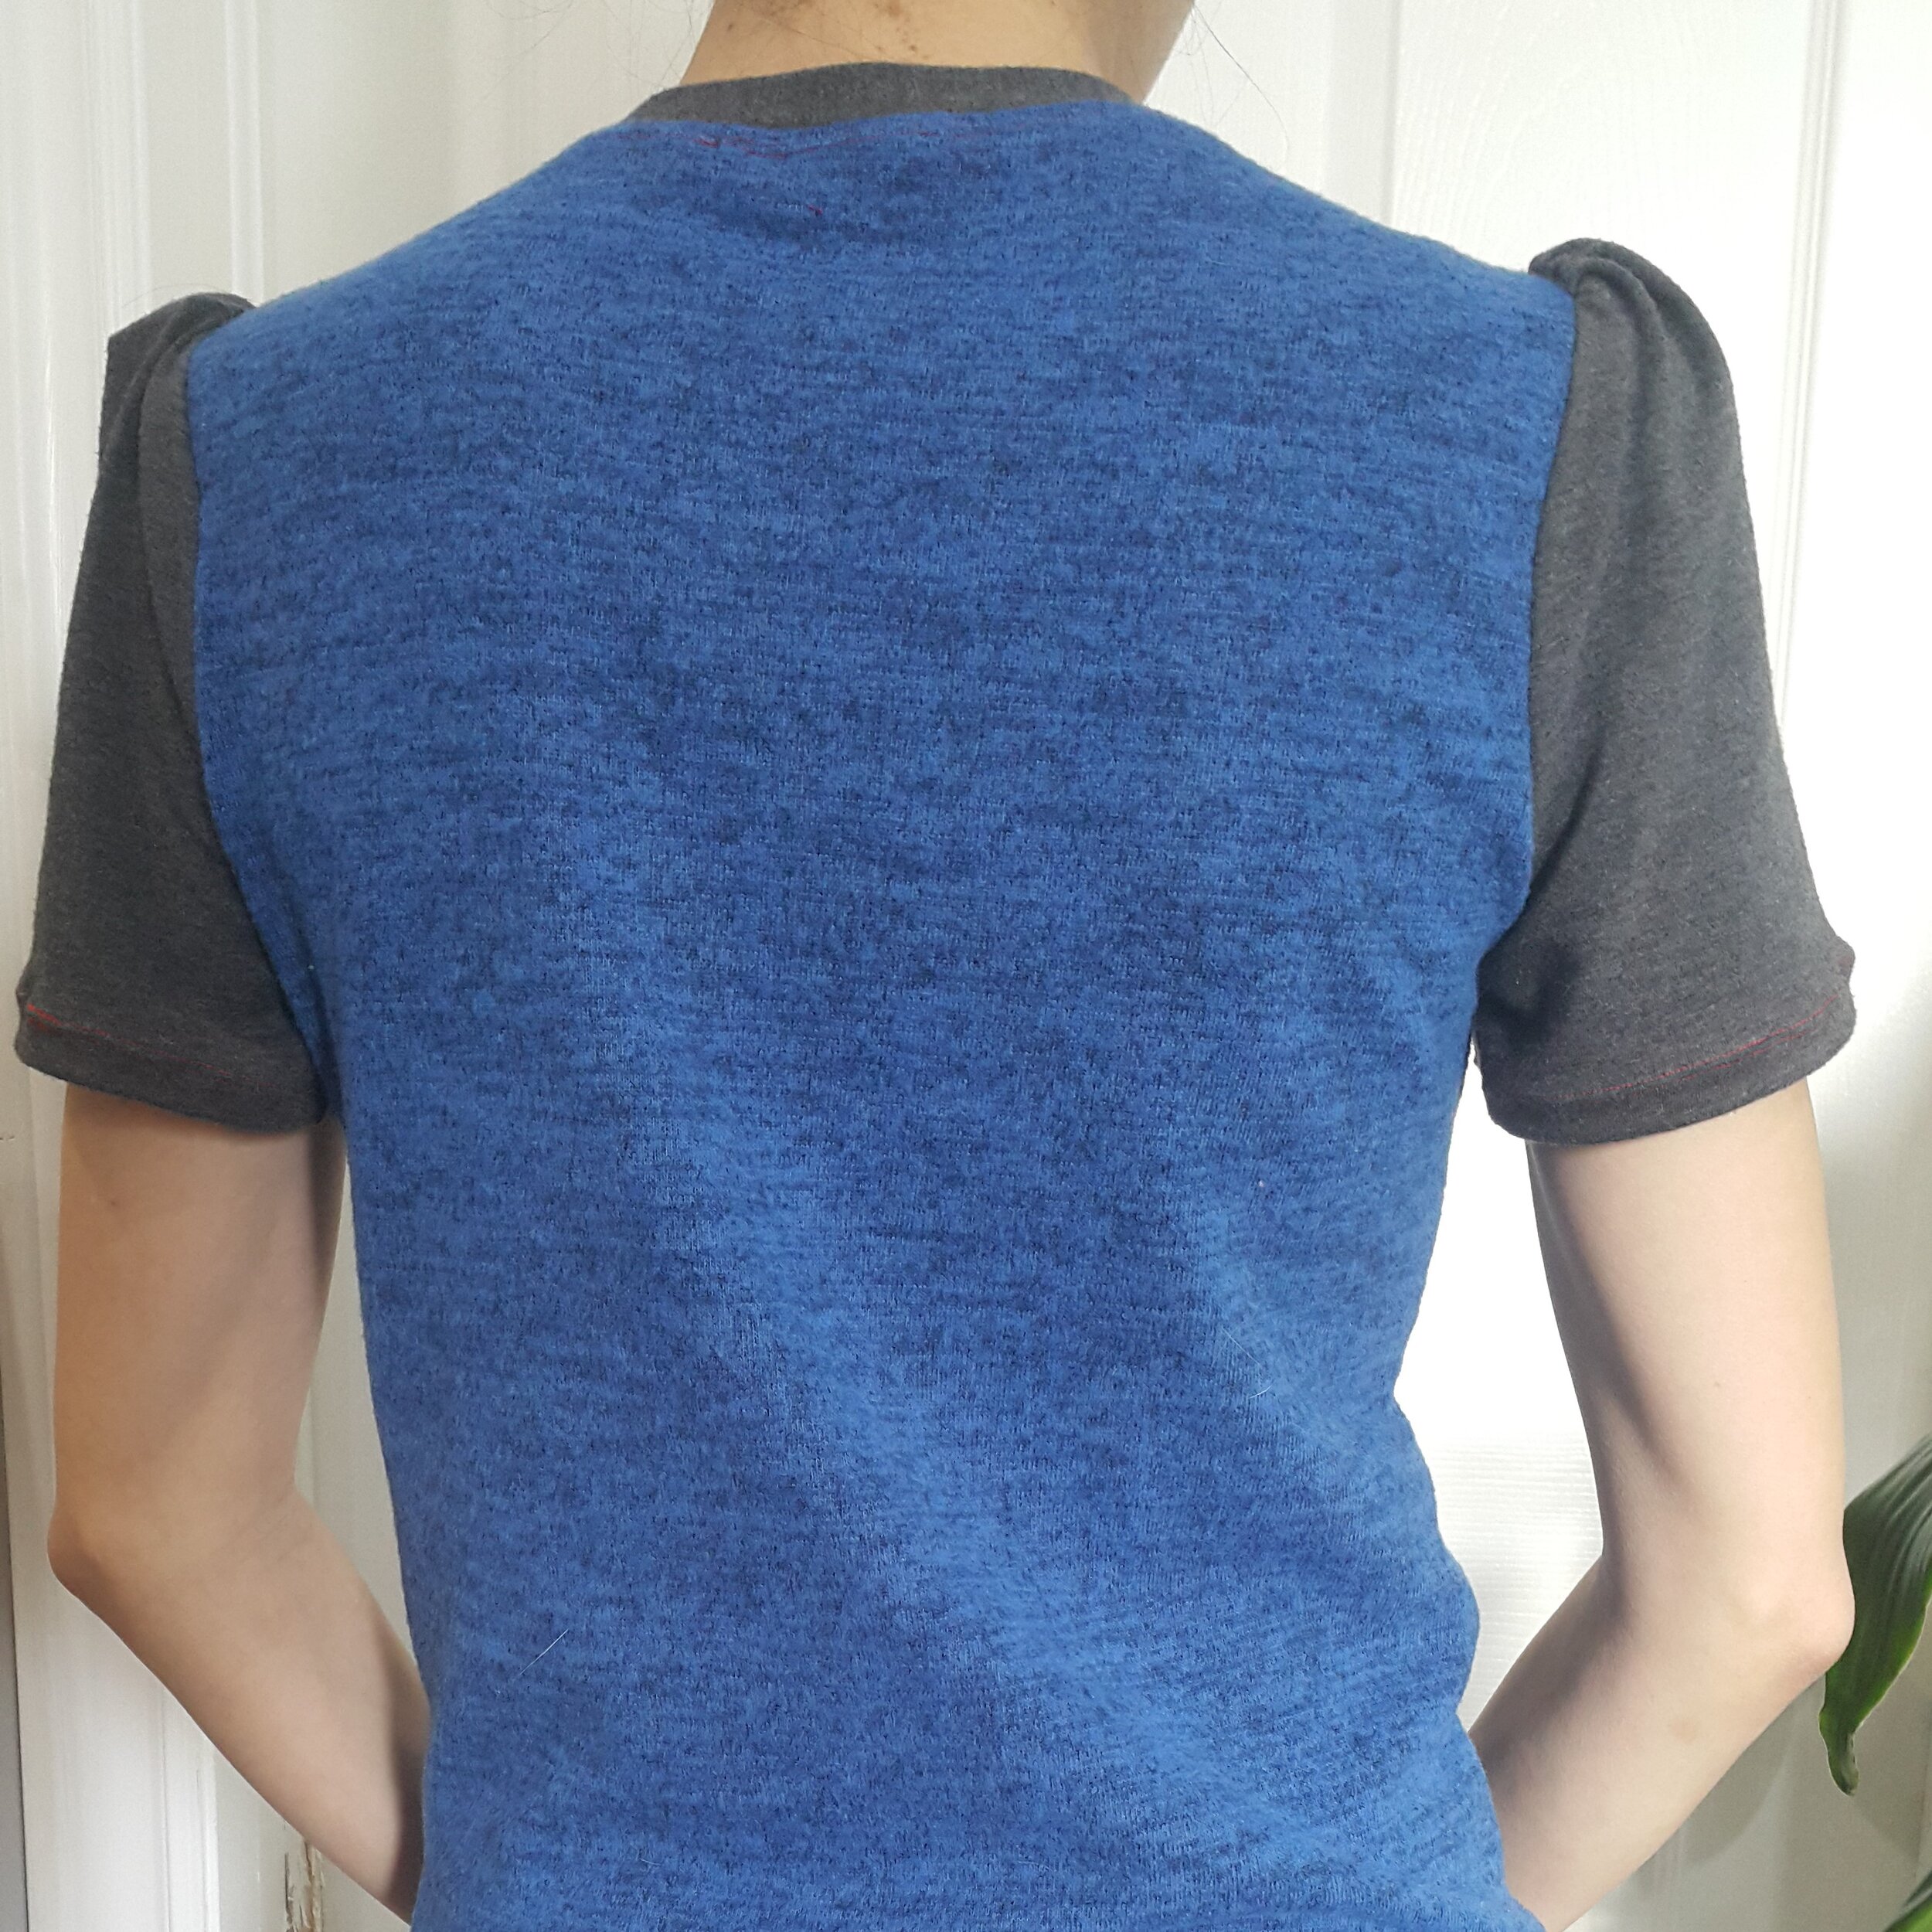
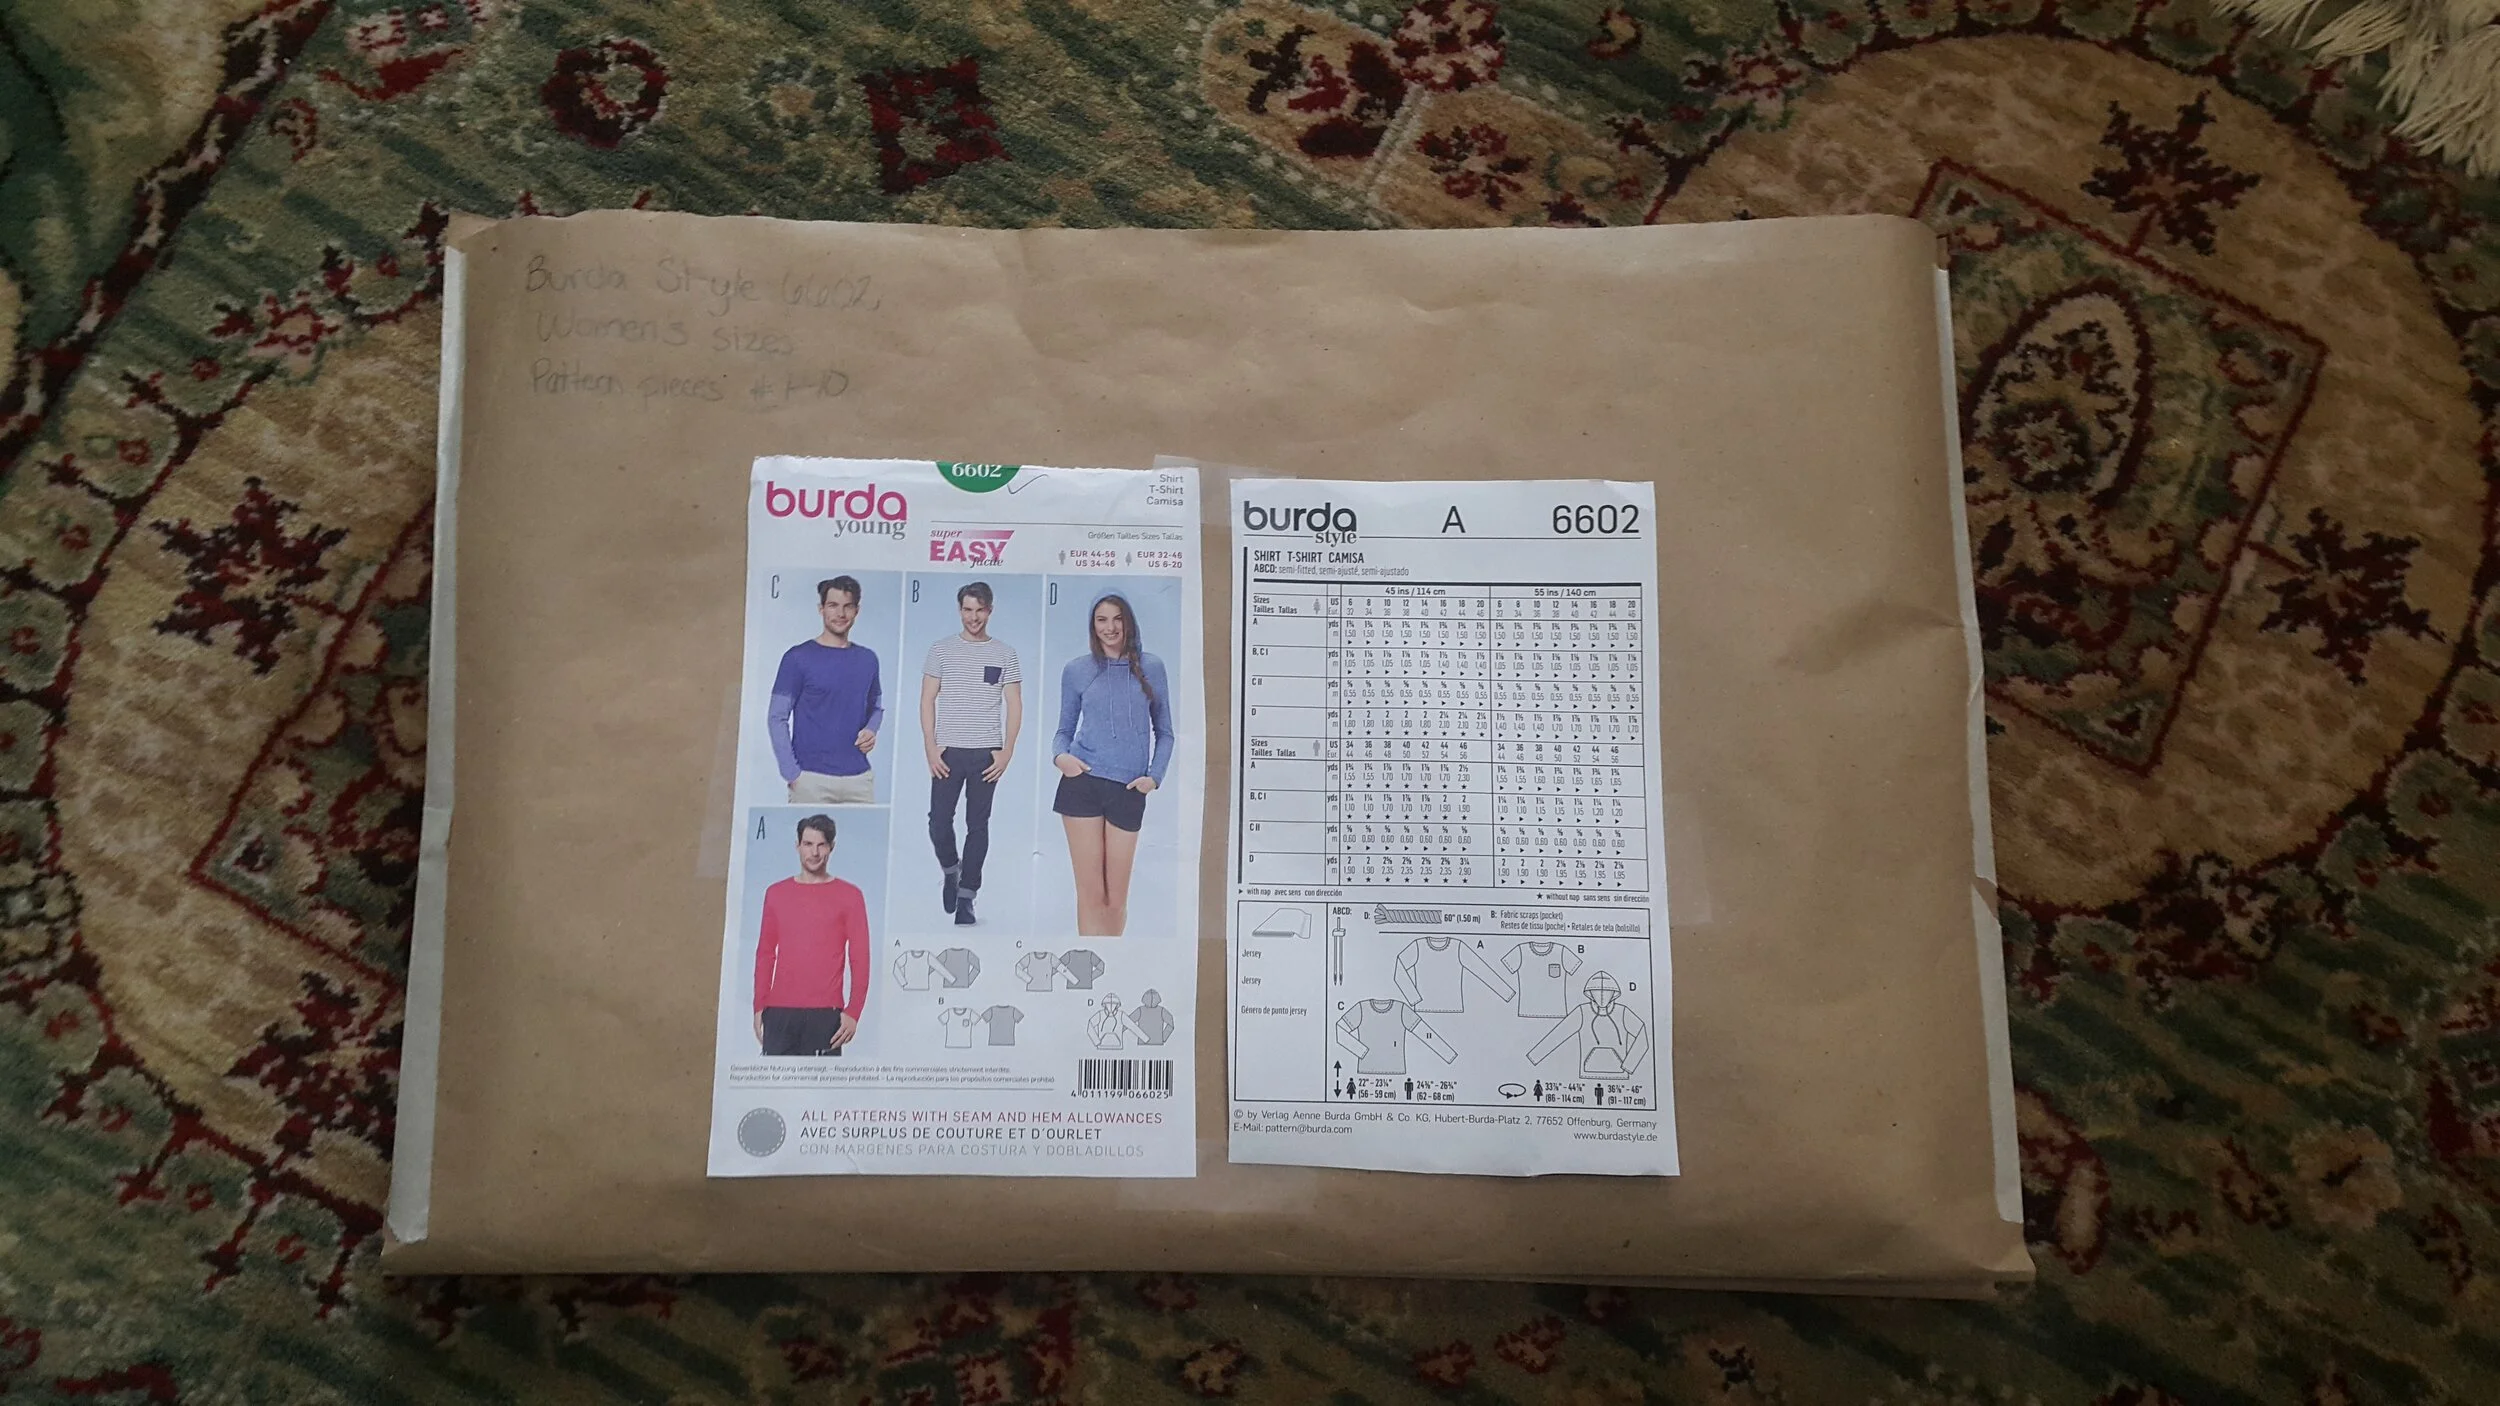
Despite having these questions, my clothes were wearable, so I didn’t look too much into sleeve construction until I tried adapting a professionally drafted sleeve piece. When I started working on the Burda 6602 shirt, I was excited for the opportunity to learn about garment construction, including the shape of individual pieces as well as the instructions for putting them together. I was also excited to have a solid foundation that I could practice adapting and altering. After making one long-sleeve shirt, I decided to make another but adapt the sleeves a little; I wanted to alter the length and add a bit of volume to the shoulder. In the end, this project was a great opportunity to understand sleeve pattern pieces.

The Basics of Sleeve Construction
I did not do this basic research until fitting issues with my first attempt forced me to investigate where things went wrong. At that point, I couldn’t make sense of the sleeve just by looking at it, so I turned to the internet to help me. In hindsight, this type of foundational knowledge would have helped me recognize that my first attempt was off (more on that below). There are so many resources available, including many on how to draft your own sleeve. The most helpful blog post I found is “Understanding the Sleeve Part 2: The Sleeve Cap Curve” from www.dresspatternmaking.com that includes a colour coded diagram that shows how a sleeve piece fits into the bodice of a garment.
Below is a photo in the creative commons that illustrates the same thing. Generally speaking, the top of a sleeve, the part that fits into the arm hole, looks like a wave.
The crest of the wave is the centre of the sleeve piece. This is the part that fits into the shoulder of the bodice
From the peak of the sleeve piece, the sides slope downward to a “bicep line”. These curves fit into the arm hole.
The sides end with a slight, upward curve. From these points, angled lines are drawn, which creates a beveled shaped towards the bottom of the sleeve. These straight, tapered lines are stitched together to form the sleeve.
A hemline is created by dropping straight down from these ends by the desired length and connecting these two points.


Assessing My Self-Drafted Sleeves
I noticed a couple of differences between the sleeves I drafted from ready-to-wear clothes to professionally drafted sleeve patterns. The biggest difference I noticed is that neither of the self-drafted sleeves I traced included a straight line for the cuff. Instead, I had included a curve or bend in the hem line which made it hard to understand how to position them in the arm hole. The second thing I noticed was more subtle. Because the sleeves were already set in on my ready-to-wear clothes, I traced them on the fold so they turned out symmetrical. On the other hand, professionally drafted patterns are not symmetrical; the slopes curve differently on either side of the peak, with a slightly shallower curve towards the back. After reading more about self-patterned sleeve blocks or sleeve slopers, I’m able to understand how the sleeve cap is drafted and that it is another alteration that can be made to tailor fit.
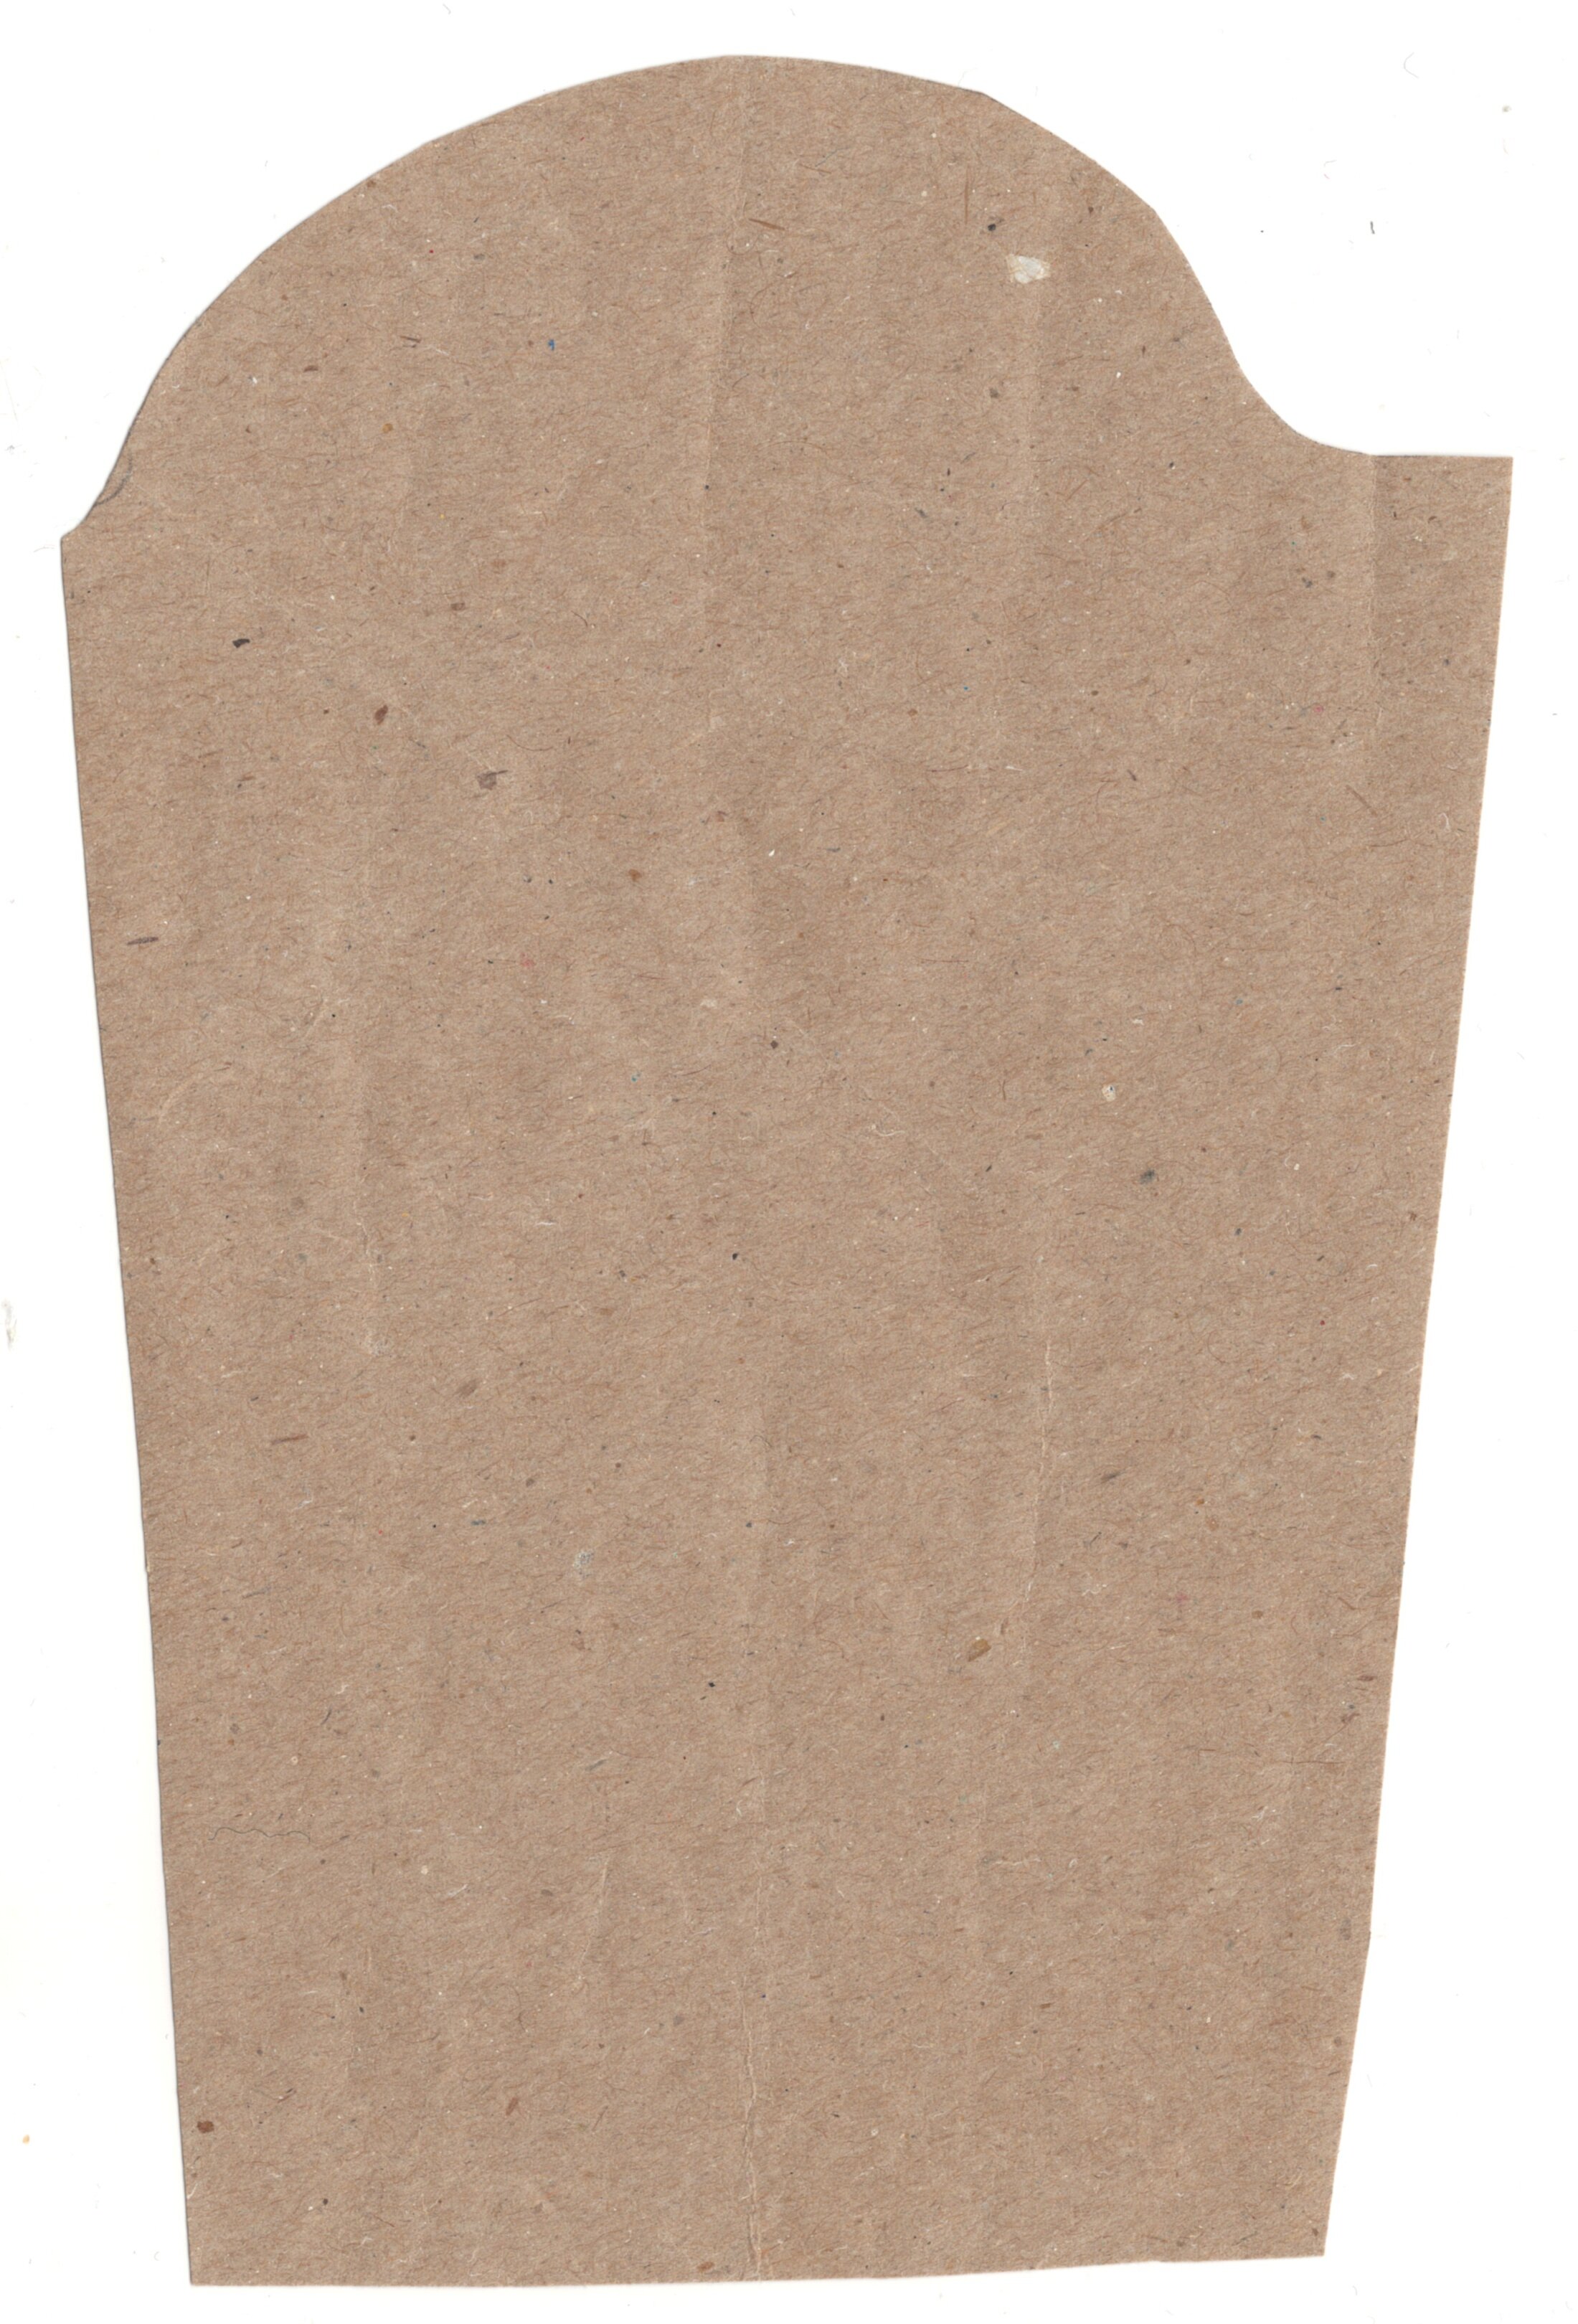
Top left photo: The crop sleeve has no curves on it, but despite it’s points, the overall shape is quite similar to a professionally drafted piece. I was impressed that I got that tapered/beveled shape of the sleeve.
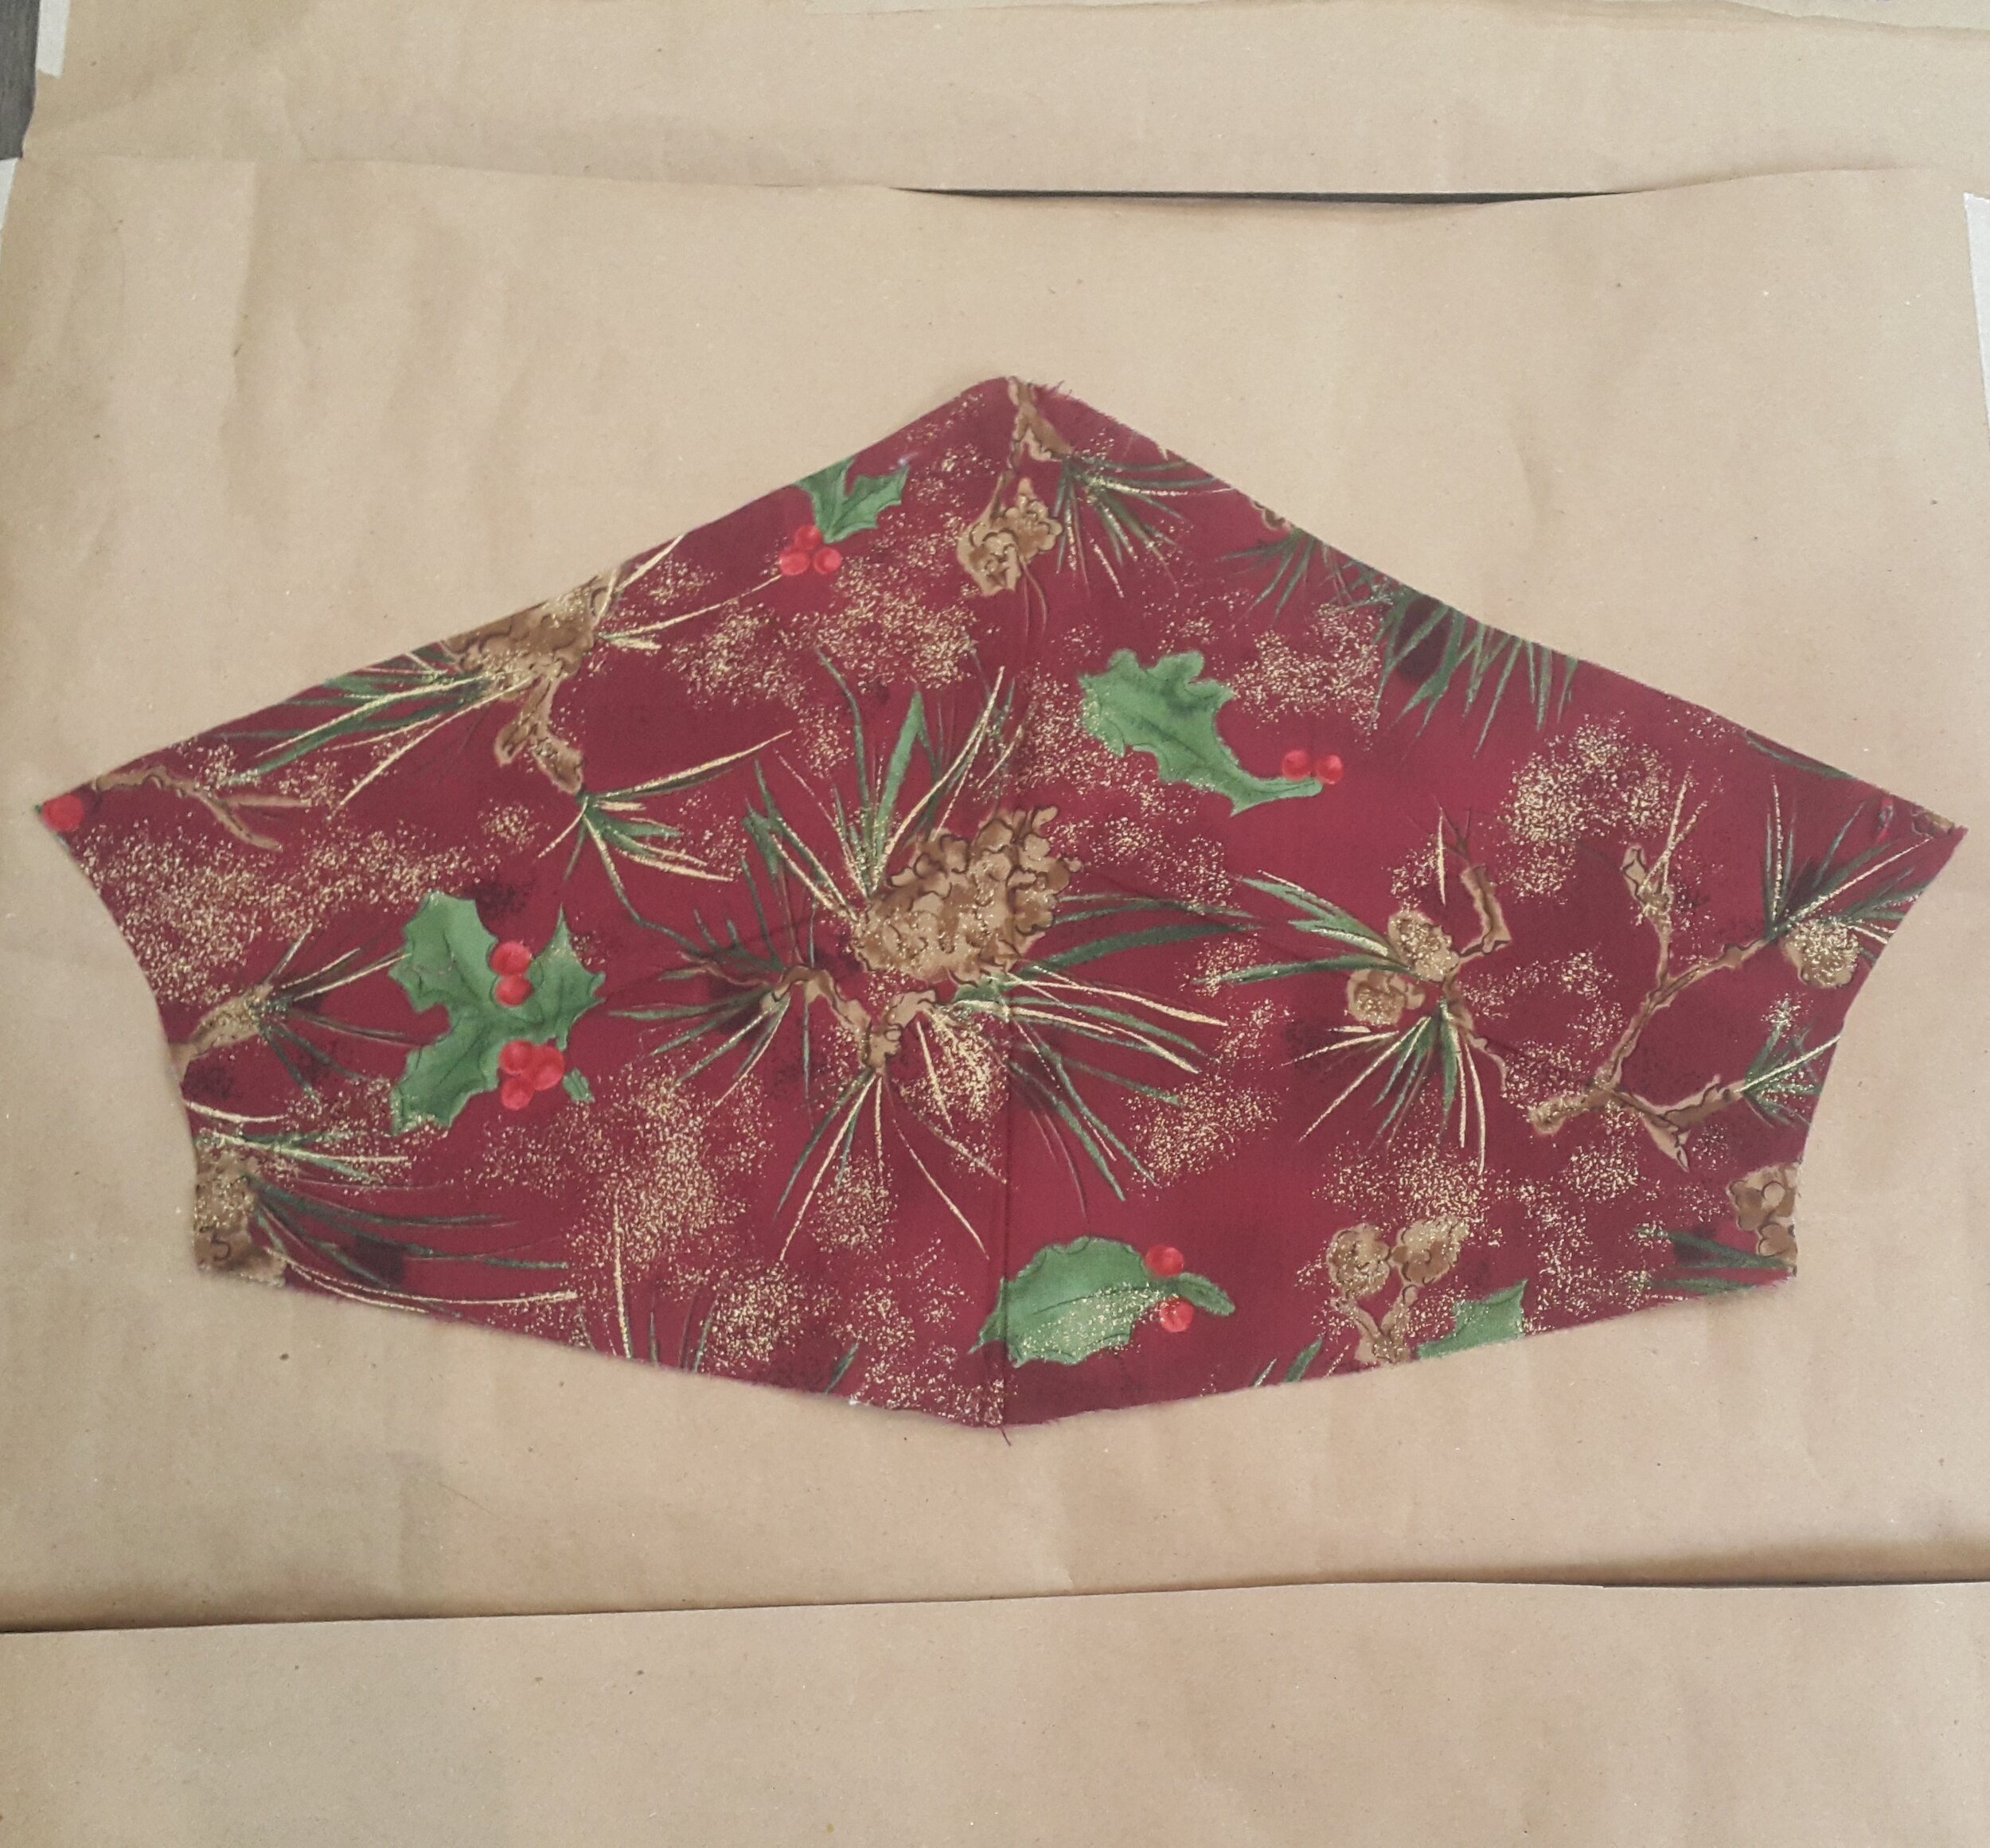
Top right photo: The sleeve for the t-shirt dress is quite small and looks more like a cap sleeve than a regular t-shirt sleeve. The peak of the sleeve is quite round, rather than sloping, and then hem has a subtle curve rather than being straight.
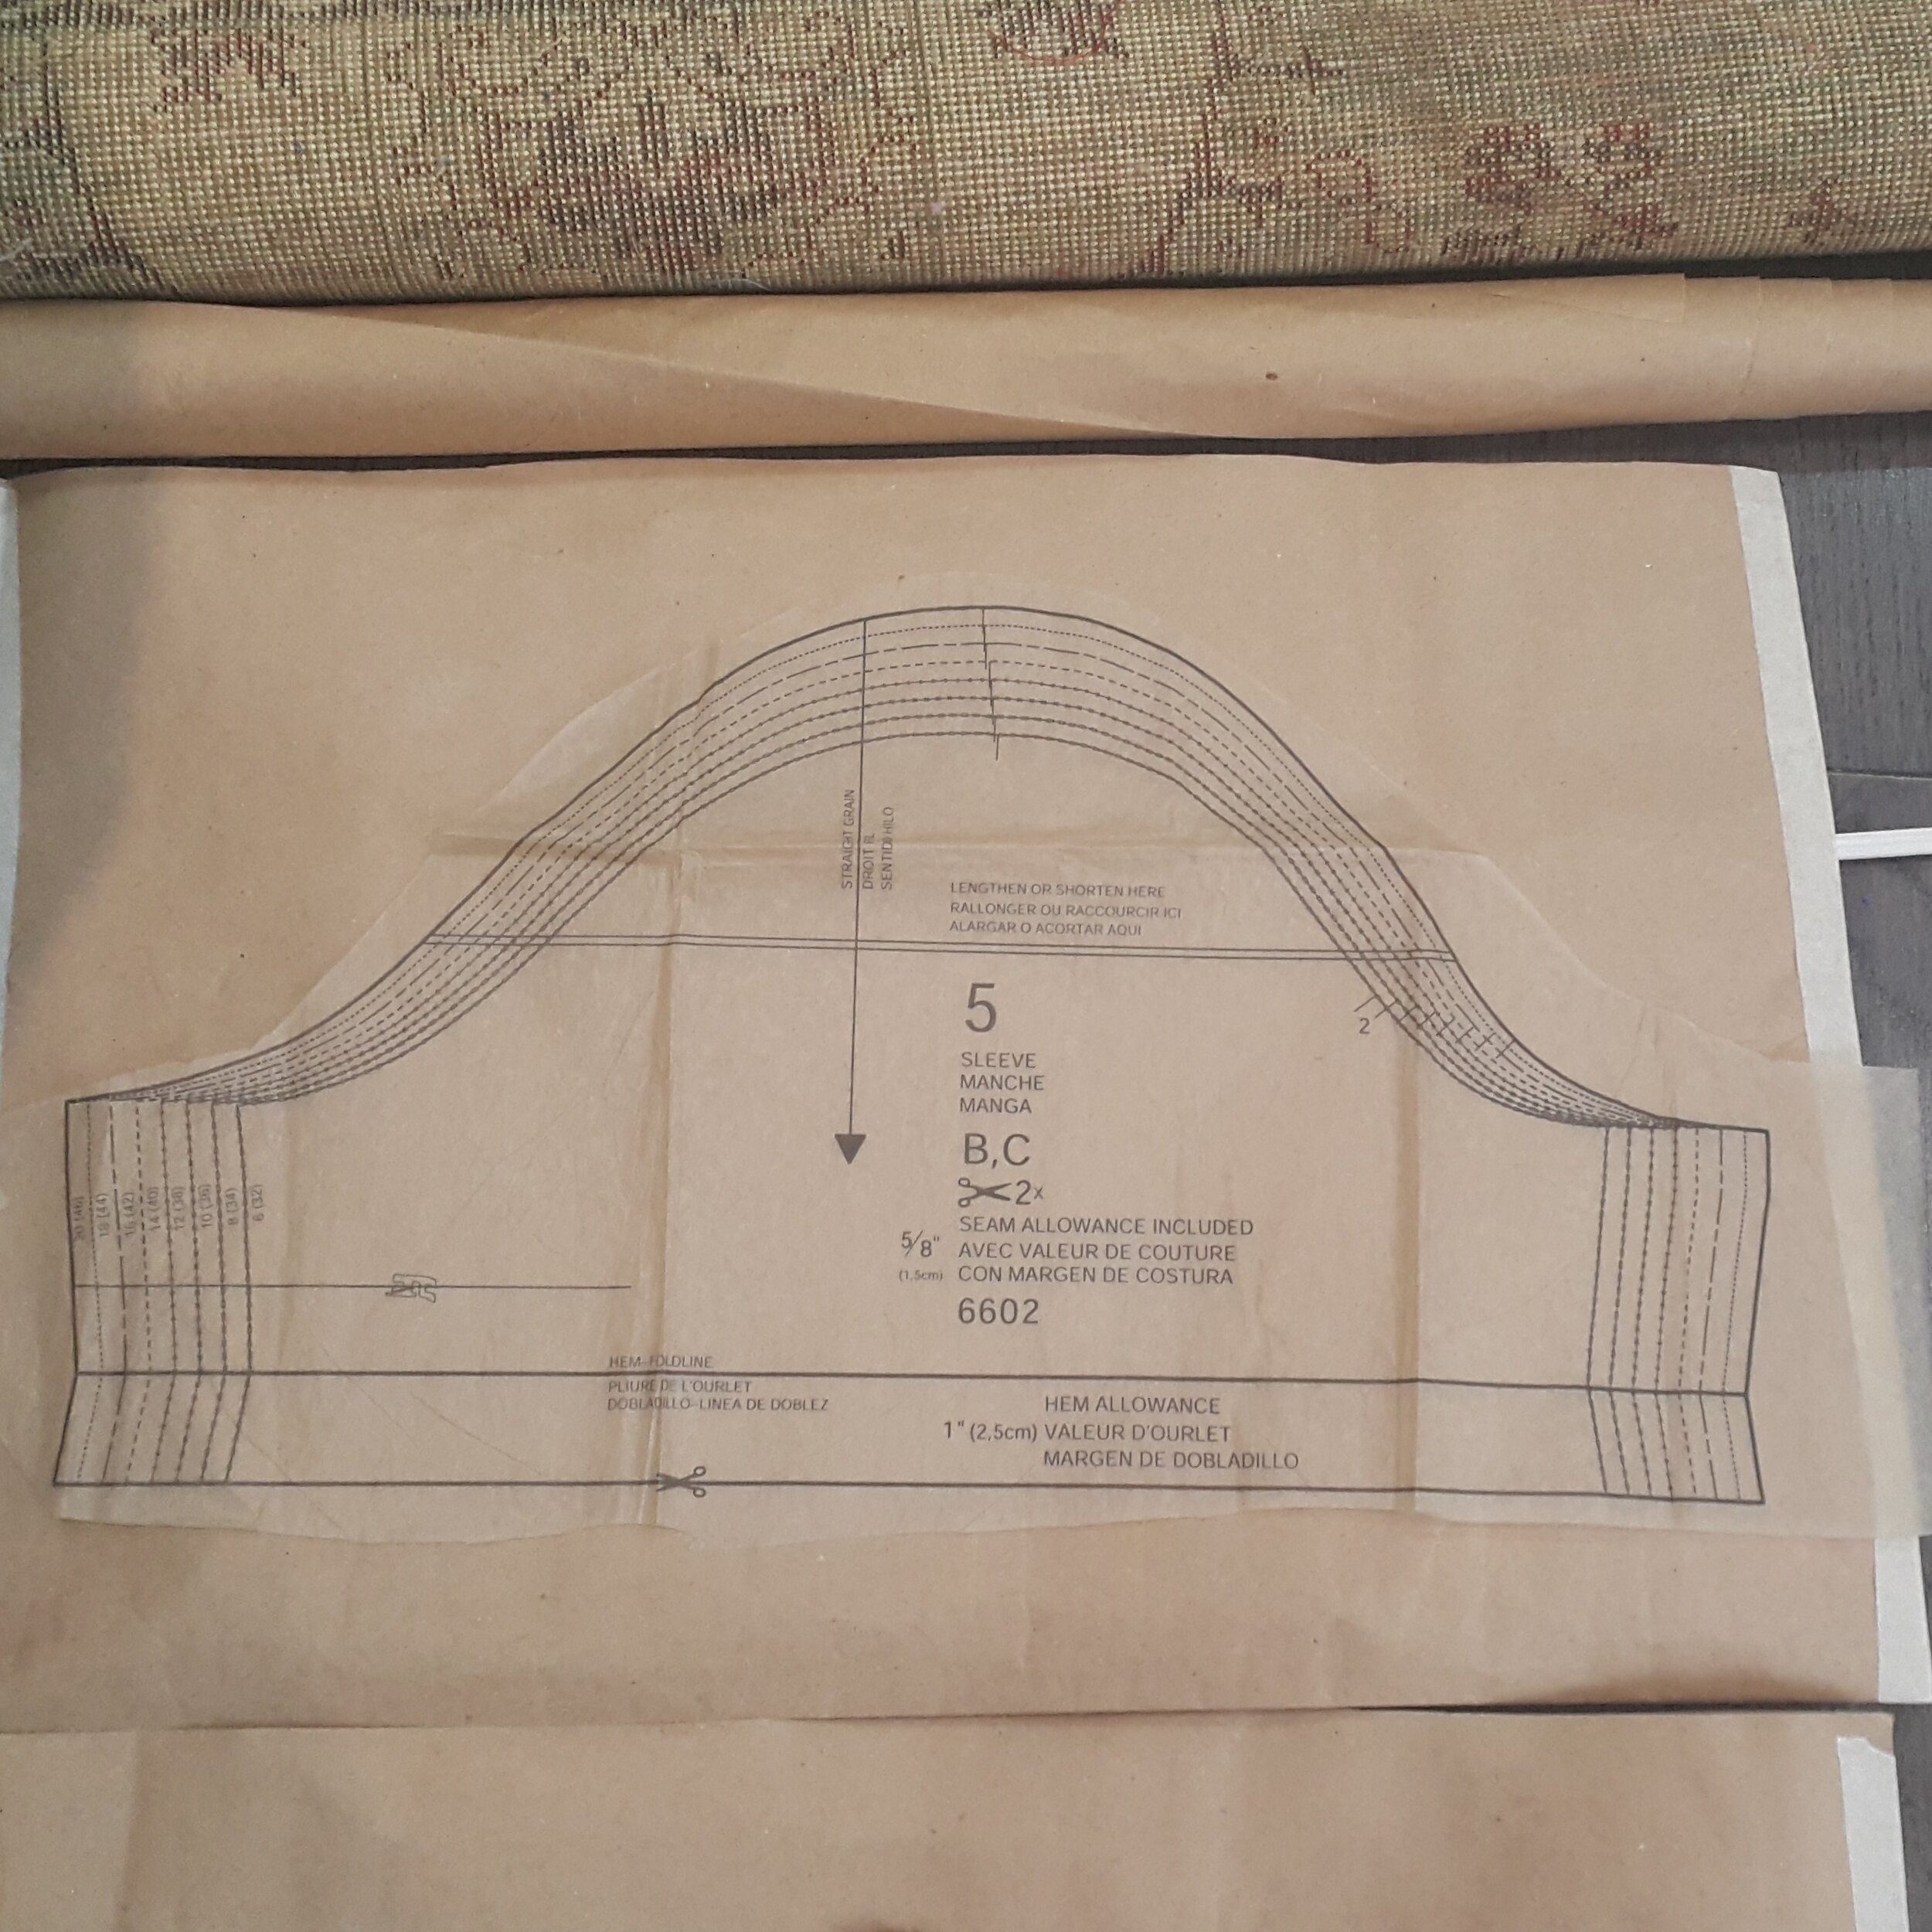
Bottom left photo: Burda 6602 cap sleeve pattern piece
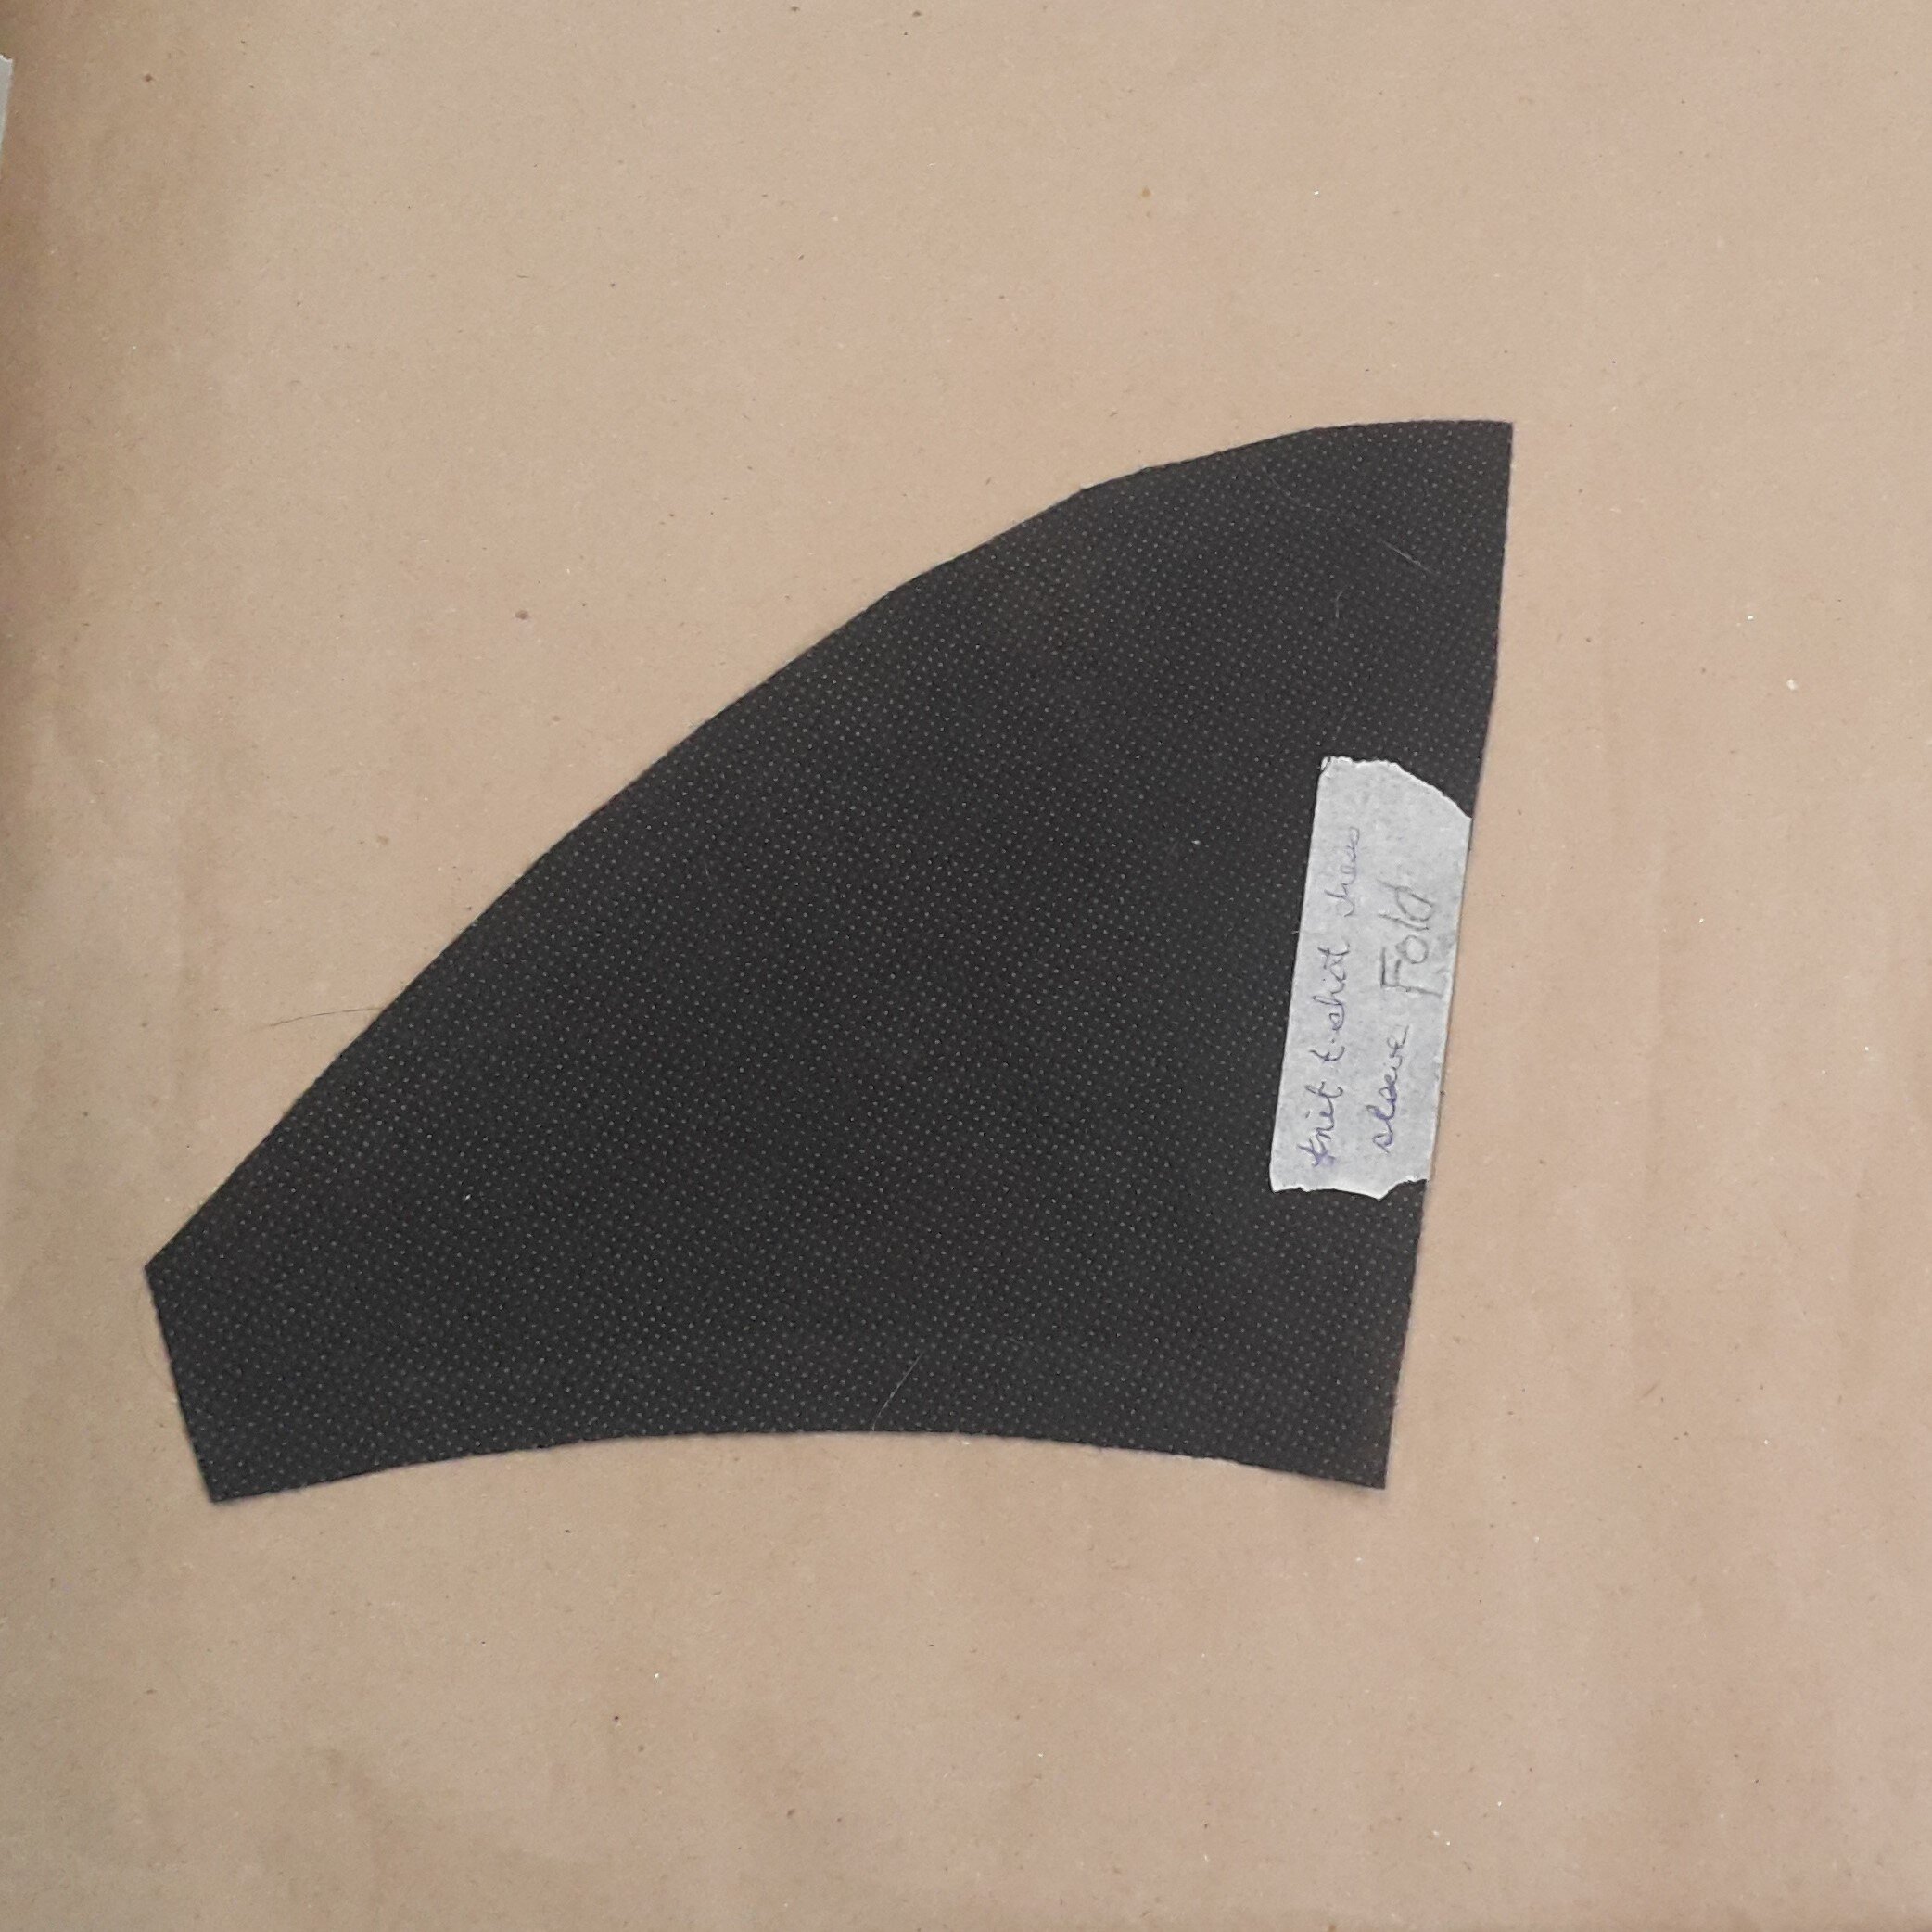
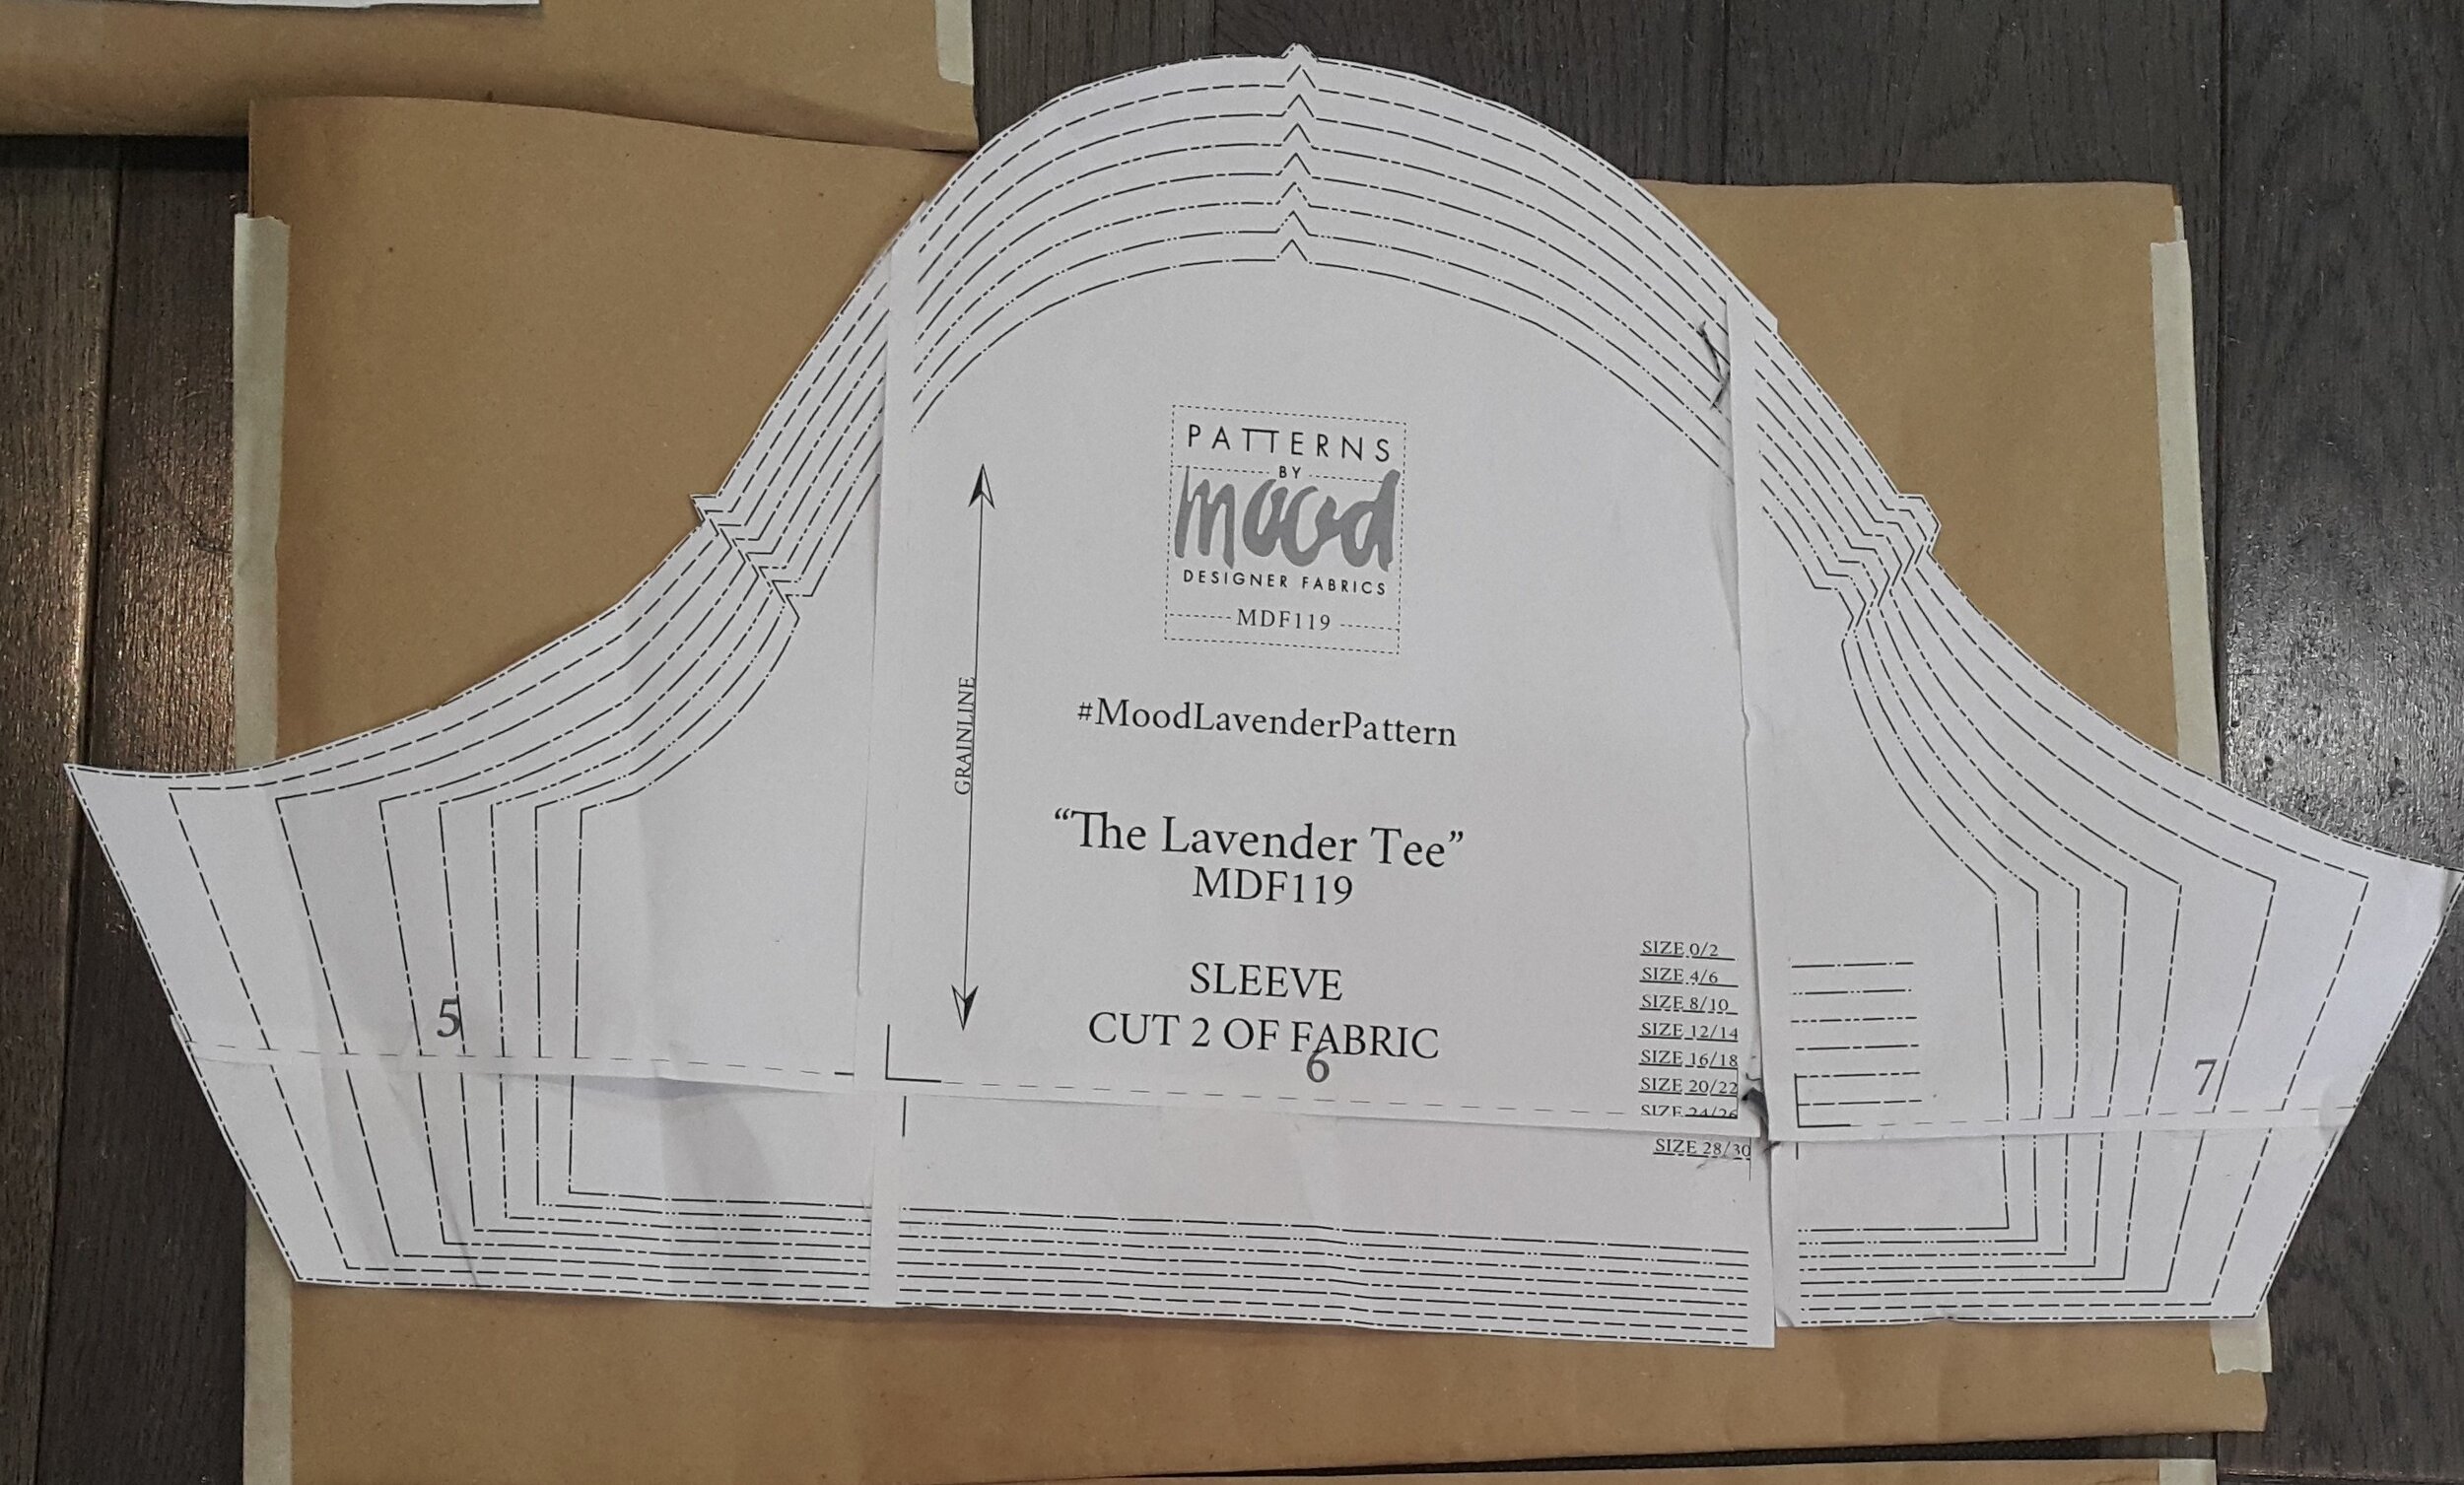
Bottom right photo: Mood Sewciety Lavender Tee t-shirt sleeve patter piece
Sewing Sleeves: 2 Methods
When it came to installing my self-drafted sleeves, I sewed them together first and then fit that piece into the armhole of my garment. This common method of construction is called “sewing in the round”. It involves sewing up the bodice of the garment -- bodice and shoulders -- separately from the sleeve. After the sleeve seam is sewn, the top end of the sleeve is eased into the armhole of the garment and sewn into place.
On the other hand, the Burda 6602 instructions suggested sewing the arm sleeve in flat. This is accomplished by first sewing the shoulder seams together, then attaching the sleeve as a flat piece. Once the sleeve cap and armhole is secured, the sleeve seam and side seam are sewn closed together all in one pass.
This Wikihow article on How to Sew Sleeves has helpful illustrations that break down the steps for both of these methods.
Adding a Gathered Shoulder
Funnily enough, after watching Angelina's (Bluprint DIY) video, “Spring/Summer Runway Trends You Need To Make Now!”, the ‘21 runway shows were filled with dramatic sleeves with puffs and gathers. While I’m drawn to a tamer sleeve, especially for a casual shirt application, I like this trend.
My initial search for “puffy sleeve” led me to long sleeves, often gathered at the wrist and shoulder in order to create volume, but it was a great way to see the different types of sleeves that exist and what they’re called. This Mood Sewciety post “All About Sleeves” has helpful infographics that show different sleeve styles and what the corresponding sleeve piece looks like. For a gathered shoulder, additional fabric is added to the top of the sleeve, adding fullness around the peak of the curve. On paper, this looks like rounding out the sloping lines at the top of the curve. In practice, the pattern piece is adjusted using the slash and spread method. I read about how this method is applied to the sleeve from shapesoffabric.com.
Attempt 1: gathering and lengthening
I wanted to make two alterations to the cap sleeve in the pattern. I wanted to lengthen in a little and add more fabric to the sleeve cap for the gather. I decided to lengthen the sleeve first, cutting the pattern at the designated line. To add the volume, I added three vertical cuts to the pattern and spread those open. I made a mock-up out of a woven fabric, so I knew the fit would be tight, but the sleeve was so incredibly tight. I wasn’t sure if it was the length of the sleeve or the cap of the way I gathered the sleeve, but I knew I had to try again. This is when I started my internet research on how sleeves and armholes are constructed. My solution was to transfer the pattern markings to the same spots and be more considerate with my pinning.
Attempt 2: gathering the sleeve only
Thinking that I hadn’t added the length correctly, I worked off of the original cap sleeve piece. I created the puff by adding just one slash this time. I made this second attempt out of woven fabric as well and was much happier with the result. At this point, I was confident that I adapted the sleeve piece correctly but I was still nervous to cut into my knit fabric. I hadn’t planned to make a knit mock-up but decided to since I had scrap fabric.

Attempt 3: lengthening the gathered sleeve
I took the gathered sleeve I just drafted and lengthened it at the line designated on the original pattern piece. In Attempt #1 I lengthened my sleeve by about 15cm or 6in. This time, I opted to lengthen the sleeve only by a few inches. I finished the inside seams and the hems with a twin needle, so it’s actually wearable.
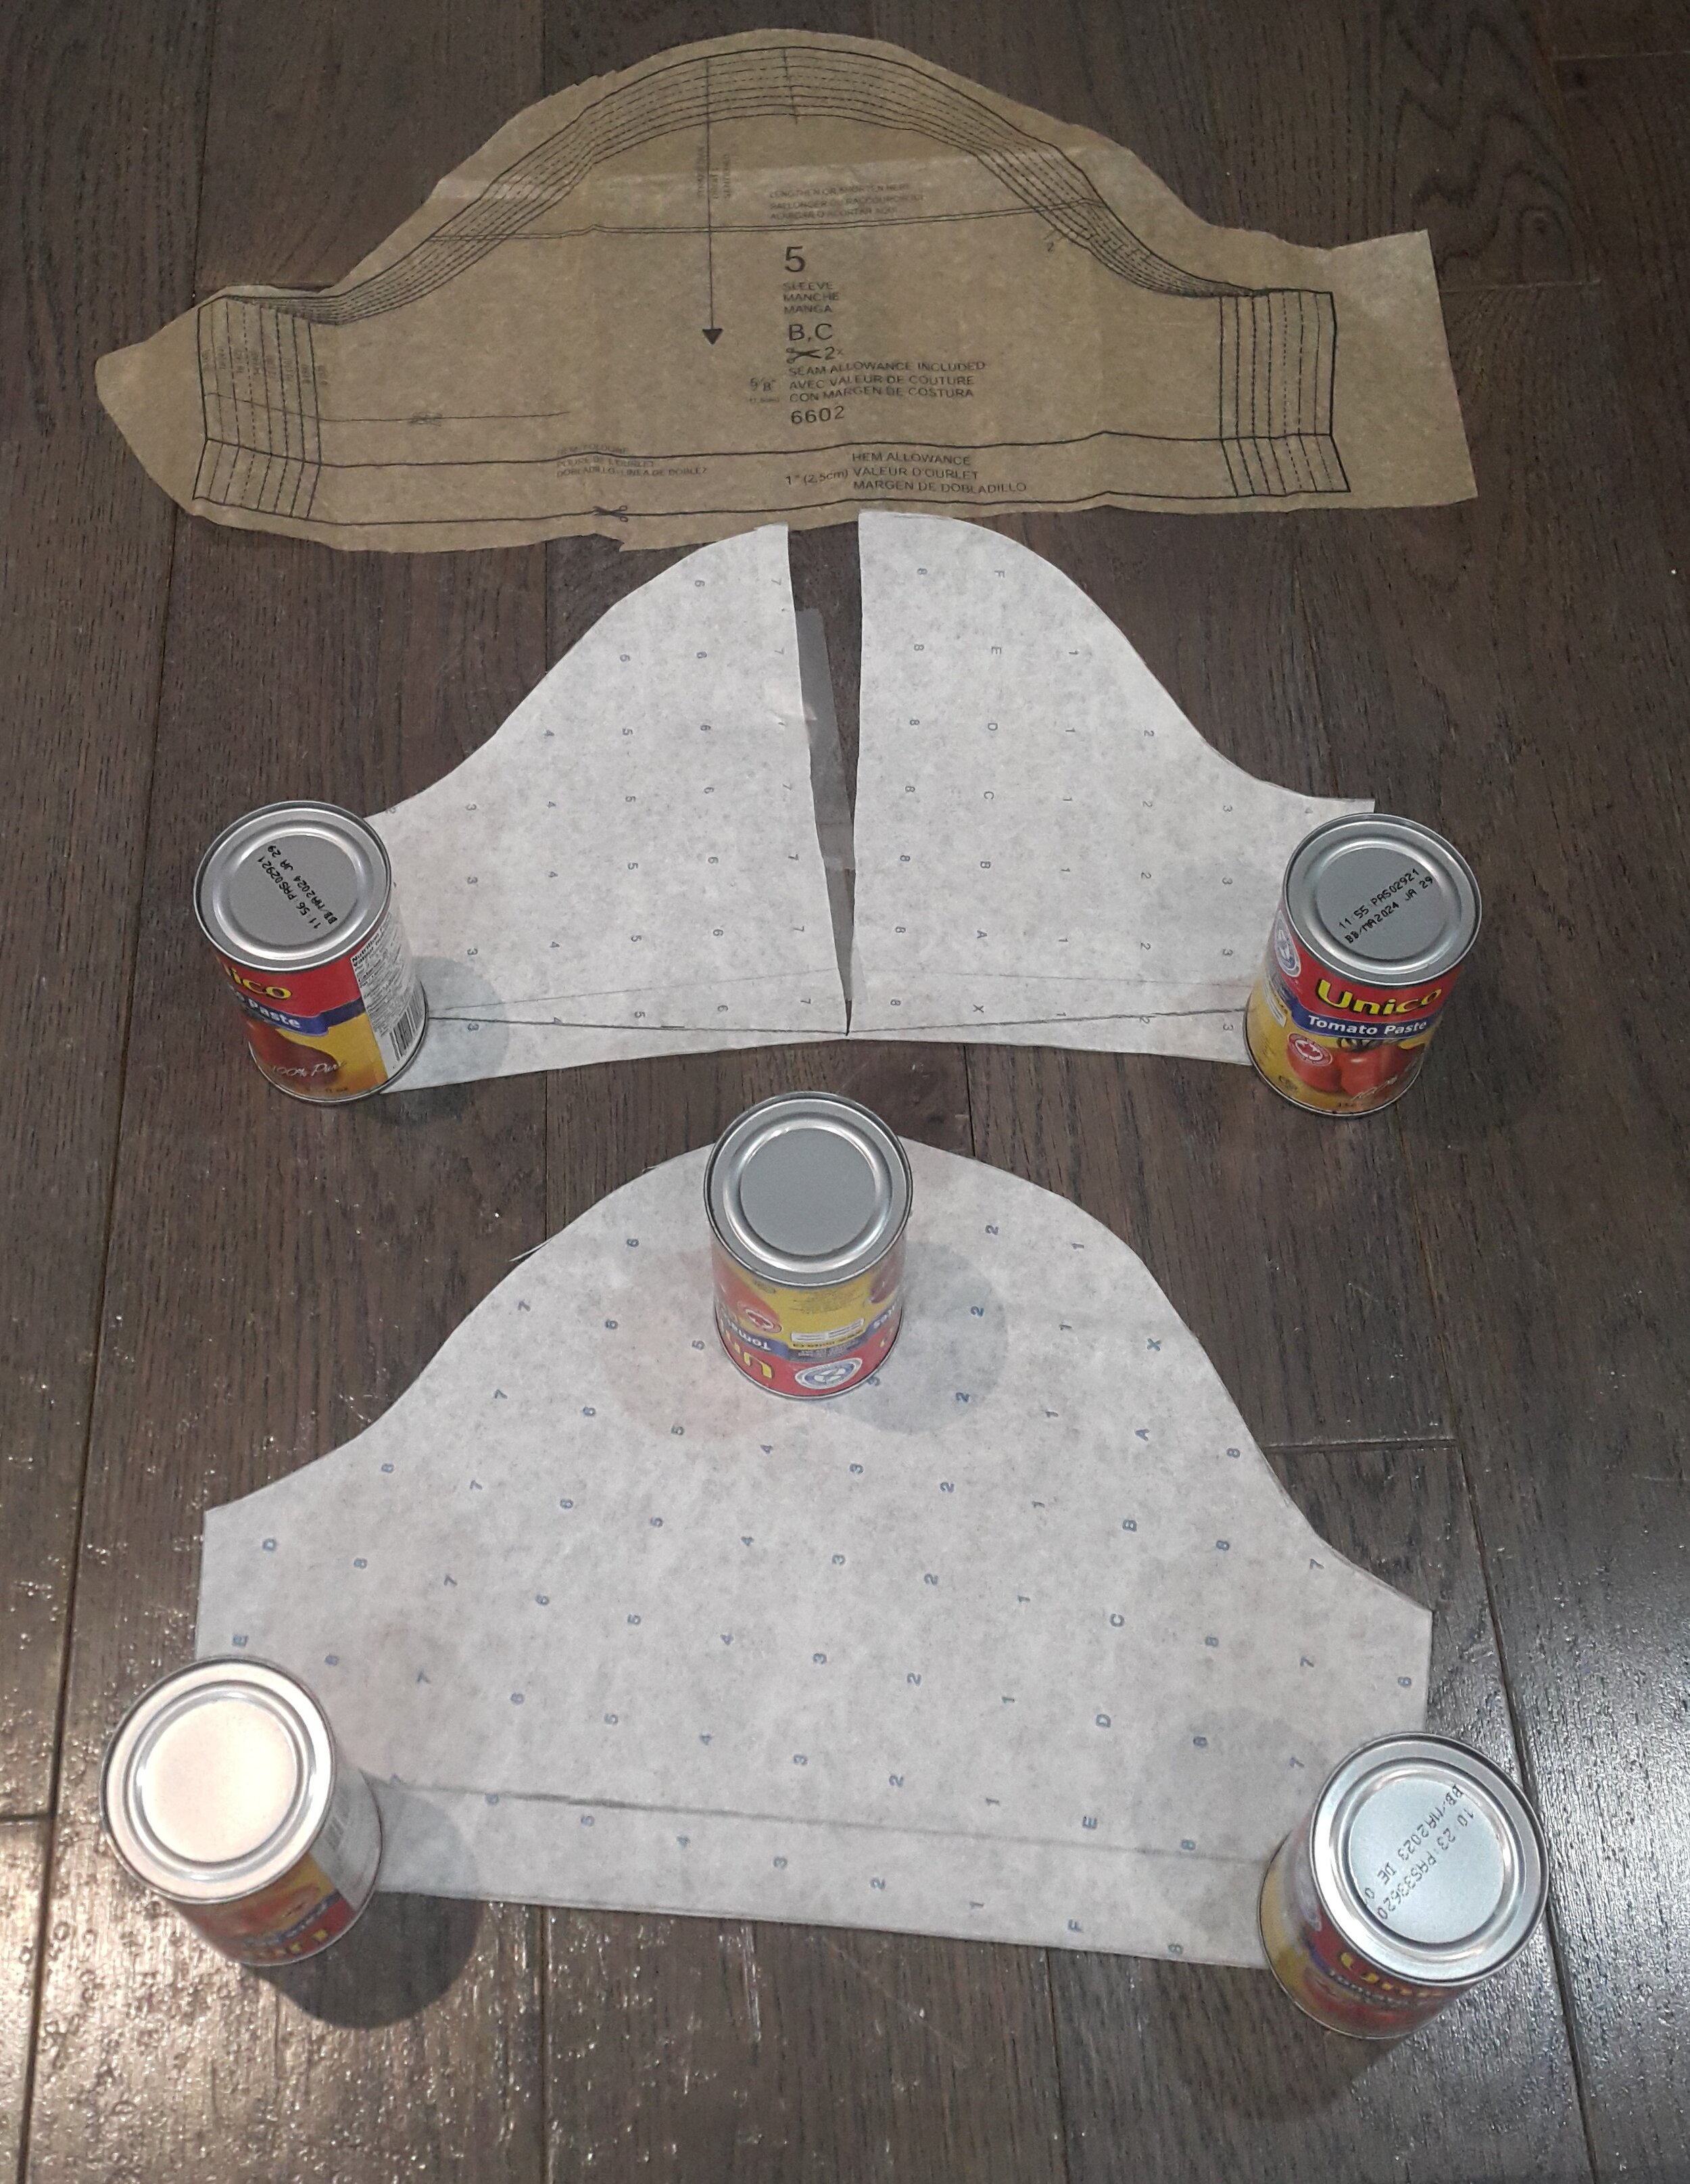
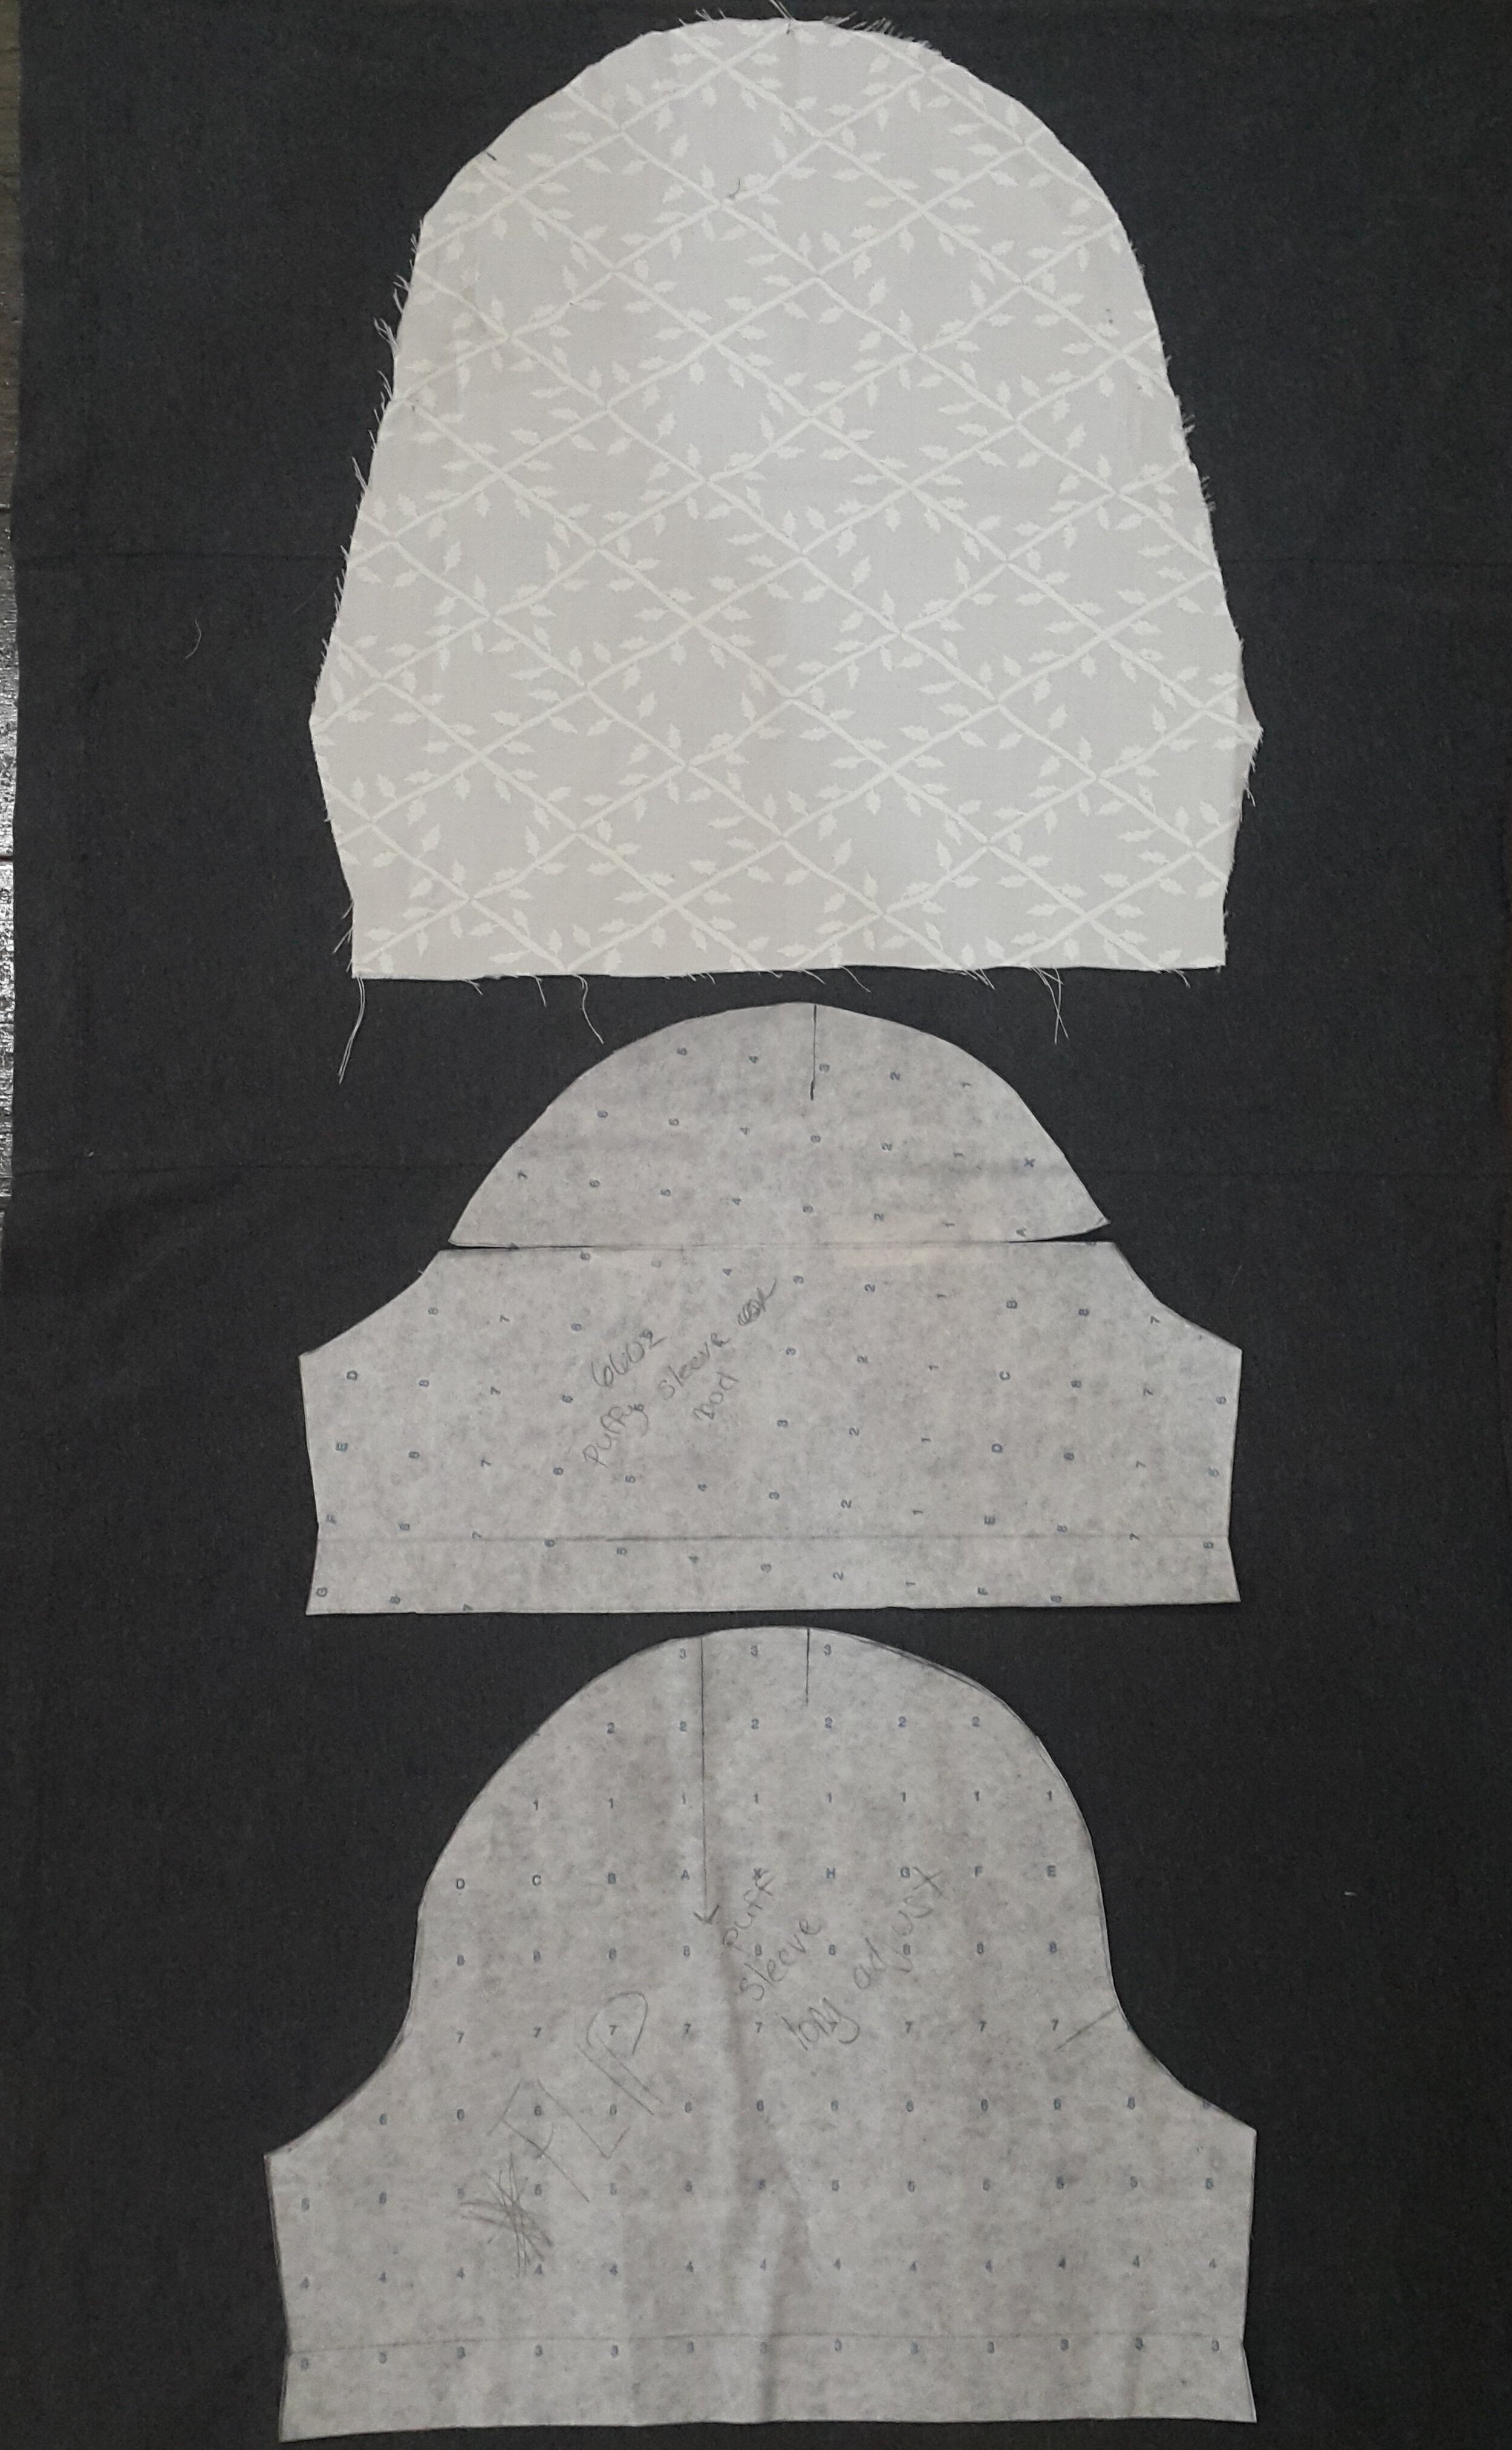
You can see the evolution of the sleeve pattern pieces in the second photo below. The top piece is the first attempt. Comparing it to the other sleeves, which fit so much better, you can see the length of the hem is too short and the sides of the sleeve cap aren’t as curved. The middle piece includes a gathered shoulder and was used to create the bottom piece, that is both longer and gathered.
How to Pattern and Pin a Gathered Shoulder
Here is how I adapted the Burda 6602 sleeve pattern piece to include a gathered shoulder:
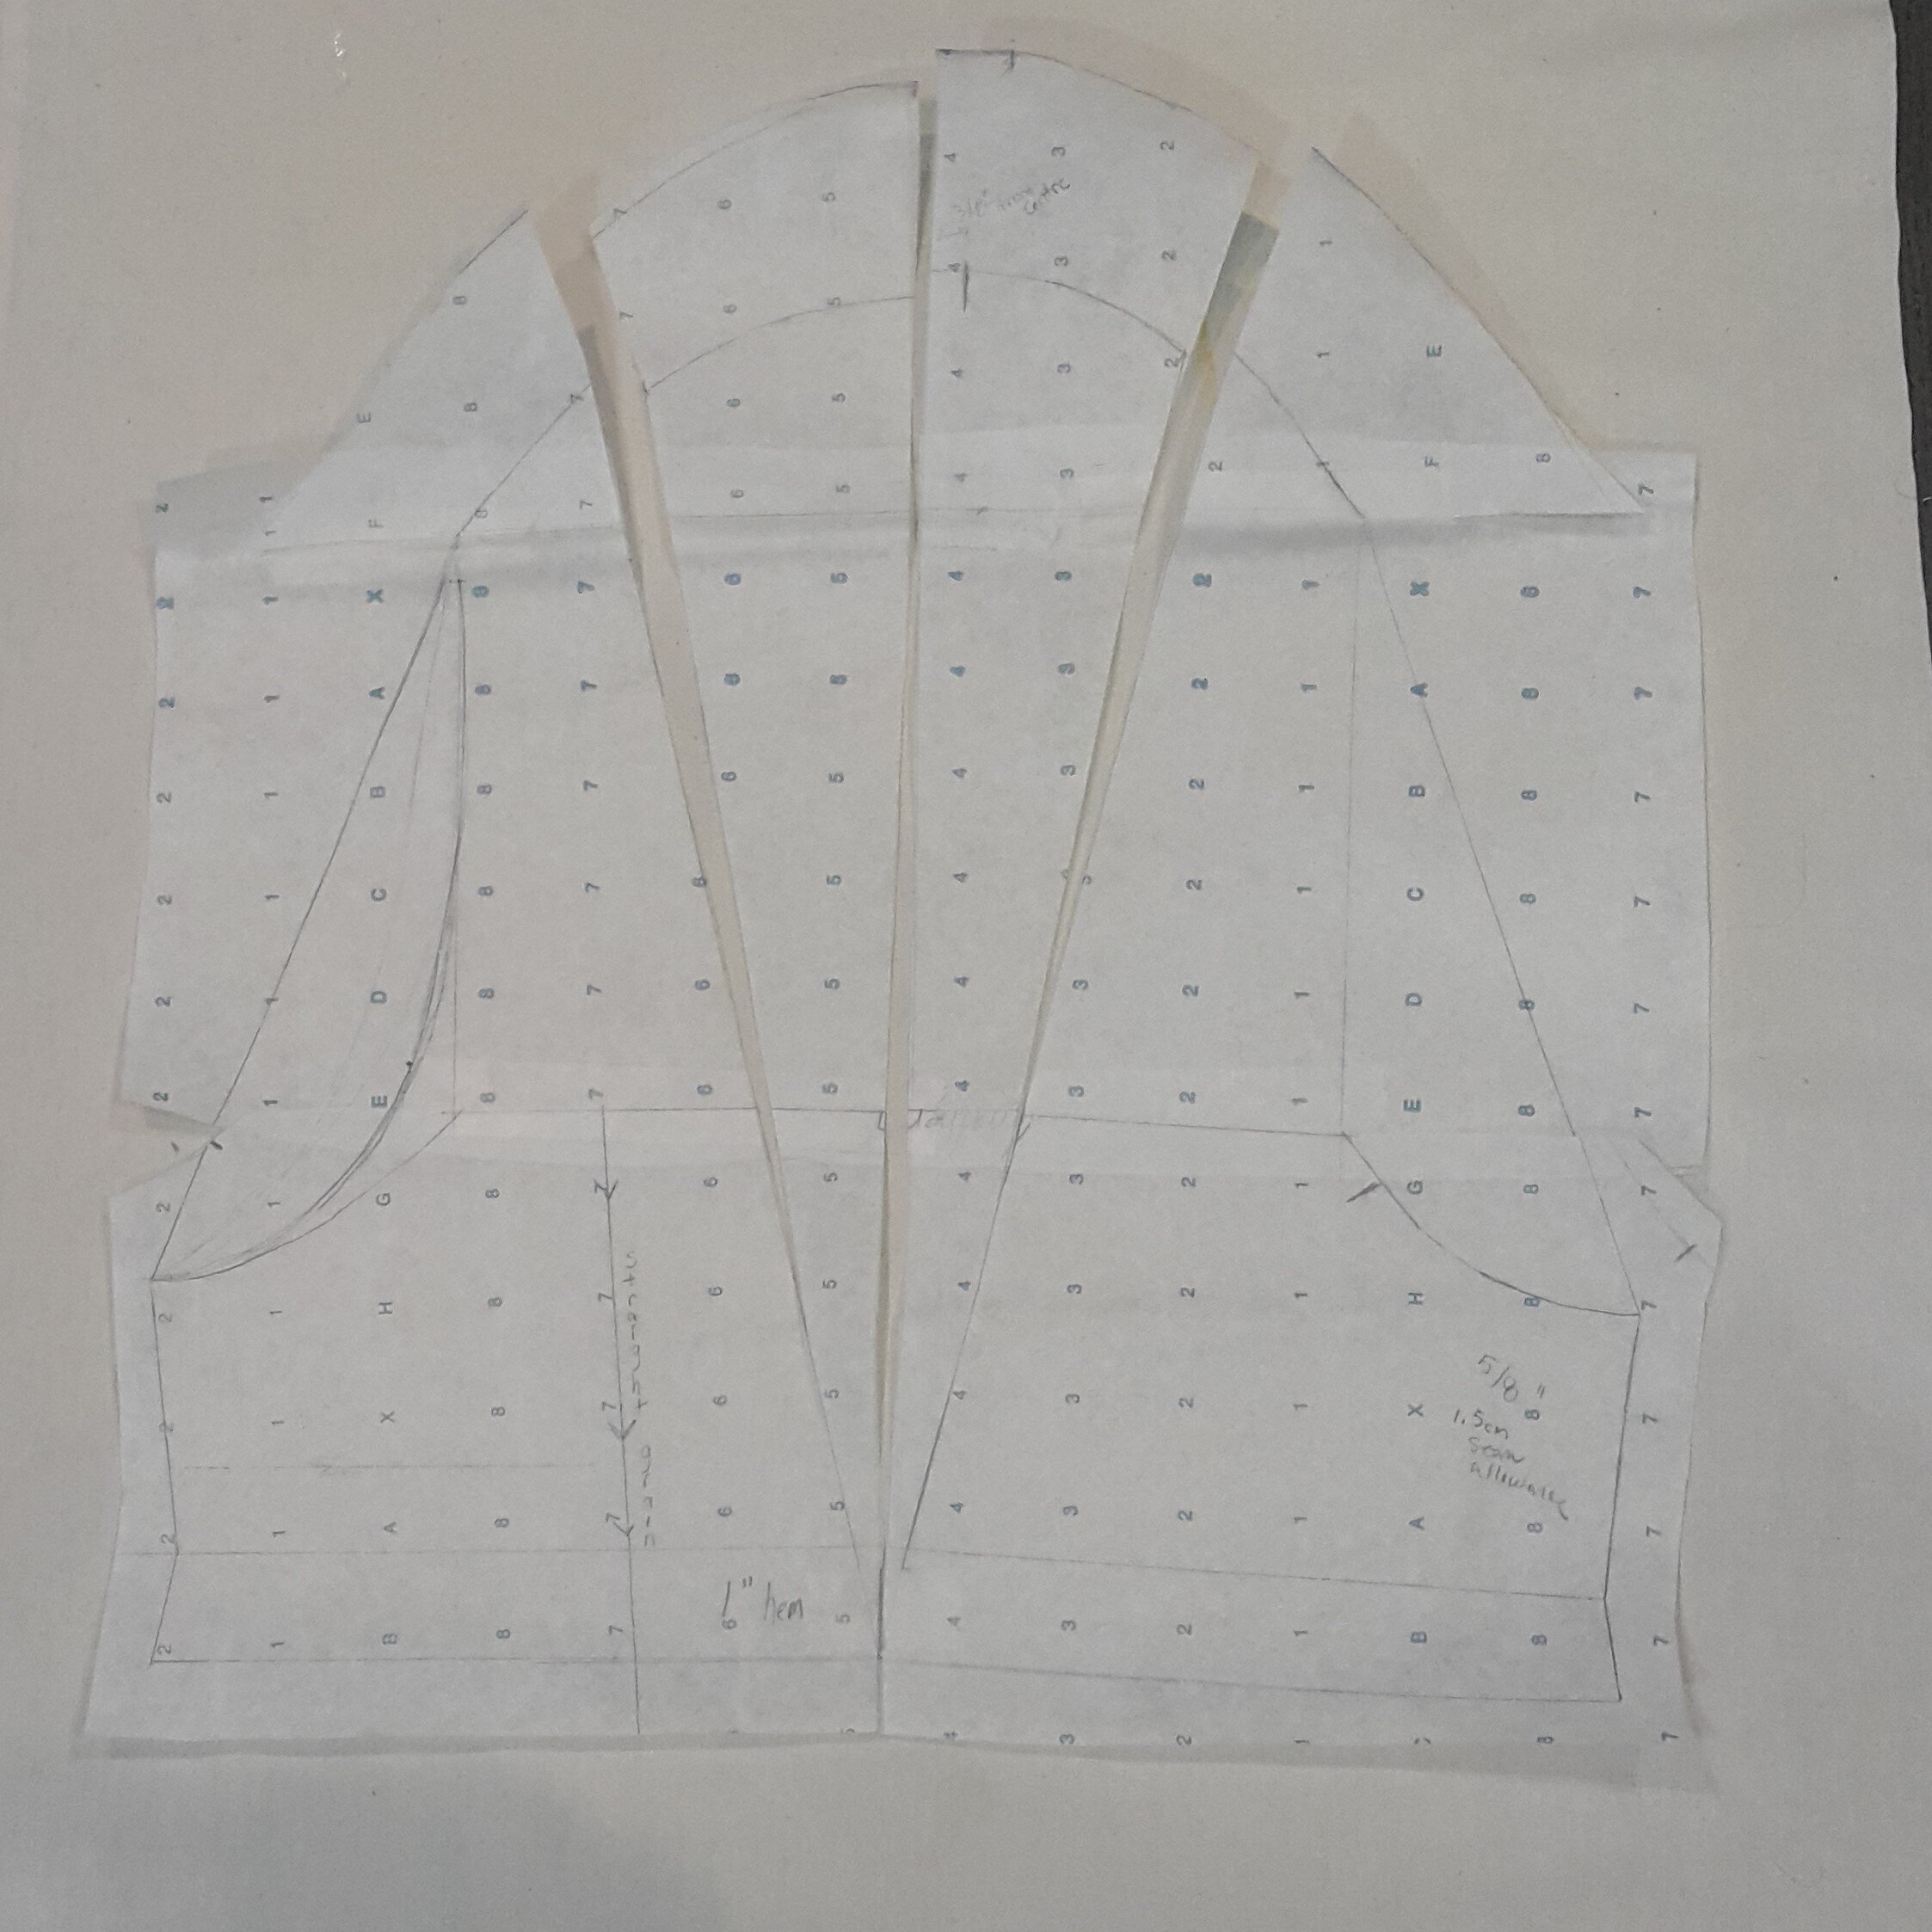
To preserve the original tissue pattern pieces, I made my slashes and cuts on pattern pieces that I copied onto tracing paper.
I taped my alterations into place with scotch tape and re-traced it onto another fresh piece of paper.
If you only want the shoulder gathered, leave the small bend that is created in the hemline
To create a gather at the cuff, straighten the hemline out.
I transferred the markings from the original pattern piece to the same spots on the new piece because I still want the sleeve to be centred at the shoulder and for the arm and side seams to align correctly.
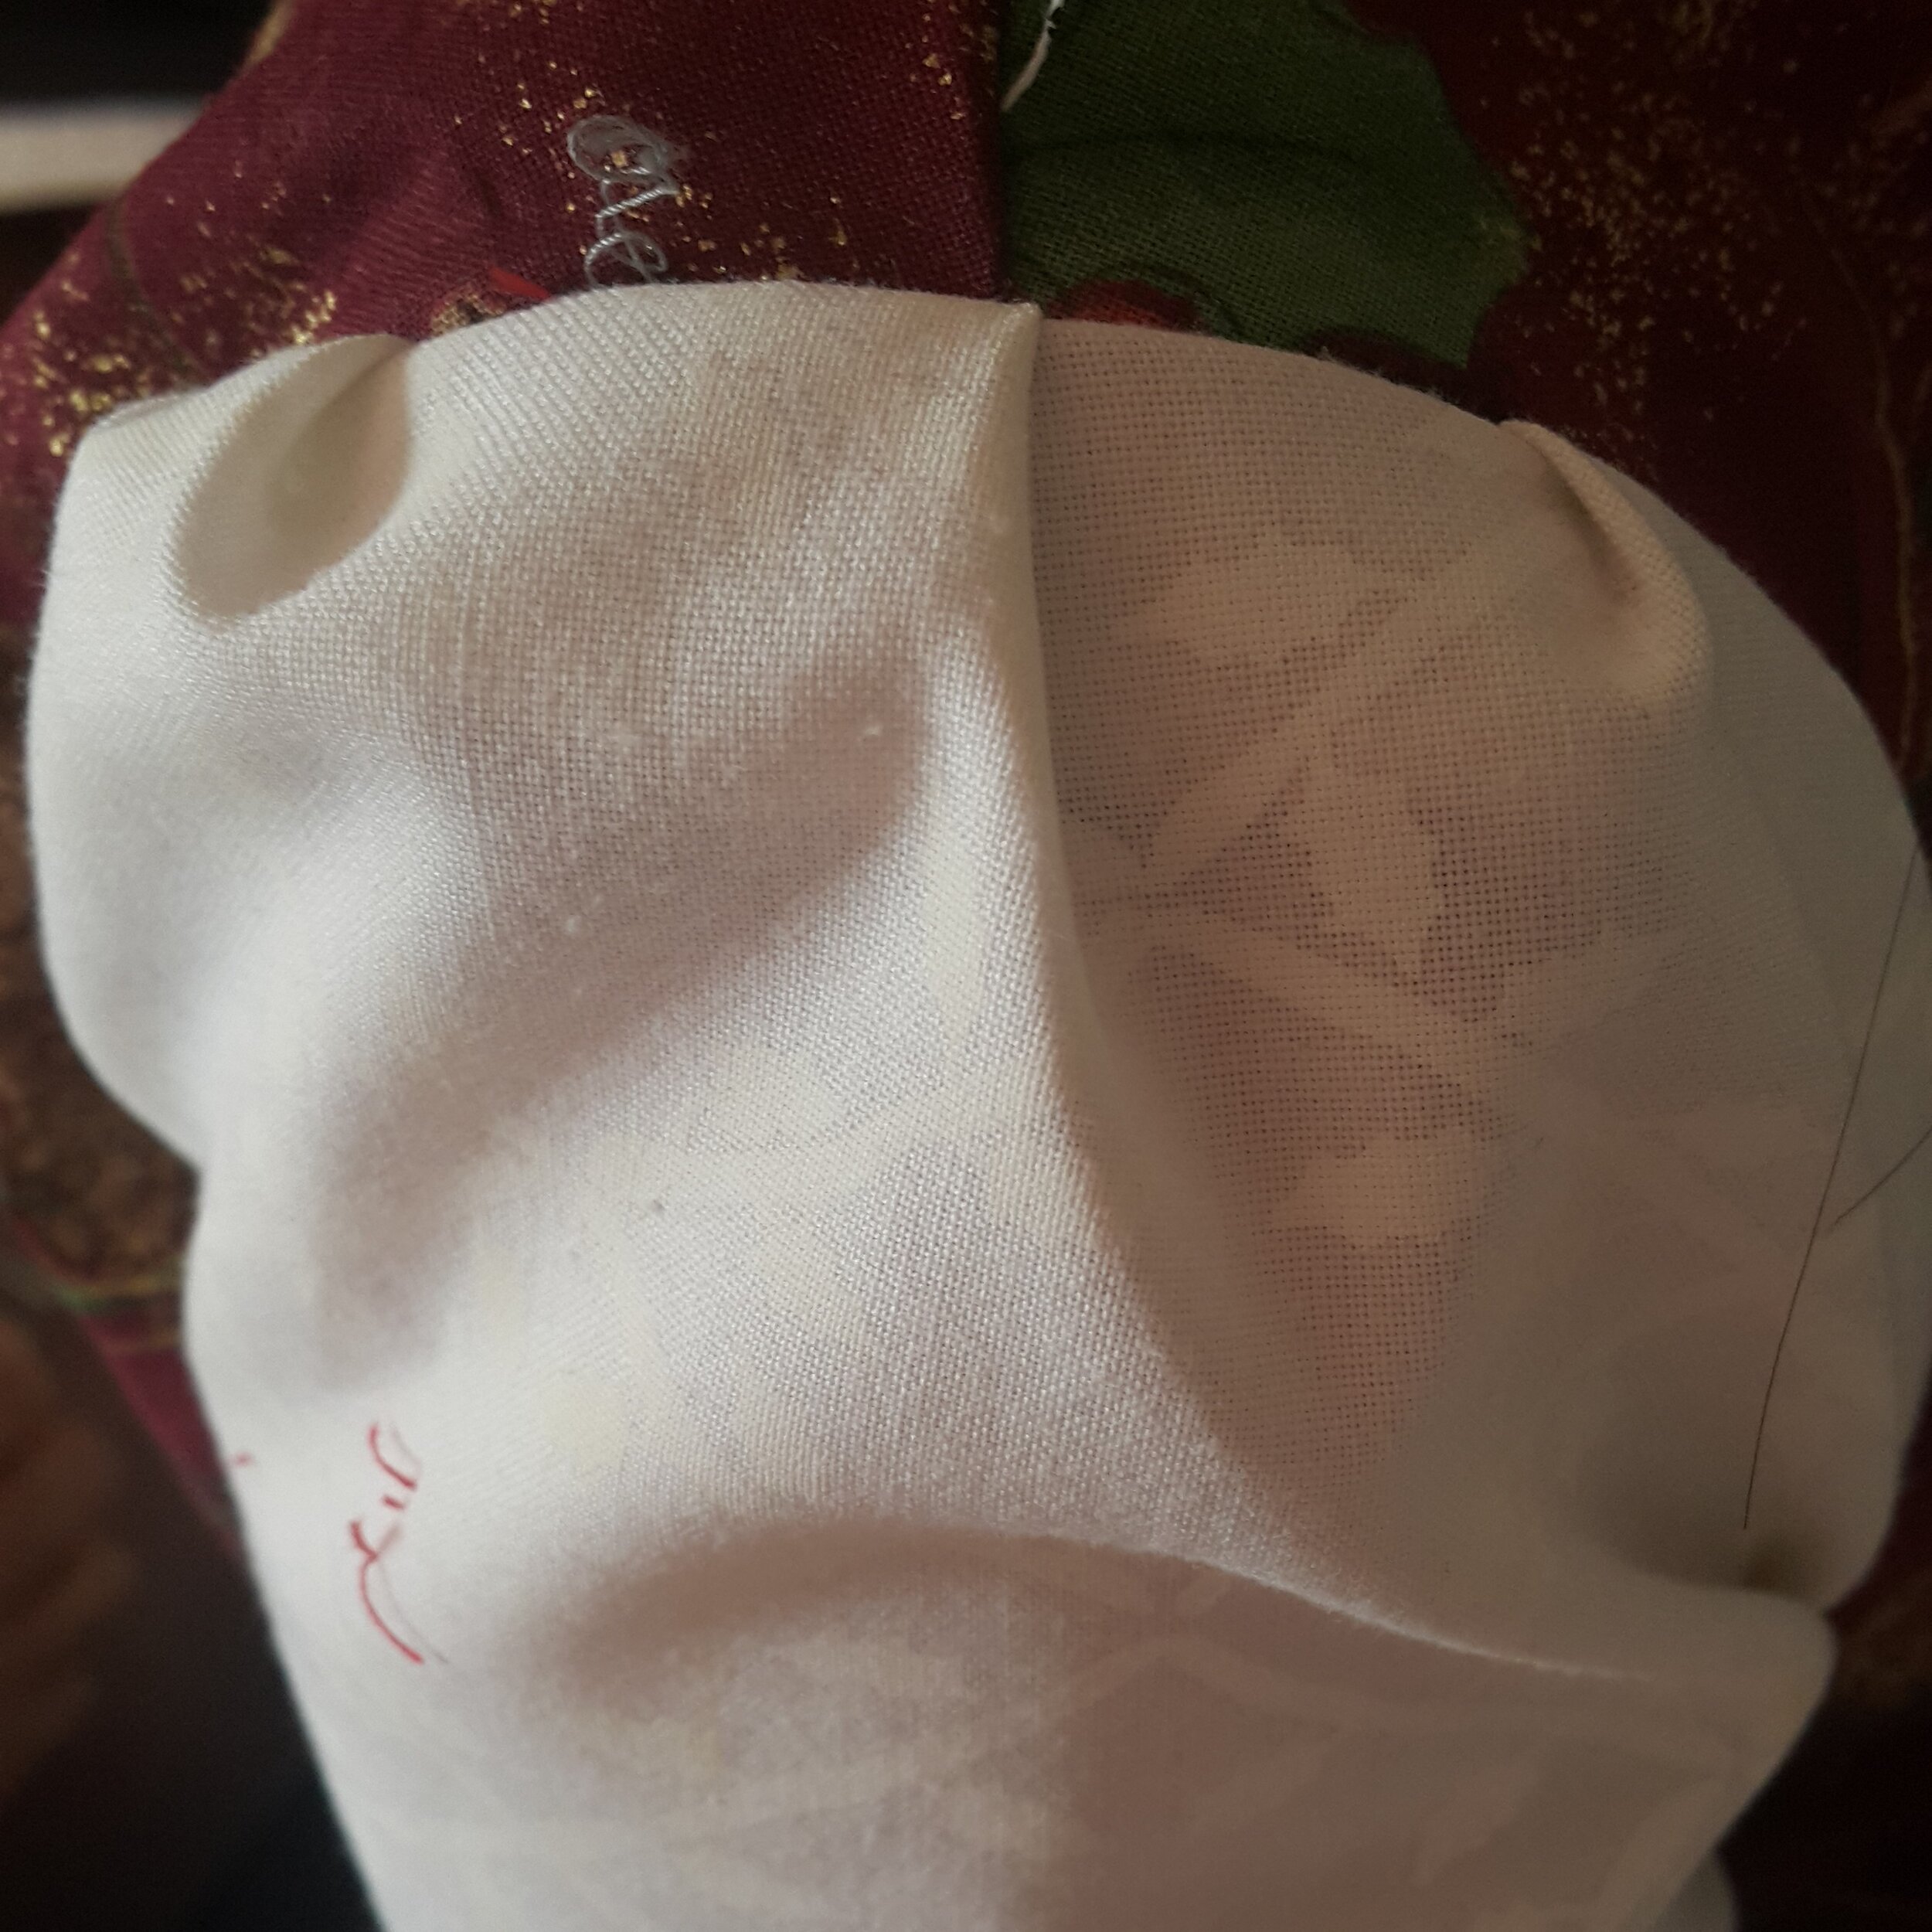
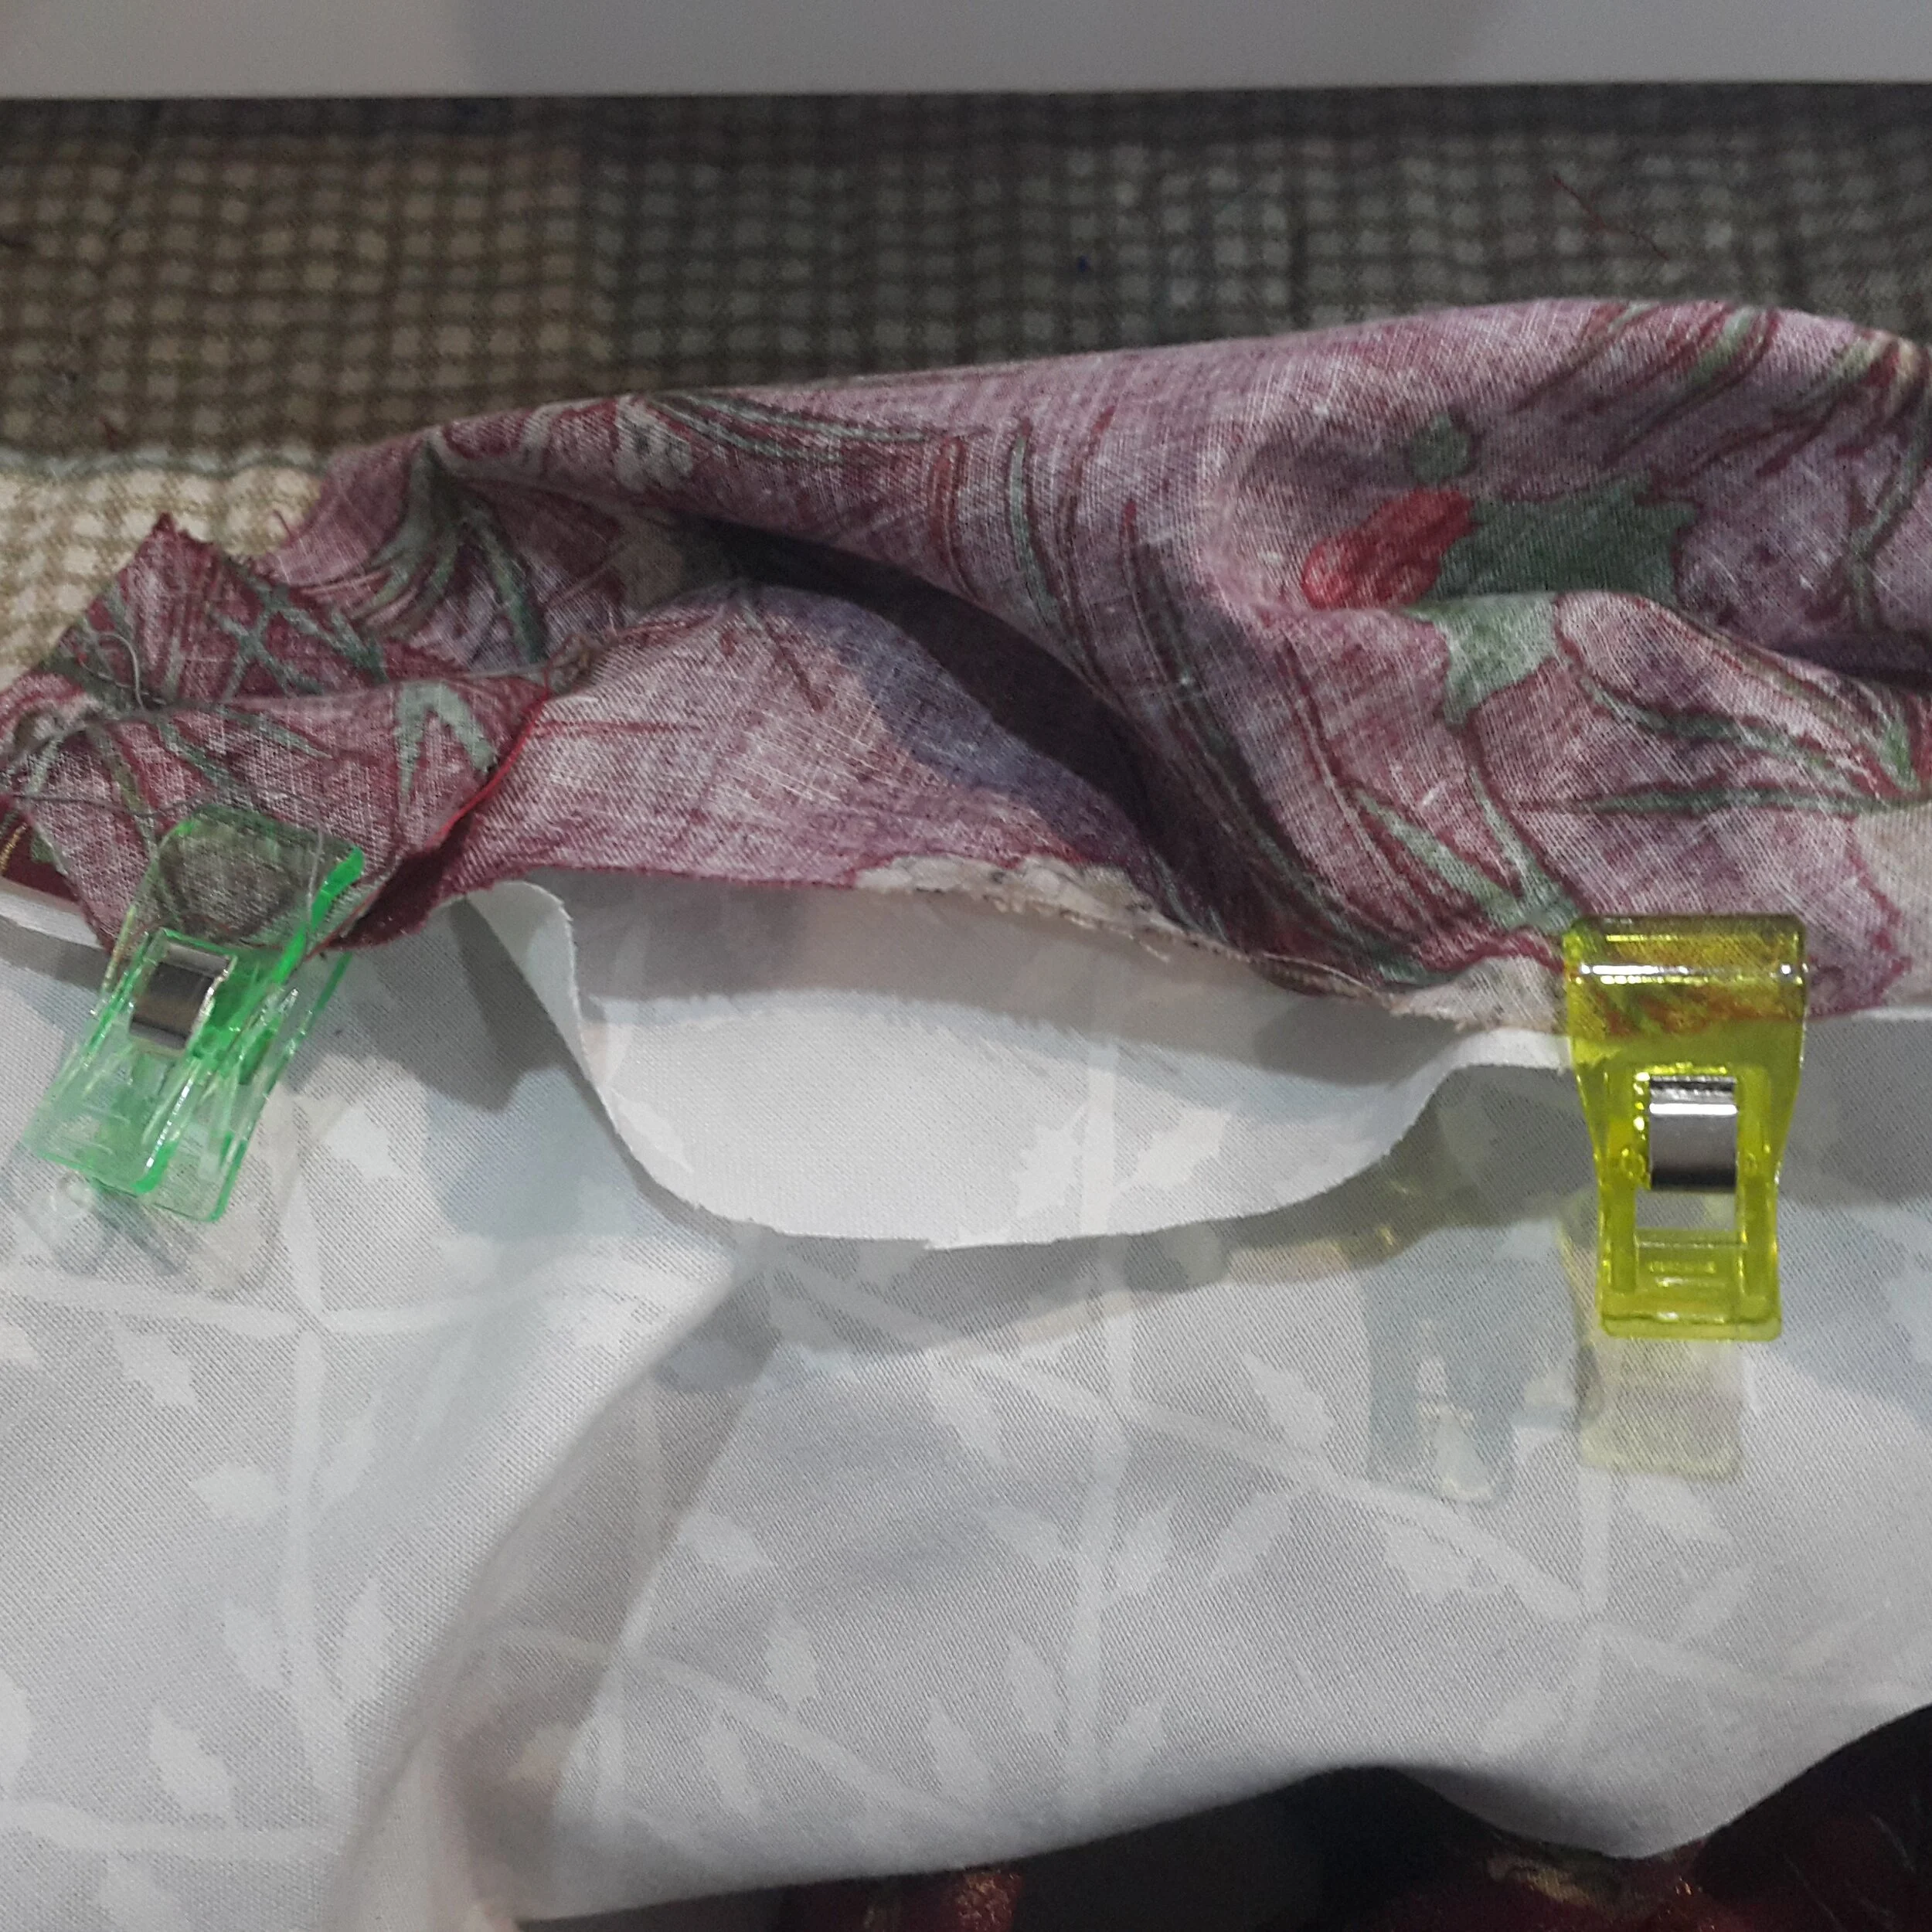
I pinned the sleeve along the arm hole to both the front and back, using tailor’s tacks to line up on the side of the sleeve. Once pinned, I can see how much additional fabric needs to fit into the remaining arm hole space.
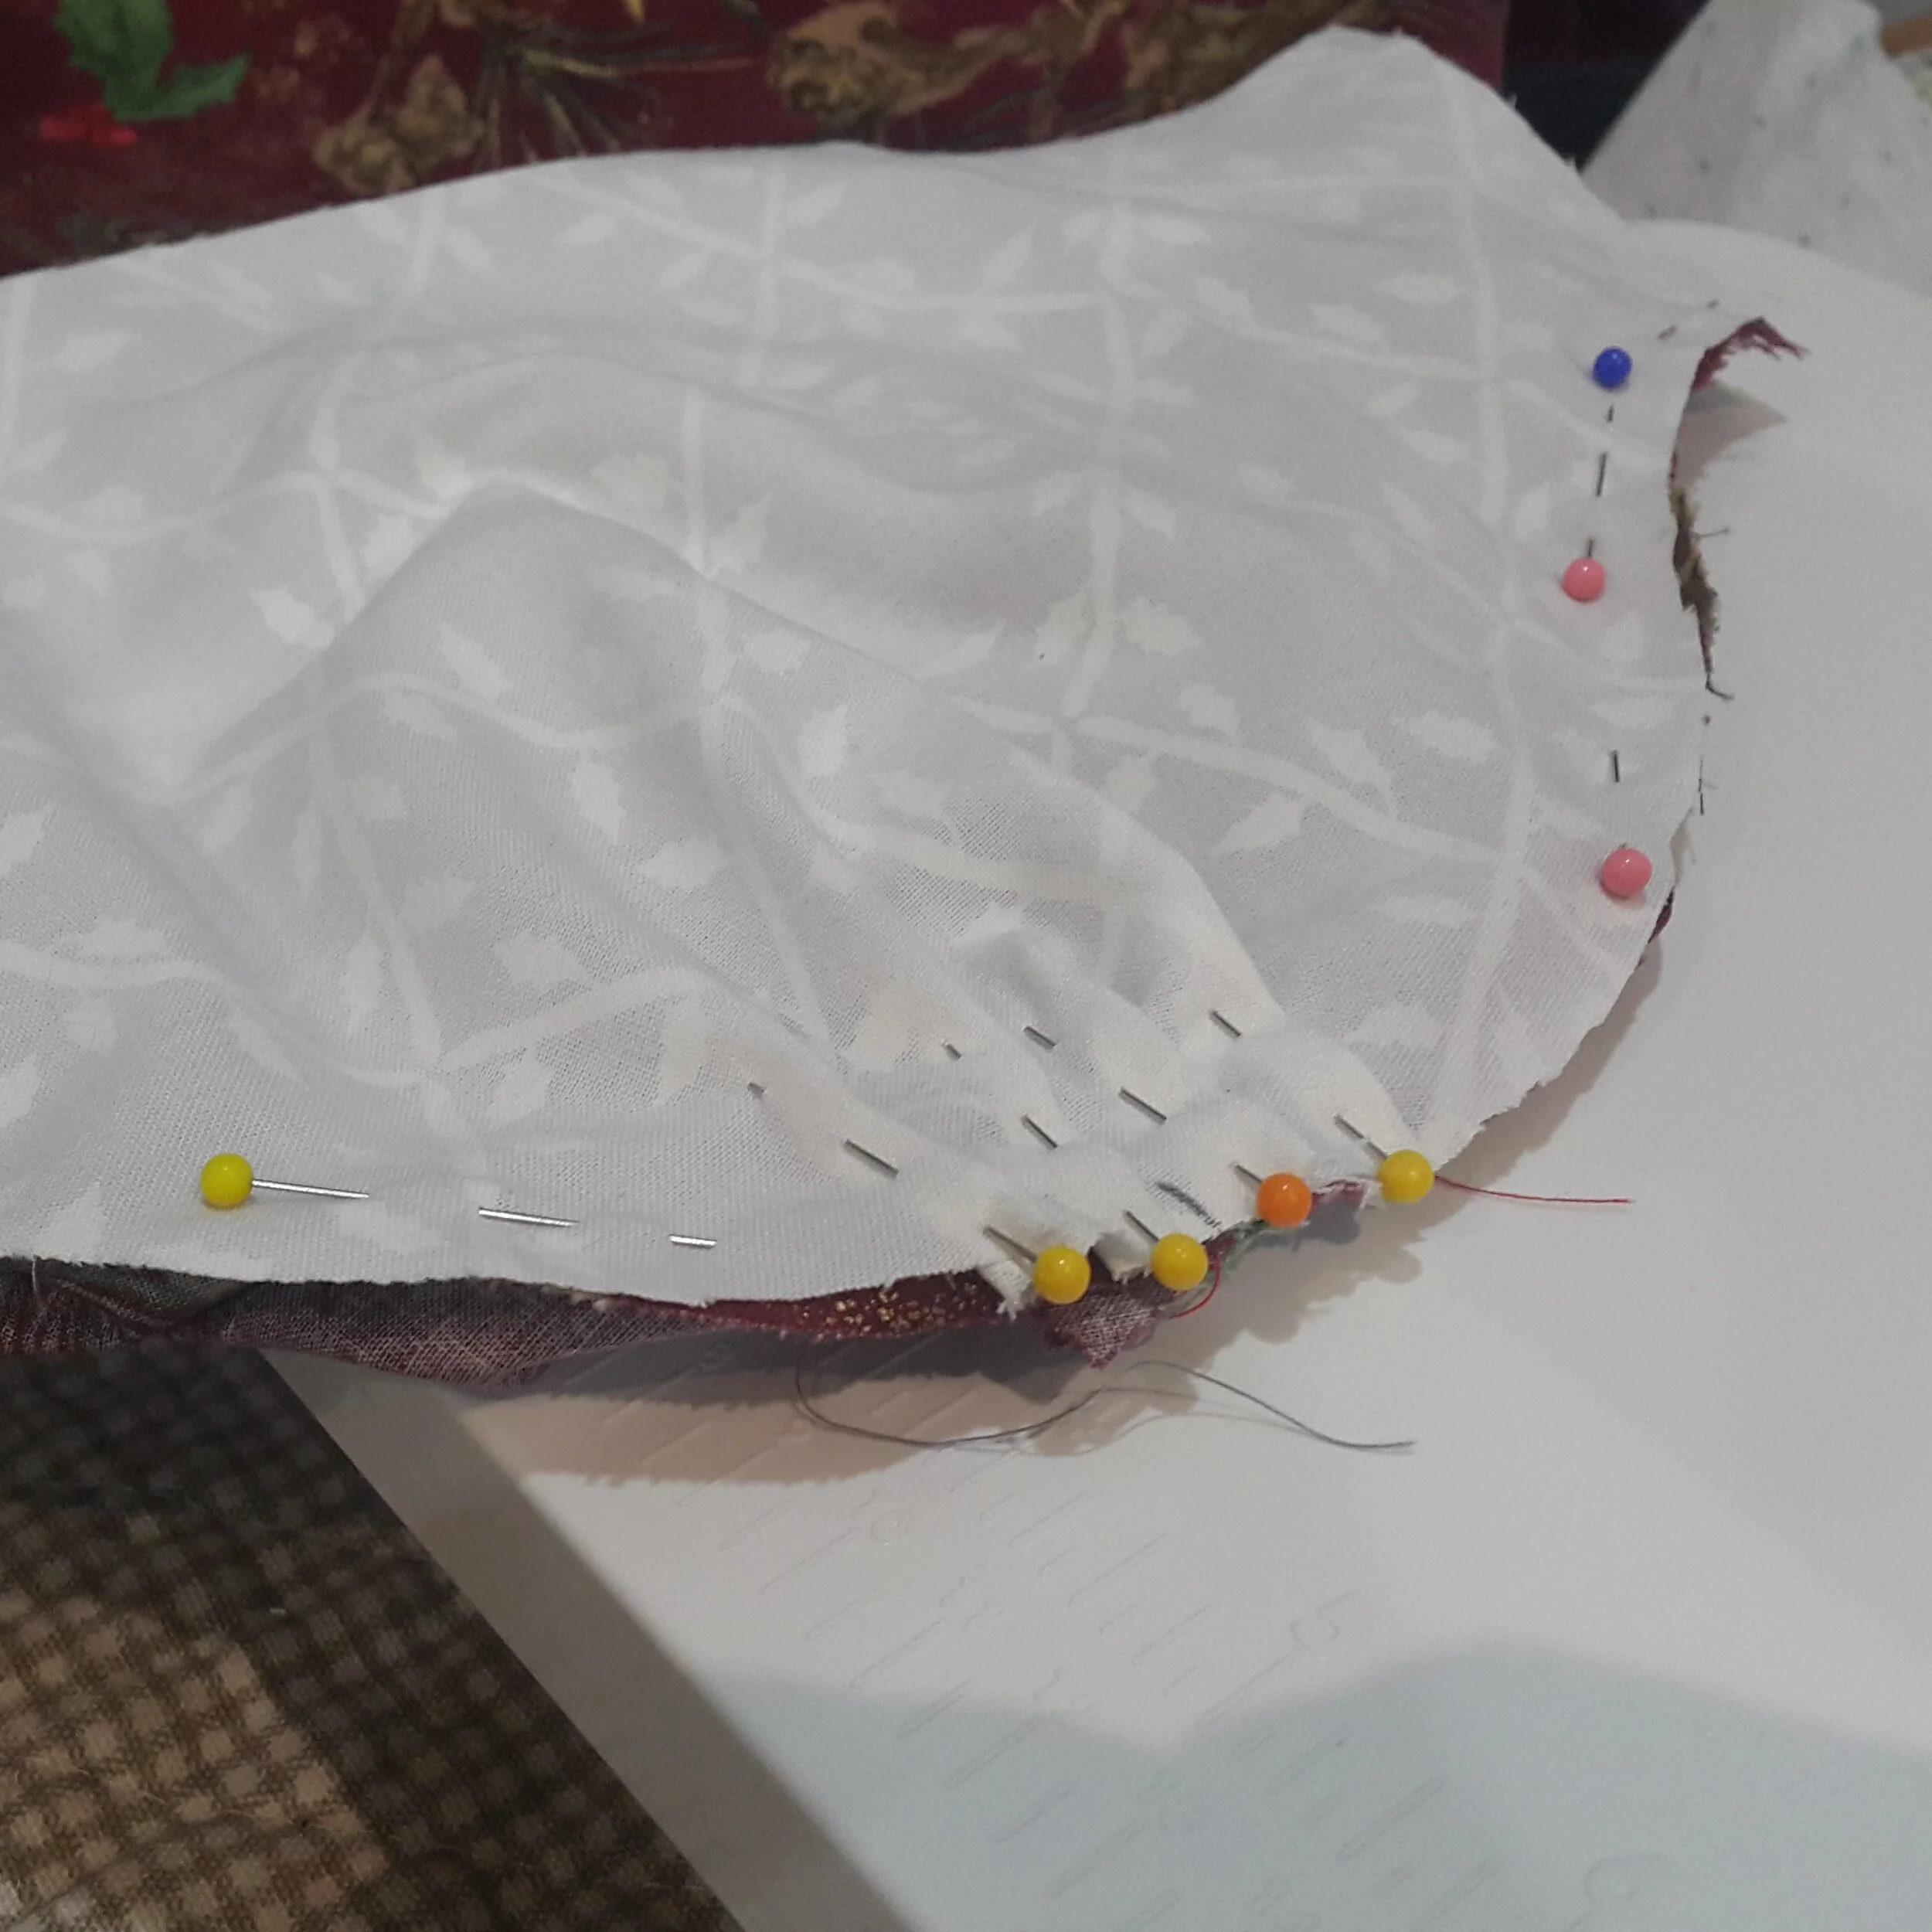
I spread the excess fabric out over four pleats, securing each individual pleat with a pin, placed perpendicularly to the edge. After making many masks in 2020, I am pretty good at eyeballing pleats to be even, but for this sleeve, I don’t think that symmetrical gathers or even pleats is actually necessary.


What I Learned
Working on the gathered sleeve was a chance to practice many of the things I took note of but didn’t necessarily practice on my first Burda 6602 shirt.
Adapting the Pattern for the Incorrect Application
The one issue I have with the sleeves on attempt #3 are how the cuffs fit and it wasn’t until writing this blog post that I figured out why. In attempt 1, I re-adjusted the hem to be straight, since spreading it out created a bend in the centre of the hemline. I assumed this was causing tightness in my sleeve, when in fact in was the way I set it in. In any case, it turns out that straightening the hemline creates excess fabric that can be also be gathered at the hem. Not realizing this, since this wasn’t the look I was going for, I sewed the hem with my twin needle as normal.
I knew that paying close attention to patterns was important for the overall construction and execution of a project but this was a wonderful way to see how small changes in a pattern affect its shape.
Begrudgingly Making Mock-ups
Since I was adapting the pattern, I knew I was going to make a mock-up out of woven cotton in my stash just to make sure the new sleeve piece fit with the armhole. Various posts and comment sections suggested that a knit mock-up is important when making a knit garment. I was lucky enough to have enough remnant fabric in my stash to pattern out a knit mock-up in fabric I actually liked. Making this was a reminder to be extra considerate of my fabric’s weight because the sleeve material is a lighter weight that what I plan to use next. Although I’m happy I made a mock-up, I can’t imagine that I would regularly use knit fabric to make mock-ups, unless it was a technical pattern or self-drafted garment.
Perfecting the Finishing Details
One thing I’m going to try on my next shirt is tying off my thread ends instead of using a back stitch so that my top-stitches are not as visible. The fact that I used contrasting thread on Attempt #3 doesn’t help hide the top stitches, but nonetheless it is quite obvious where I started and stopped my twin needle.
Finding Pattern Storage Solutions
I earnestly folded the original pattern pieces back into the pattern envelope while I made my first shirt. Once I started adapting pattern pieces, I knew I had to come up with a more accessible storage solution. I decided to make my own envelopes out of brown craft paper. I also decided to pull out important information, like the measurement charts and layout overviews and keep these on separate pieces of paper I could easily reference without having to unfold any tissue pieces.

References
Bennet, Ella A. “The Perfect Dressmaking System”. Des Moines, Register and leader job printing department, 1914. Link.
Gutierrez-Diaz, Daniela. “How to Sew Sleeves”. WikiHow. 2020 July 31. Last accessed March 15, 2021. Link.
Lett, Jen. “All About Sleeves”. Mood Fabrics. 2016 October 24. Last accessed March 15, 2021: Link.
Maria. “Understanding the Sleeve Part 2: The Sleeve Cap Curve”. www.dresspatternmaking.com. Last accessed March 15, 2021. Link.
Minna. “7 Easy Sleeve Patterns”. Shapesoffabric.com. Last accessed March 15, 2021. Link.
Rosenfeld, Isidor. “The Practical Designer for Women's and Misses' Underwear”. New York, The Leading Pattern Co., 1918. Link.