Sewing 101: A Frugal Start with Knits
When I decided to make something wearable using a knit fabric, I was hesitant to make a purchase right away because I had not worked with a stretchy fabric before. Naturally, I took to the internet and found blog posts with helpful tips, like using a ballpoint needle, and videos that showed me how to finish hems. Although this knowledge empowered my purchasing decisions, I still waded in slowly. As a beginner, I had no expectation that anything I made would be wearable, so I didn’t invest too heavily in my first attempts at making clothes. If you’re looking for some inexpensive ways to start, maybe it’ll help if I shared my first steps.
Raid your own closet for material
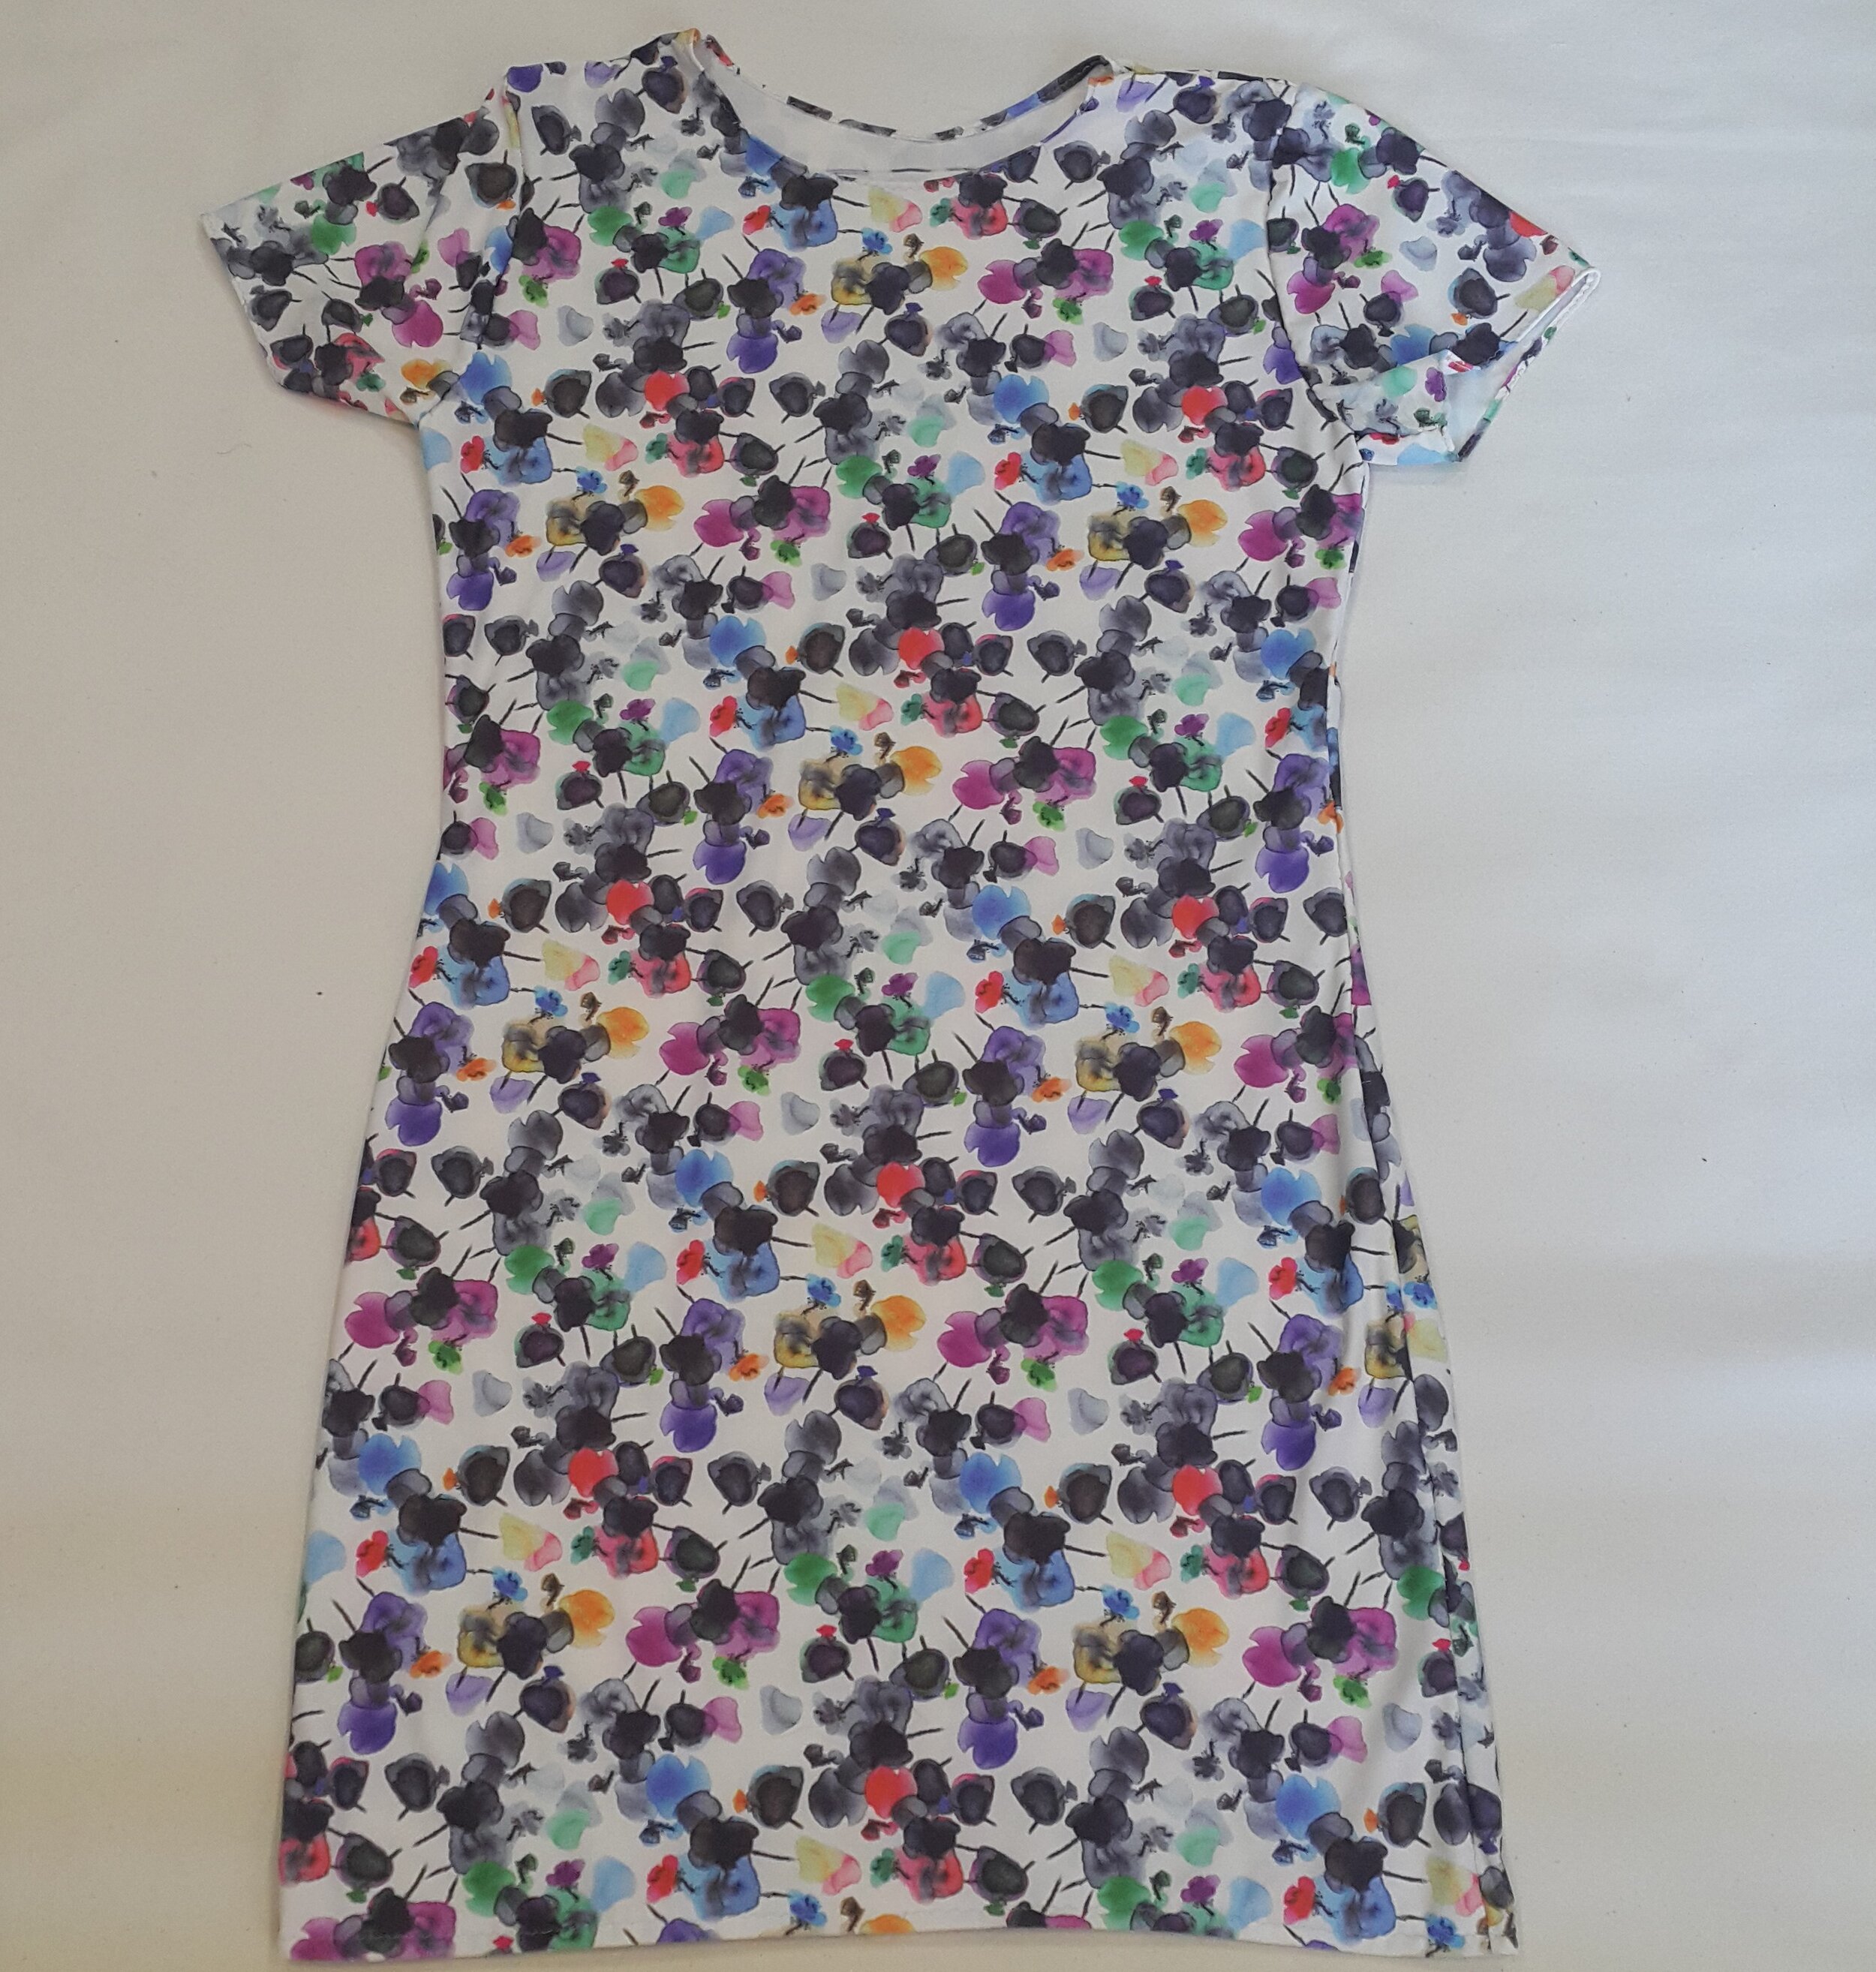
To practice working with knit fabrics, see if you have any old clothes you can alter or take apart for fabric. When I decided to make clothes, I had just finished up a t-shirt quilt project kept some of the bigger t-shirt scraps in my stash. I used them to make the bottom of a cat bed, which was a great way to sew together two stretchy pieces of fabric and practice finishing the seam. There are lots of small projects to try, like scrunchies or doll clothes, but just sewing straight seams is a good way to practice too. I also rooted through my own closet and found a grey maxi dress from seasons earlier. I chopped off the bottom to make it a shorter t-shirt dress and then practiced hemming the bottom. The fact that I could wear this, even though it was just a slight alteration, gave me more confidence and I felt prepared enough to justify a purchase.
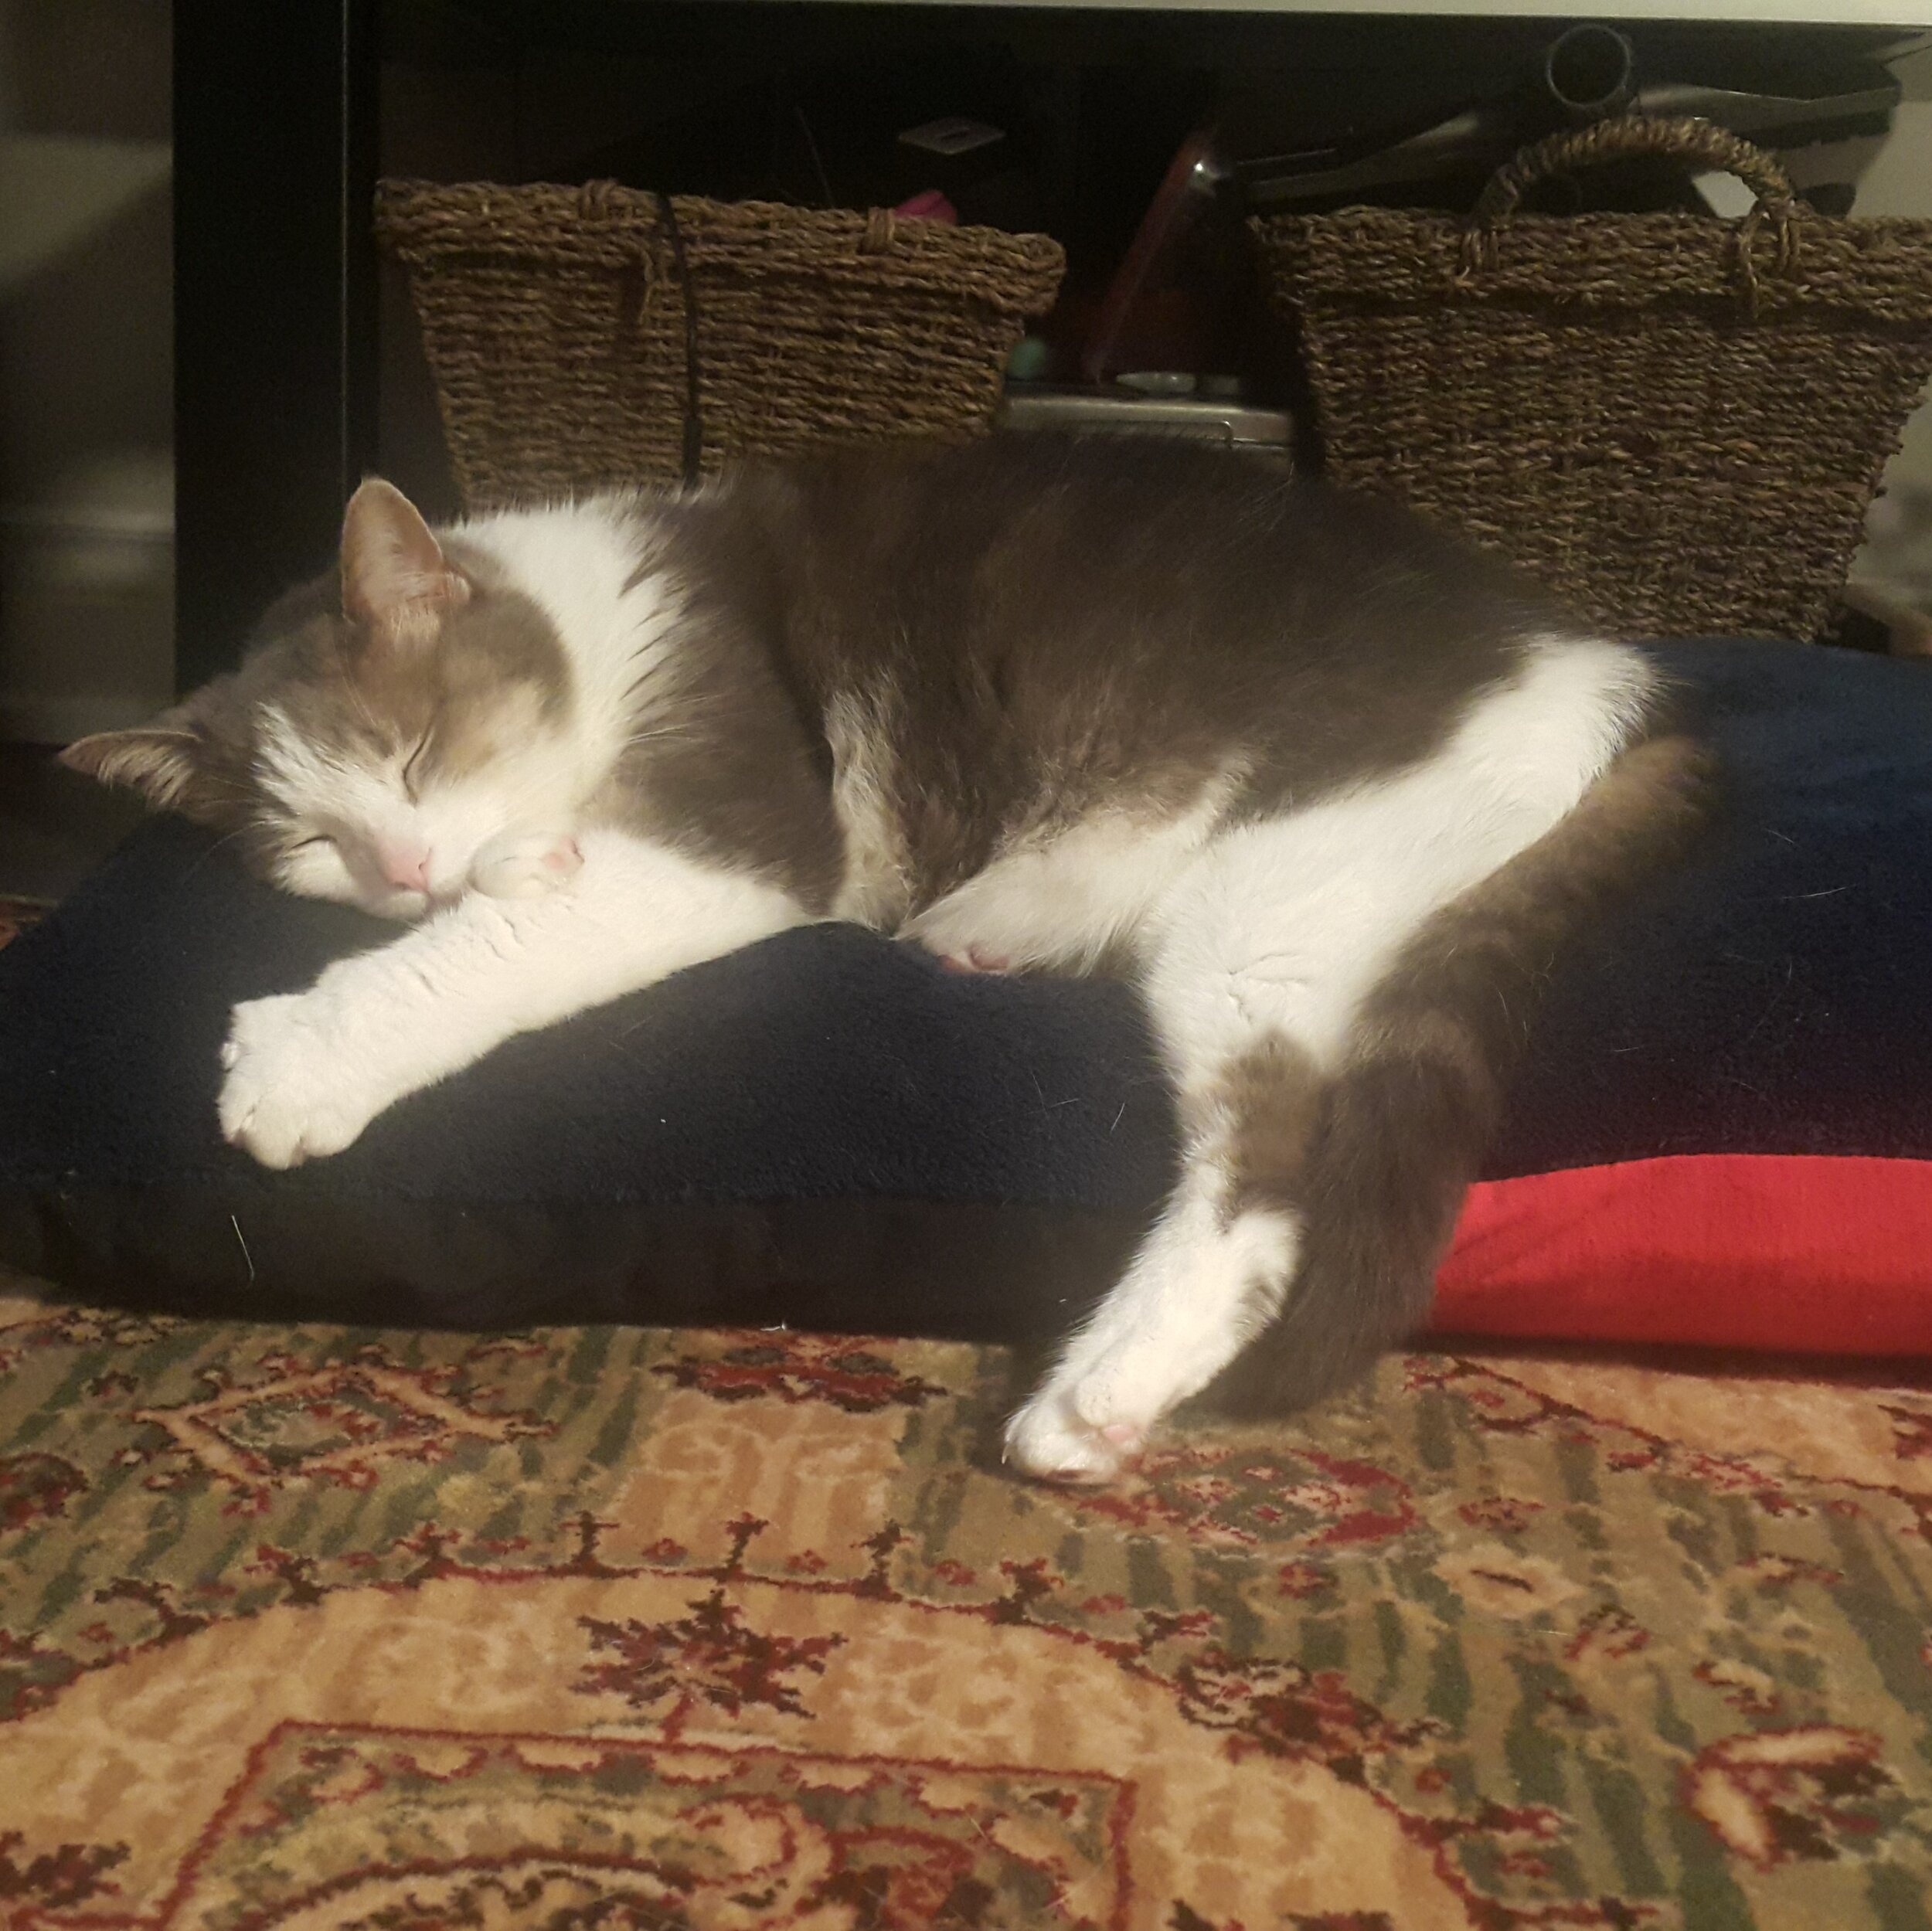
Smokey Robinson lying on her cat bed, the bottom of which is constructed out of two old t-shirts sewn together.
Look for Discounts
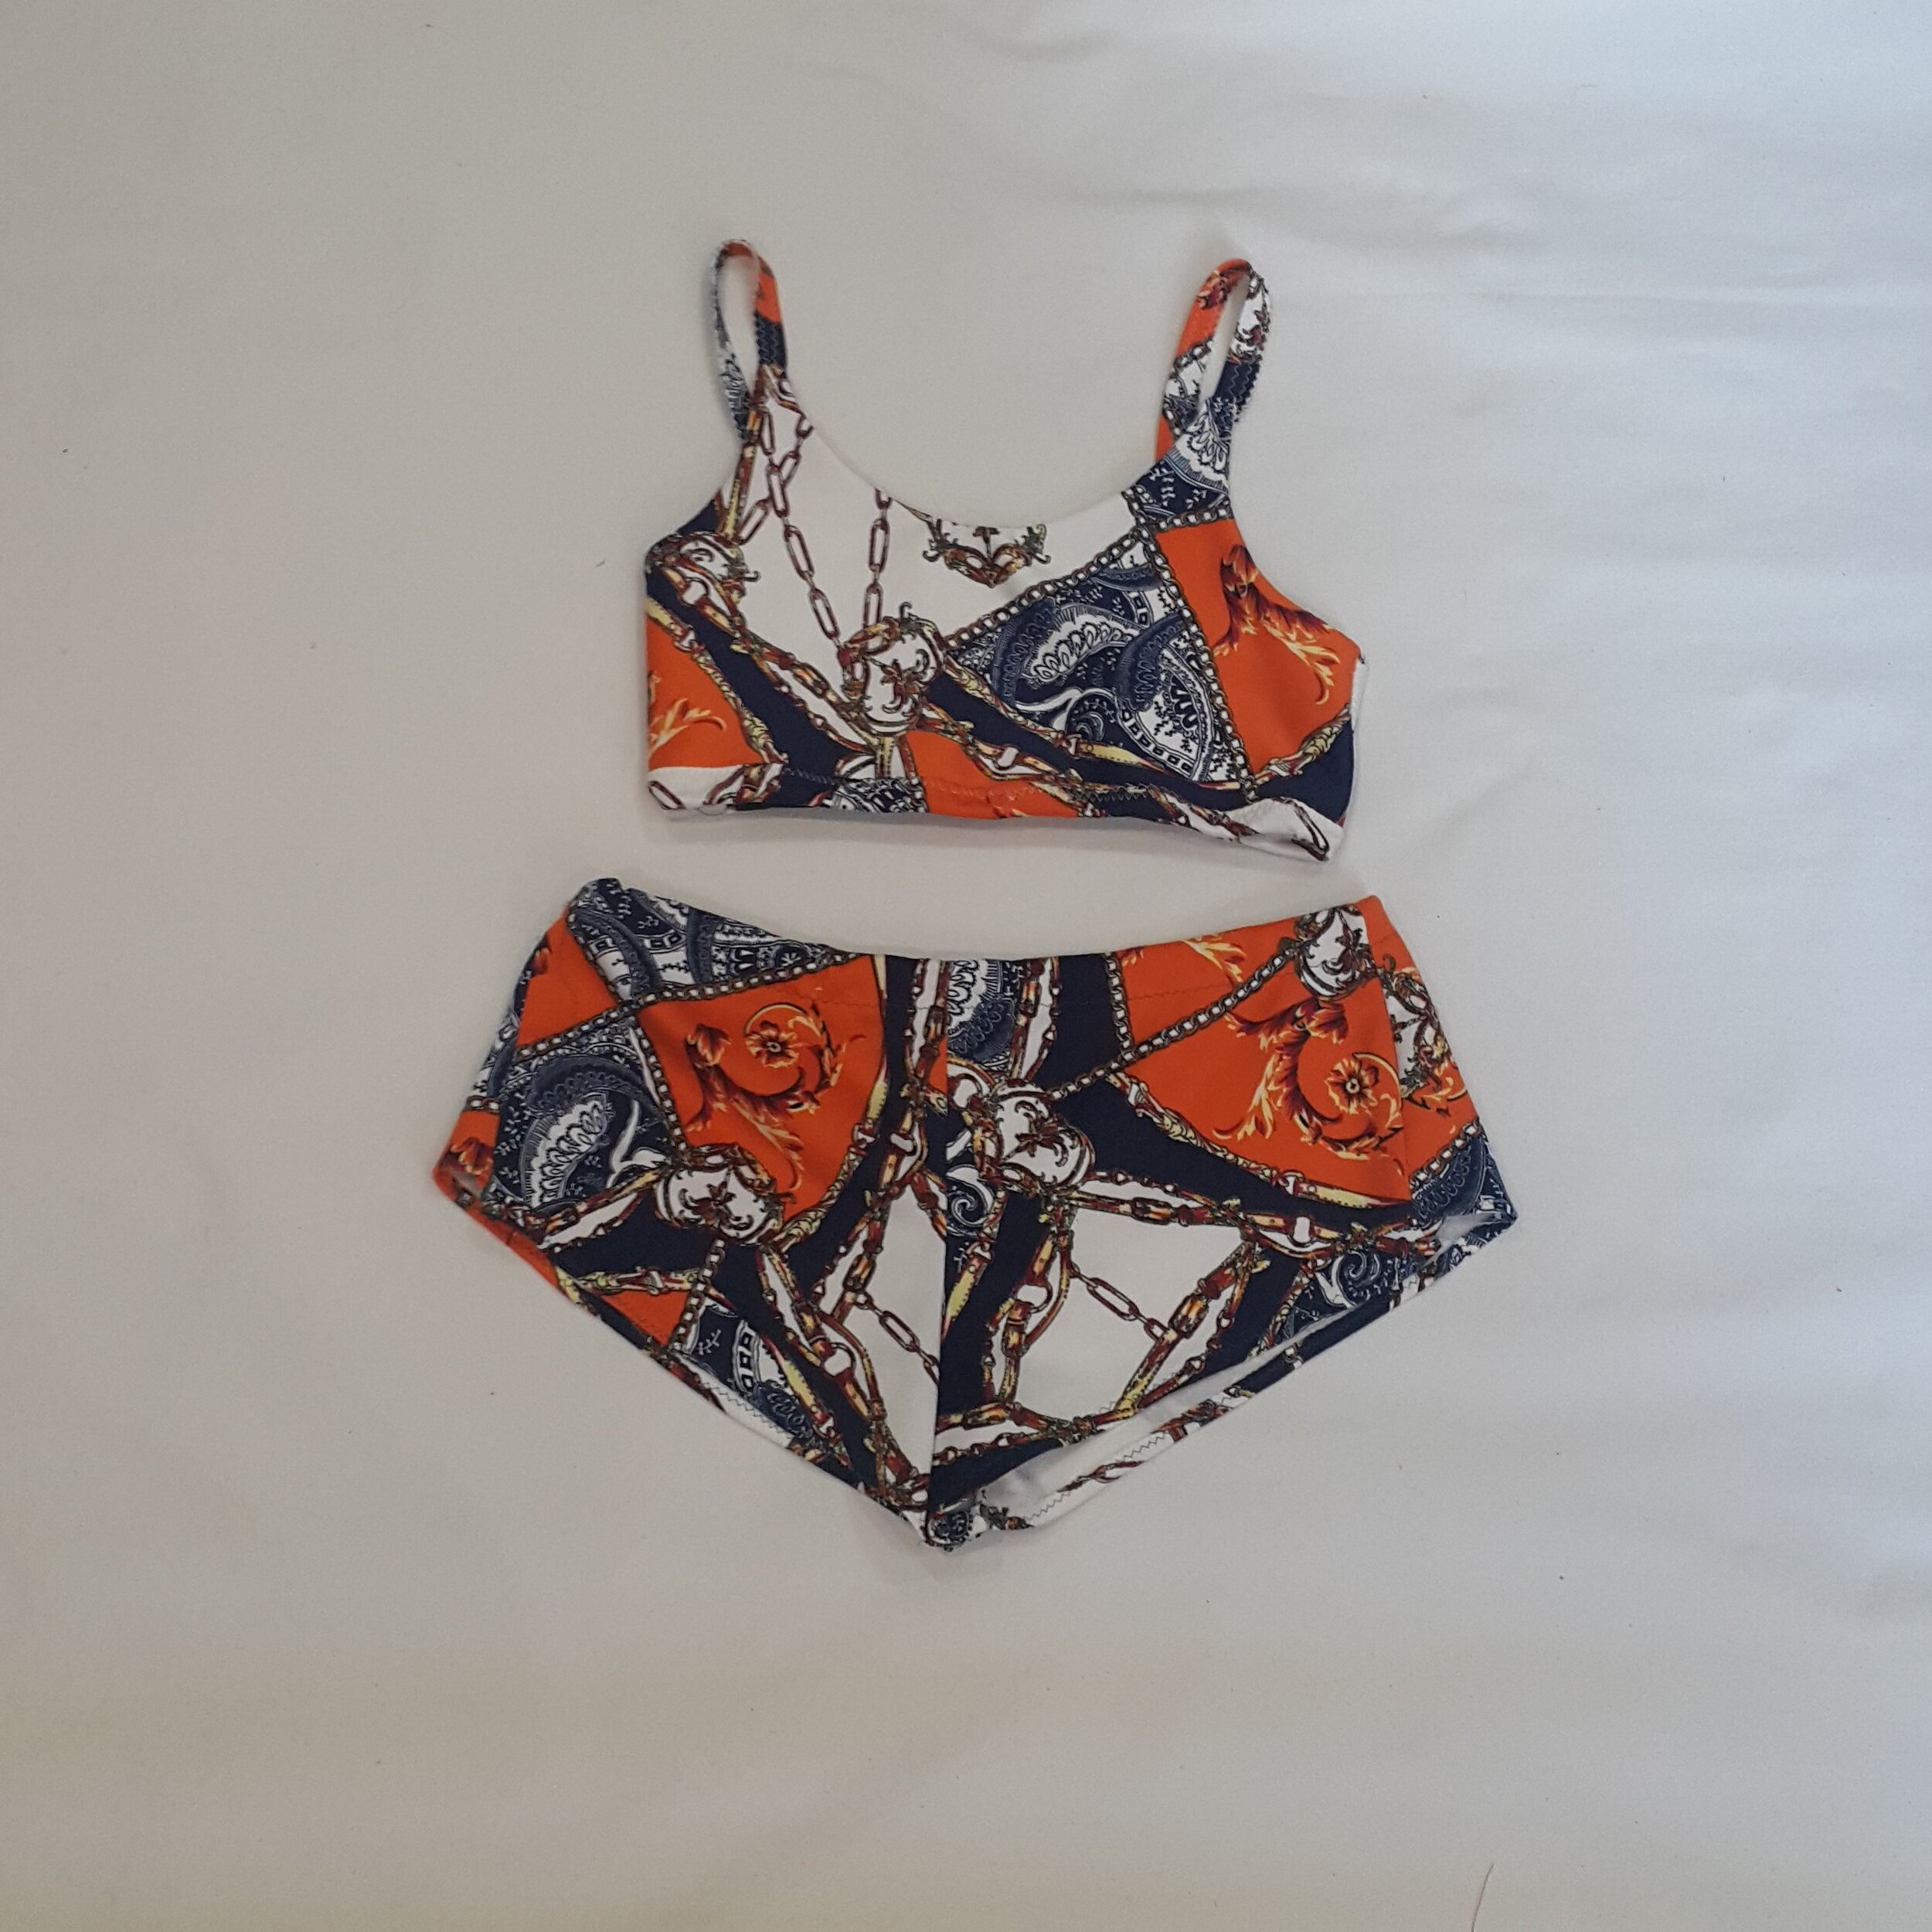
When purchasing knit fabrics, weight and stretch are important variables and there are a lot of options. Unfortunately, I had no idea how to understand these characteristics while online shopping, nor did I understand how they would impact what I could make. Keeping with my managed expectations, I decided to buy a bundle of remnant knits, in assorted patterns, and be surprised when it arrived. I was happy when I discovered a great variety of prints, all of which are very cute. This suggestion is not free but finding a good sale or a deal on remnants is a low stakes way to practice.
Free patterns!
Finding free patterns means you have more money for fabric and notions. It’s a chance to practice sewing and see how individual pieces form a garment. It’s also a great way to experiment with different fits and styles before investing in a store bought pattern.
When I was starting, I certainly used the search terms “free pattern” and “beginner” A LOT. I downloaded way more patterns than I made and these searches were not only inspiring, they were educational. Looking at patterns was an introduction to the language and symbols of sewing - the direction and dotted lines that indicate grainlines, folds, grading, and darts. Reading the accompanying text indicated the appropriate types of fabric and approximate yardage. And while these patterns are technically free, it’s important to note that I provided my email address in exchange for these resources, and there is absolutely value in your privacy and what it means to give your information to people.
NOTE: I have a privacy policy that explains how your information is collected when you visit and how I use it.
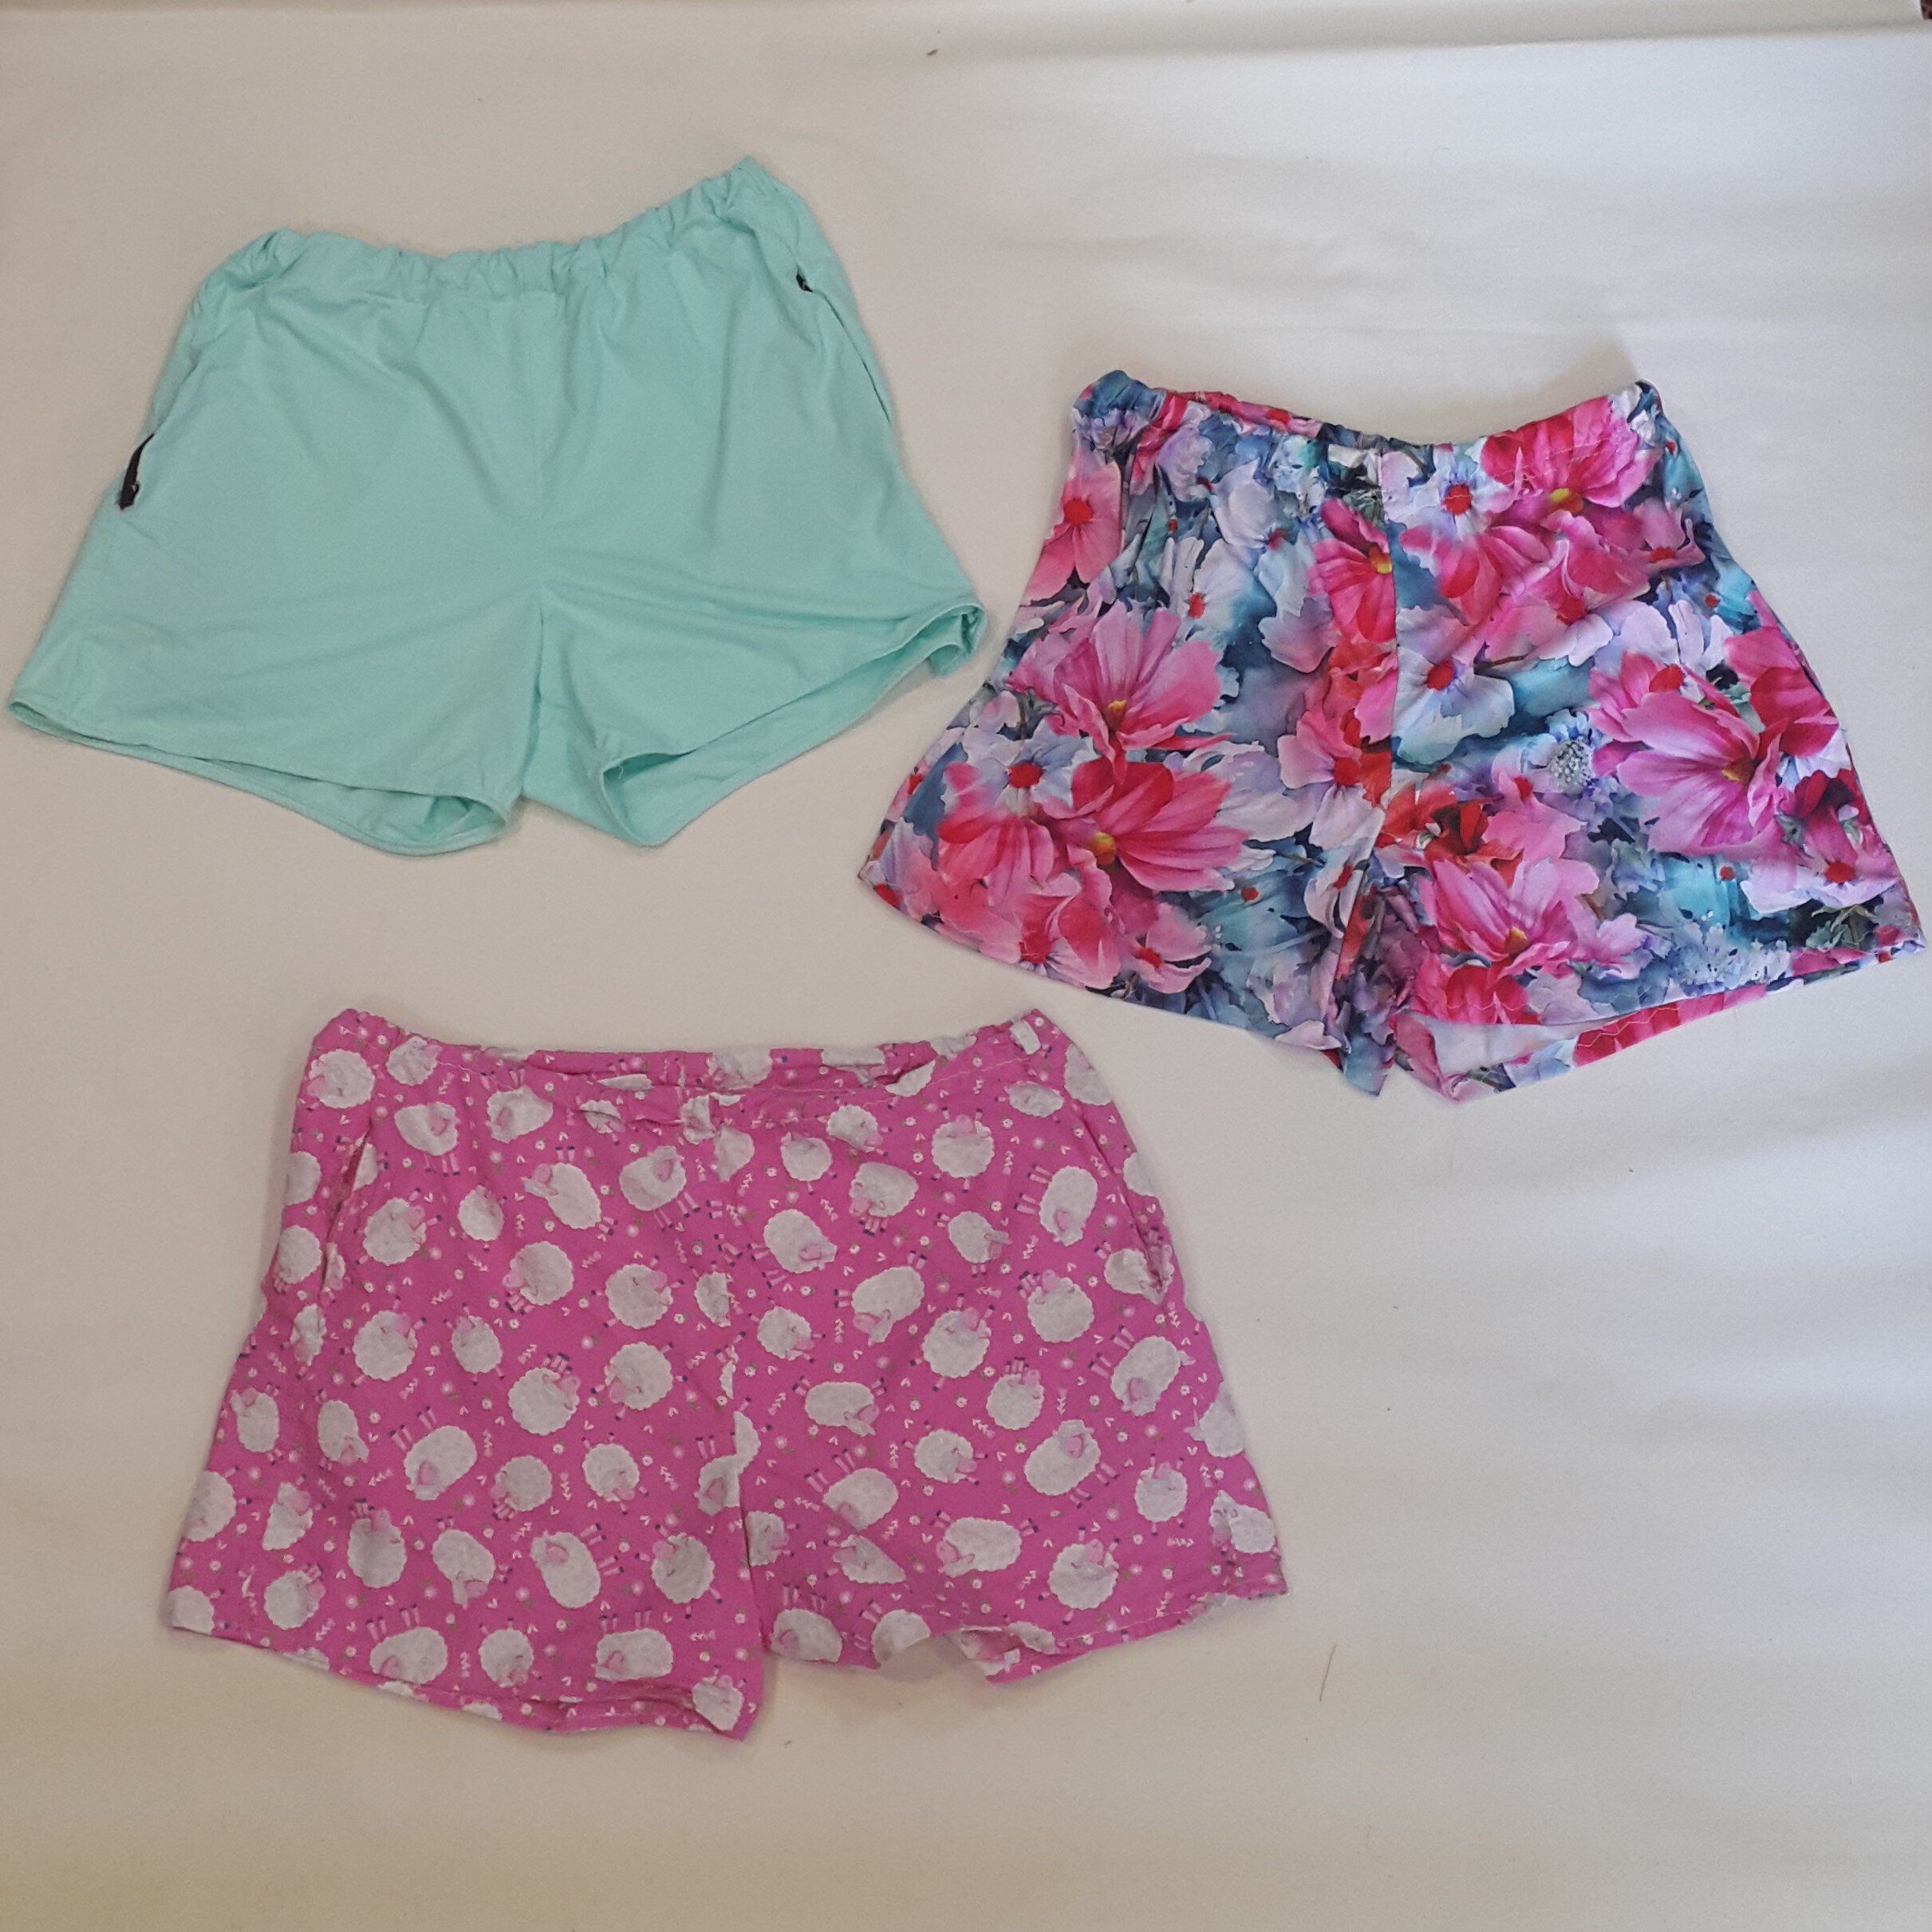
With my fabric sorted, I took to the internet for videos and blogs on beginner patterns. There are many, oh so many, free patterns (for clothes and other projects) available online. I found a free pattern from Melly Sews, adapted it to include pockets, and made three pairs of shorts for myself. The pockets are too low, but the shorts are comfortable and cute if I do say so myself. With a little bit more confidence I found myself eager to keep practicing. I used my remaining bundle of knits to recreate some of my go-to comfy clothes I already owned. Learn how, and why, I copy some clothes.
Resources I Consulted Multiple Times When I Started
It is truly incredible how much free information is available online. It may take a bit of clicking around to find exactly the answers you’re looking for or to find a person who communicates in line with your learning style, but there are plenty of options. Compiling a static list internet resources on a blog seems silly when the google search algorithm can deliver specific and timely results. However, I wanted to share the resources I consulted time and time again when making the clothes I’ve mentioned in this post. All of these resources provide information in an accessible way, using both text and visuals.
Mood Mood Sew Society - So many free patterns that are graded for different sizes! There is a lot of informative blog posts with information on fabric, tools, and how to start a capsule wardrobe. There’s even an extensive glossary!
Melly Sews - Melly’s posts are very helpful and the accompanying videos make it so easy to follow along. I love when there is a combination of text, video, and photos available for a tutorial.
Love to Sew Podcast - I love podcasts! Listening is one of my favourite ways to take in information and it helps that episodes of these podcasts are so well structured. The podcast website includes lots of additional links to photos, patterns, and resources mentioned during the show.
Be Selective, Be Resourceful
Of course any new hobby or project will require some investment, but be selective with your purchases. Once I was ready to sew, I spent my money on material, needles, and quality thread. I sourced some other things though. Drafting paper was a big roll of landscaping fabric. It is inexpensive, easy to cut, and lies flat even though it comes in a roll. In a similar vein, I knew that making mock-up garments was going to be necessary as a beginner. Instead of buying muslin, I used old bed sheets and tablecloths.
Note: Landscaping fabric is easy to cut, and draw on with chalk. It can even be sewn easily together. Important to note though, that it cannot be ironed because it is synthetic with a low melting point.
Focus on the basics and build your collection slowly. A quick google search will return many helpful lists for the beginning sewist. They will all include the obvious items, like scissors and thread. A clear ruler, rotary cutter and a large cutting mat may be listed, and in my opinion these particular tools are game changers, but not necessarily essential to getting the job done. Recommended or nice-to-have tools may include curved rulers, square rulers, L-shaped rulers, T-squares, but it’s important not to get carried away on the things you could buy. I only just bought a big roll of drafting paper on which to trace and draft patterns. Another benefit to this slow approach is that your experience will begin to inform your purchasing decisions. Once you know how you like to store your projects and set-up your workspace, you can buy accordingly, and be more confident that your new purchase fits your space.
At the time I am writing this post, I have purchased for myself a clear ruler, a right angle triangle, and have been gifted a T-square. But thanks to www.growyourownclothes.com, I made myself some curved rulers. You can read about this or watch my video here.

An overhead view of five curved rulers. Using a variety of weights of cardboard, I made (from the bottom, moving counter clockwise) one hip curve, two large French curves, one combination French/hip curve, and one small French curve.
A Can Do It Attitude
You can likely execute a project with less than you need because you (yes, you!) are an underrated resource. I made my first four quilts on a sewing machine made before I was born. It didn’t have any quilting attachments. At the end of 2020 in the middle of finishing my fifth quilt, the machine’s feed dogs stopped working and before I realized I could wedge a clip in to hold the feed dogs up, I dedicated one hand to keeping them in place. Working with what you have may not be the easiest. It’s definitely not the quickest, but as a beginner, finding solutions in the face of these struggles teaches you a lot about fabric and construction.
While I have long-term aspirations of being a proficient clothes maker, I understand that it will take time and practice to build my skills. I have no doubt that I’ll need to invest in specialized tools as I push myself to try new things but I intend to maintain a similar mindset: be resourceful, be patient, be selective, (be)lieve in myself.